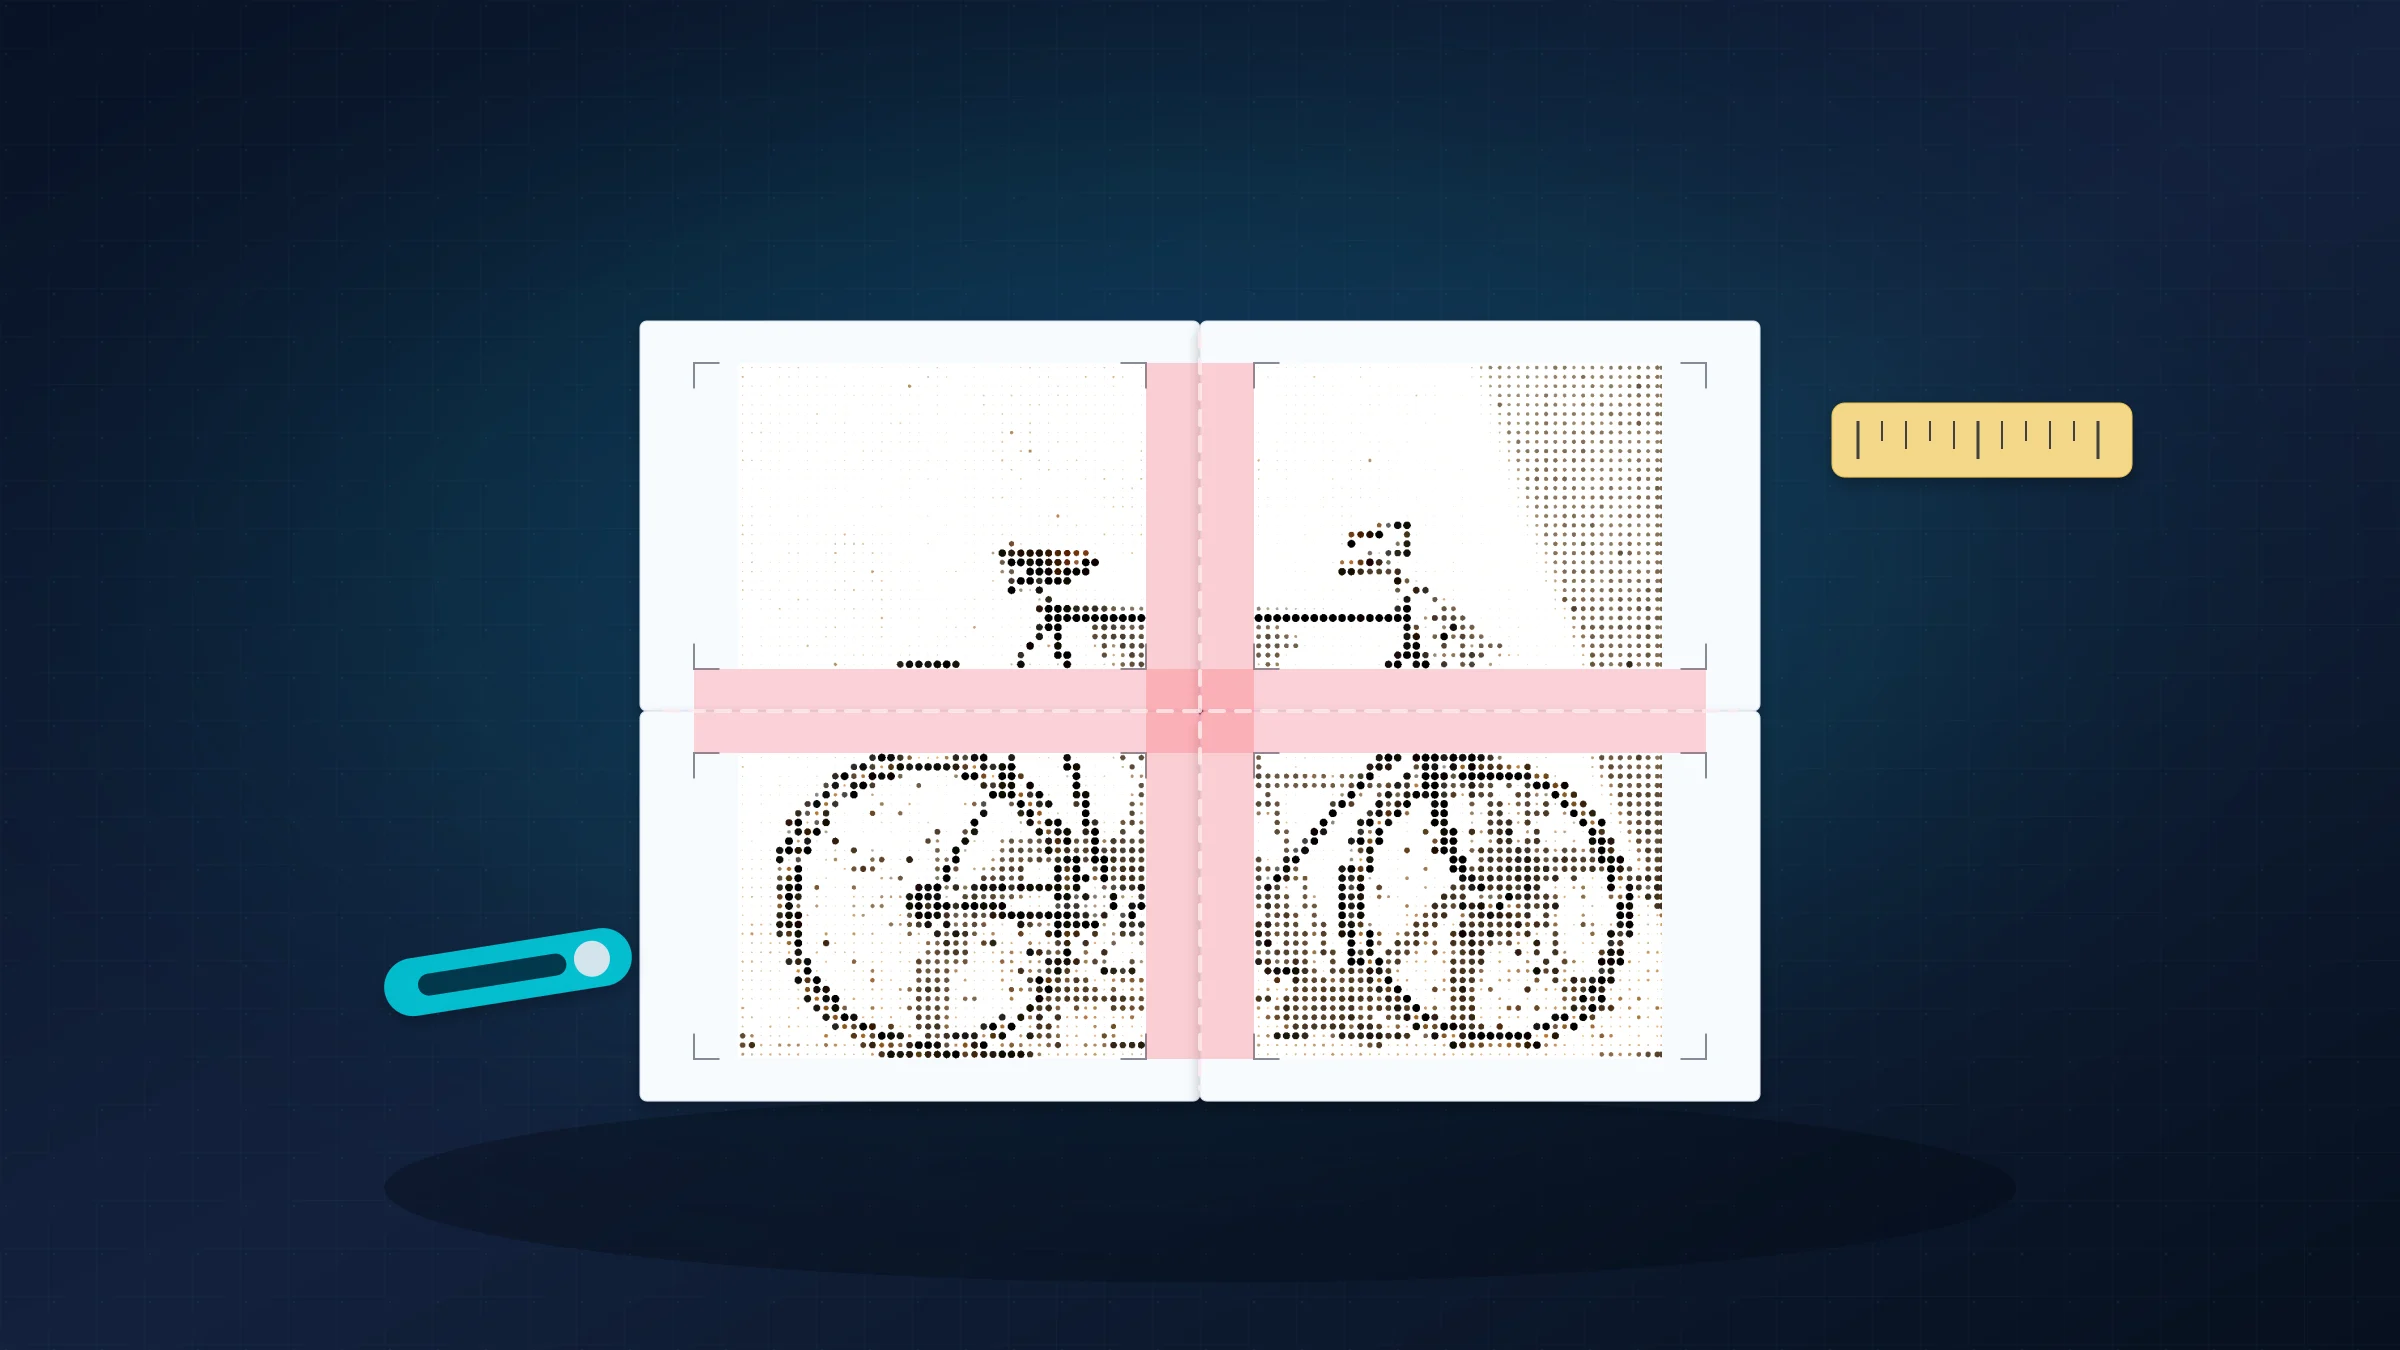
White gaps between poster pages are frustrating, but they usually point to a specific print or assembly issue. Once you know the pattern, you can decide whether trimming will save the current sheets or whether a clean reprint is faster.
Many home printers cannot print edge-to-edge on ordinary paper. They often leave a 3-5 mm unprintable white border on each side. That is a printer limitation, not a broken PDF, and it is why trimming internal edges is a normal part of tiled poster assembly.
This guide helps you diagnose the gap pattern, fix usable pages, and avoid repeating the same mistake on the next print.
Quick diagnosis: what kind of gap do you have?
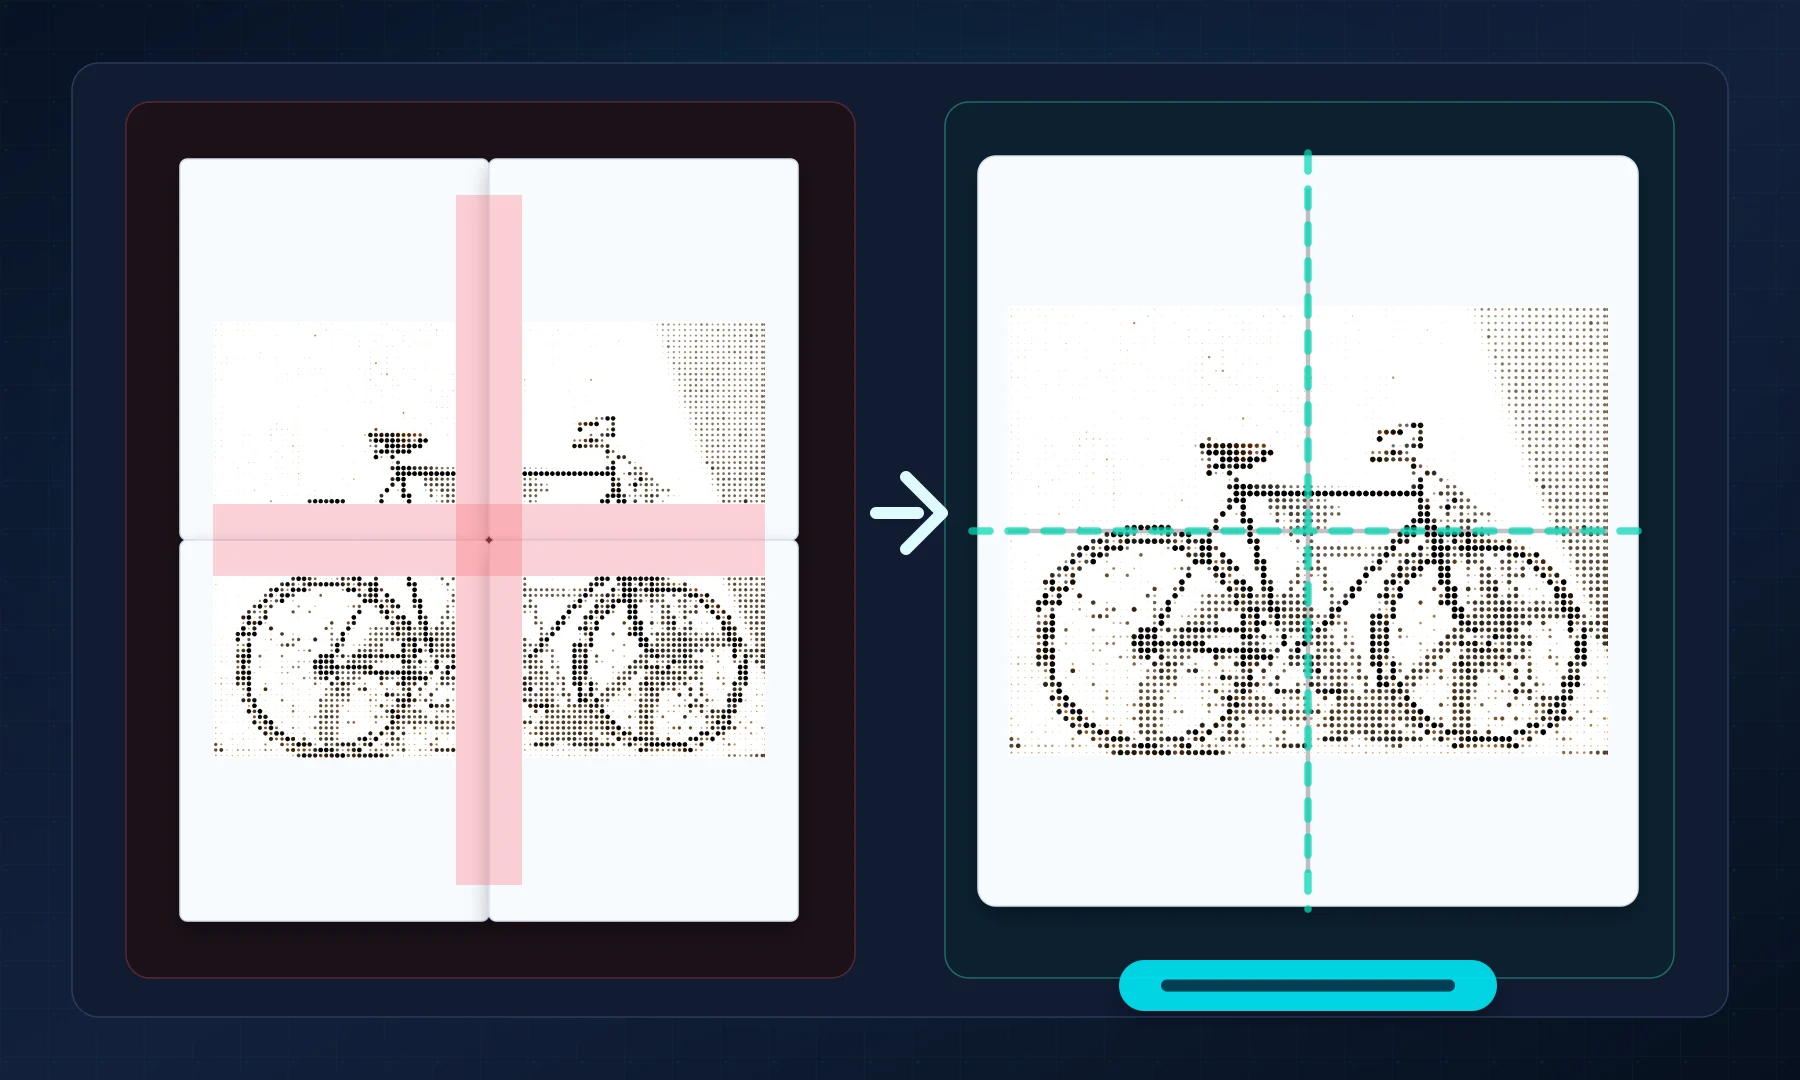
Start with the pages you already printed. Lay them out without tape or glue, then align the image content rather than the outside paper edges.
| What you see | Likely cause | Can you save it? | First move |
|---|---|---|---|
| Thin, even white lines between tiles | Untrimmed printer borders | Usually yes | Trim only internal borders, then align image details. |
| The whole poster is a little too small | Print dialog scaled the PDF | Usually no | Reprint at Actual Size, 100%, or Custom Scale 100. |
| Gaps grow in one direction | Paper size or tray mismatch | Usually no | Match the PDF page size, printer setting, and paper in the tray. |
| A repeated image band appears at the join | Overlap was assembled incorrectly | Usually yes | Trim the top sheet and align the repeated image underneath. |
| One tile does not match the neighboring image | Page order or orientation is wrong | Often yes | Relayout every sheet before adding adhesive. |
| Alignment slowly drifts across a row | Paper feed variation | Maybe | Test with flat, matching paper and one-sided printing. |
Can you save this print?
If the image details meet when the white margins are out of the way, keep the sheets and trim the internal joins. If the poster was scaled smaller, printed on the wrong paper size, or clipped near a join, a reprint is usually cleaner. If only one page is wrong, fix the setting and reprint just that page.
If the diagnosis points to a reprint, rebuild the tiled PDF with the right paper size and overlap before using more paper: open the poster maker.
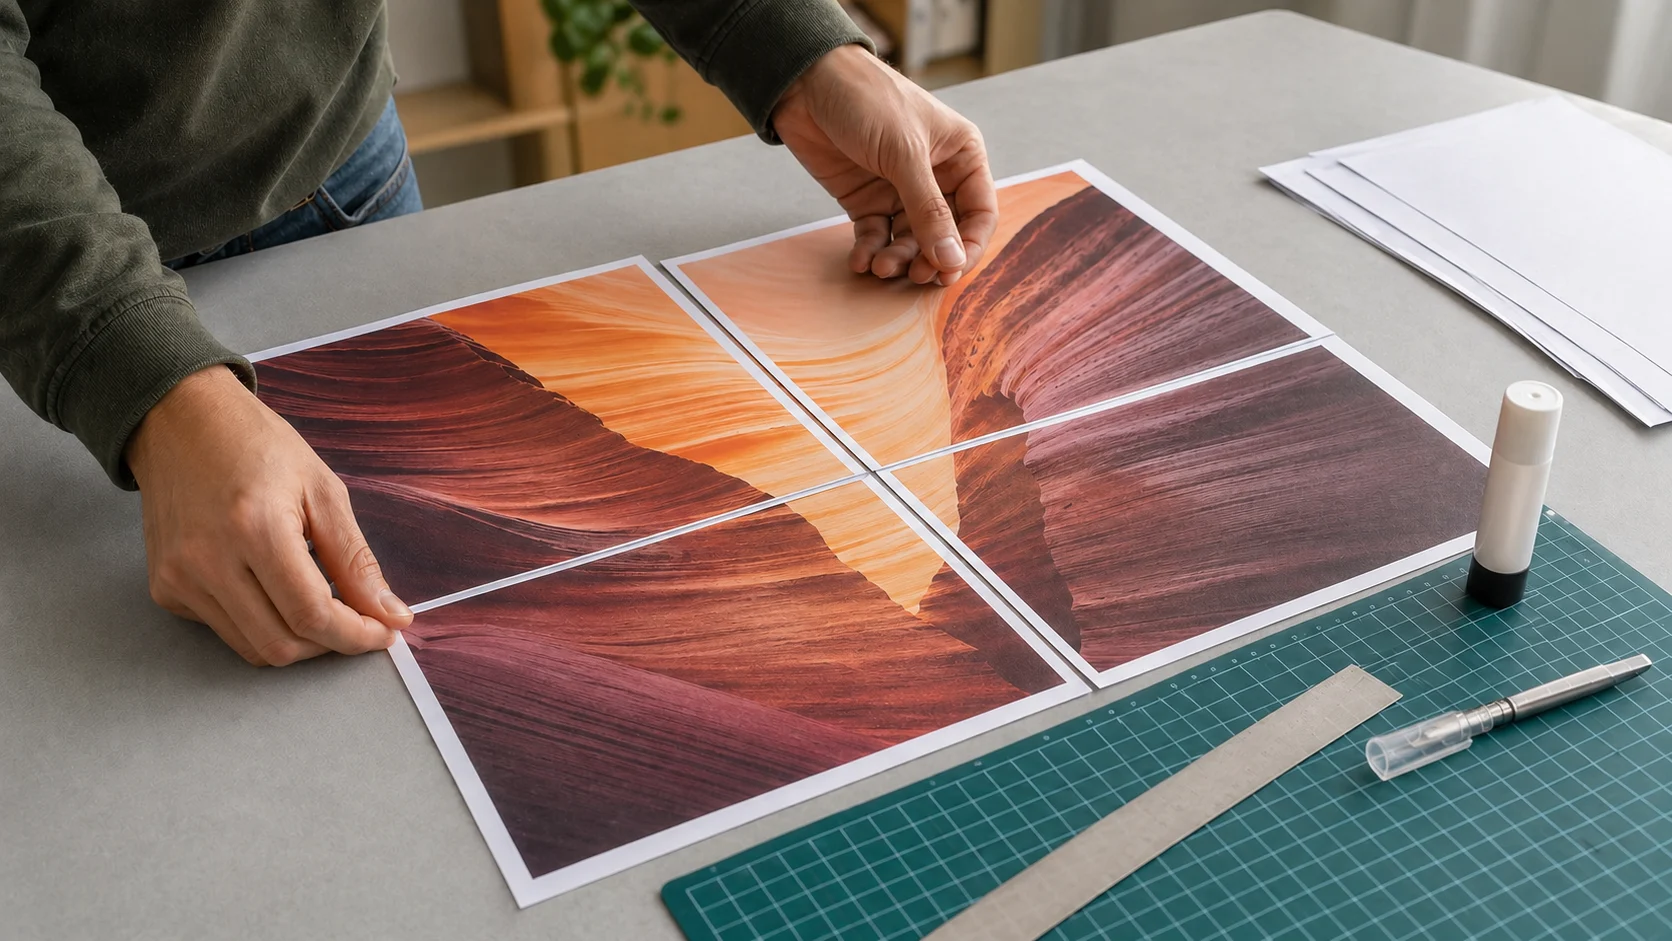
Dry-fit the pages before you decide
Before reprinting anything, do a dry assembly:
Lay out all pages in order.
Check whether neighboring image details meet when the pages are pushed together.
If the image lines up and only white borders are in the way, trim and assemble.
If the image is too small on every page, stop and check the print scale.
If gaps get worse from page to page, check paper size and printer feed consistency.
If only one or two pages are clearly wrong, reprint only those pages after fixing the cause.
A dry layout saves paper, ink, and adhesive. It tells you whether the problem is physical trimming or a print-setting mistake.
Fix the common gap patterns
Thin, even gaps: untrimmed printer margins
The symptoms are simple: narrow white lines appear between pages, but the printed image itself lines up. The gap width is similar from seam to seam.
Your printer has added its normal non-printable border. On a single office document, that border is harmless. On a multi-page poster, it appears inside the finished image unless you trim the internal edges.
To fix it:
use a straightedge, cutting mat, and craft knife for the cleanest cut, or scissors if that is what you have
trim only the edges that need to meet another page
keep a consistent trimming pattern across the poster
align by image detail, not by the outside paper edge
If your poster was printed with overlap, trim the edge that sits on top and keep the matching image band on the page underneath. If there is no overlap, trim carefully so the printed content meets edge to edge.
You can usually save this print. This is exactly what trimming is for.
Poster printed smaller: scaling during printing
If the poster looks slightly smaller than expected, or the pages almost align but never quite meet, the print dialog may have resized the PDF.
Common settings that cause this are:
Fit to Page
Shrink to printable area
Scale to printable area
These settings are useful for ordinary documents, but they break tiled posters. Even a small automatic reduction changes every sheet. The final poster becomes smaller, overlap bands no longer match, and trimming cannot restore the missing scale.
The fix is to reprint at Actual Size, 100%, or Custom Scale: 100%. For a deeper explanation, see Actual Size vs Fit to Page.
If exact size or clean joins matter, a scaled print usually needs a reprint because the geometry of every page changed.
Uneven gaps: paper-size mismatch
Paper-size mismatch creates similar symptoms, but the gaps may feel worse in one direction than the other. A PDF prepared for A4 should be printed on A4 with A4 selected in the printer dialog. A PDF prepared for US Letter should be printed on Letter with Letter selected.
Typical mistakes are:
an A4 PDF printed on US Letter paper
a Letter PDF printed on A4 paper
a printer tray set to a different paper size than the PDF viewer
an automatic "choose paper source by PDF page size" setting doing the wrong thing
That difference sounds small, but across a poster it creates visible misalignment. To fix it, reprint after matching three things: the poster PDF, the printer dialog, and the paper in the tray.
For A4-specific setup, see How to Print an Image on Multiple A4 Pages at Home.
Image parts do not line up: order or orientation
If one area aligns but another clearly does not, check page order and orientation before blaming the printer.
The usual causes are:
pages assembled in the wrong order
one row rotated by mistake
mixed portrait and landscape settings
auto-rotate changing only some pages
Lay out every sheet before adding adhesive. Follow the page numbering or tile position in the PDF. If the pages were only arranged incorrectly, you can usually save the print. If some pages were printed in the wrong orientation, reprinting those pages is usually cleaner.
Repeated detail: overlap confusion
Overlap repeats a narrow band of the image on neighboring pages. That repeated image gives you room to align the seam and hide small cutting errors.
Problems happen when:
the overlap is larger than needed
both pages are left untrimmed and pushed together
the overlap is ignored during assembly
the top page covers too much of the page below
Use a small overlap, around 5 mm, as a starting point. Trim the page that sits on top, leave the matching overlap underneath, and align the repeated image before fixing the join.
Overlap helps with assembly, but it does not replace trimming. The unprintable printer border still has to be removed from internal joins.
Alignment gets worse: printer feed drift
Some printers feed paper a little differently from page to page. On a single sheet, that is easy to ignore. Across a large poster, it can make seams drift gradually across rows or columns.
Try these fixes before reprinting the full poster:
use the same paper type and batch for every page
avoid curled, damp, or mixed paper
try a higher print quality setting if it improves feed consistency on your printer
disable duplex or two-sided printing
use manual feed or a straighter paper path if your printer supports it
Small drift can sometimes be hidden during assembly. Severe drift usually needs a reprint after a one-page or two-page test.
Assemble clean joins
Use a glue stick or apply tape from the back. Avoid glossy tape on the front because it reflects light and makes seams more visible.
For most posters, a glue stick gives the cleanest paper-to-paper join. It adds less moisture than liquid glue and gives you a short moment to slide the sheet into position. Back-side tape also works well when the back of the poster will not be visible.
Work on a flat surface with good light. Assemble one row at a time, then join the rows together. Lightly position pages before pressing them down firmly.
Checklist before you hit Print
The PDF page count matches the poster preview.
The printer dialog uses Actual Size, 100%, or Custom Scale 100.
Fit to Page, Shrink to printable area, and Scale to printable area are disabled.
A4 or US Letter matches both the PDF and the paper in the tray.
Auto-rotate is only enabled if the preview keeps every tile in the intended orientation.
Duplex or two-sided printing is disabled.
One test page has been printed and checked with a ruler.
You have planned for the normal 3-5 mm unprintable border and will trim internal joins.
When Rasterbator.pics helps
Rasterbator.pics generates a ready-to-print tiled PDF in your browser. Your image is processed locally in the browser, so it stays on your device while you choose poster size, paper format, margins, overlap, and page count.
If you already have a single-page PDF and simply need tiled printing, Adobe Acrobat Reader can help with its Poster option. If your PDF was already tiled in Rasterbator.pics, do not turn on Poster mode again. Print that file at Actual Size or 100%.
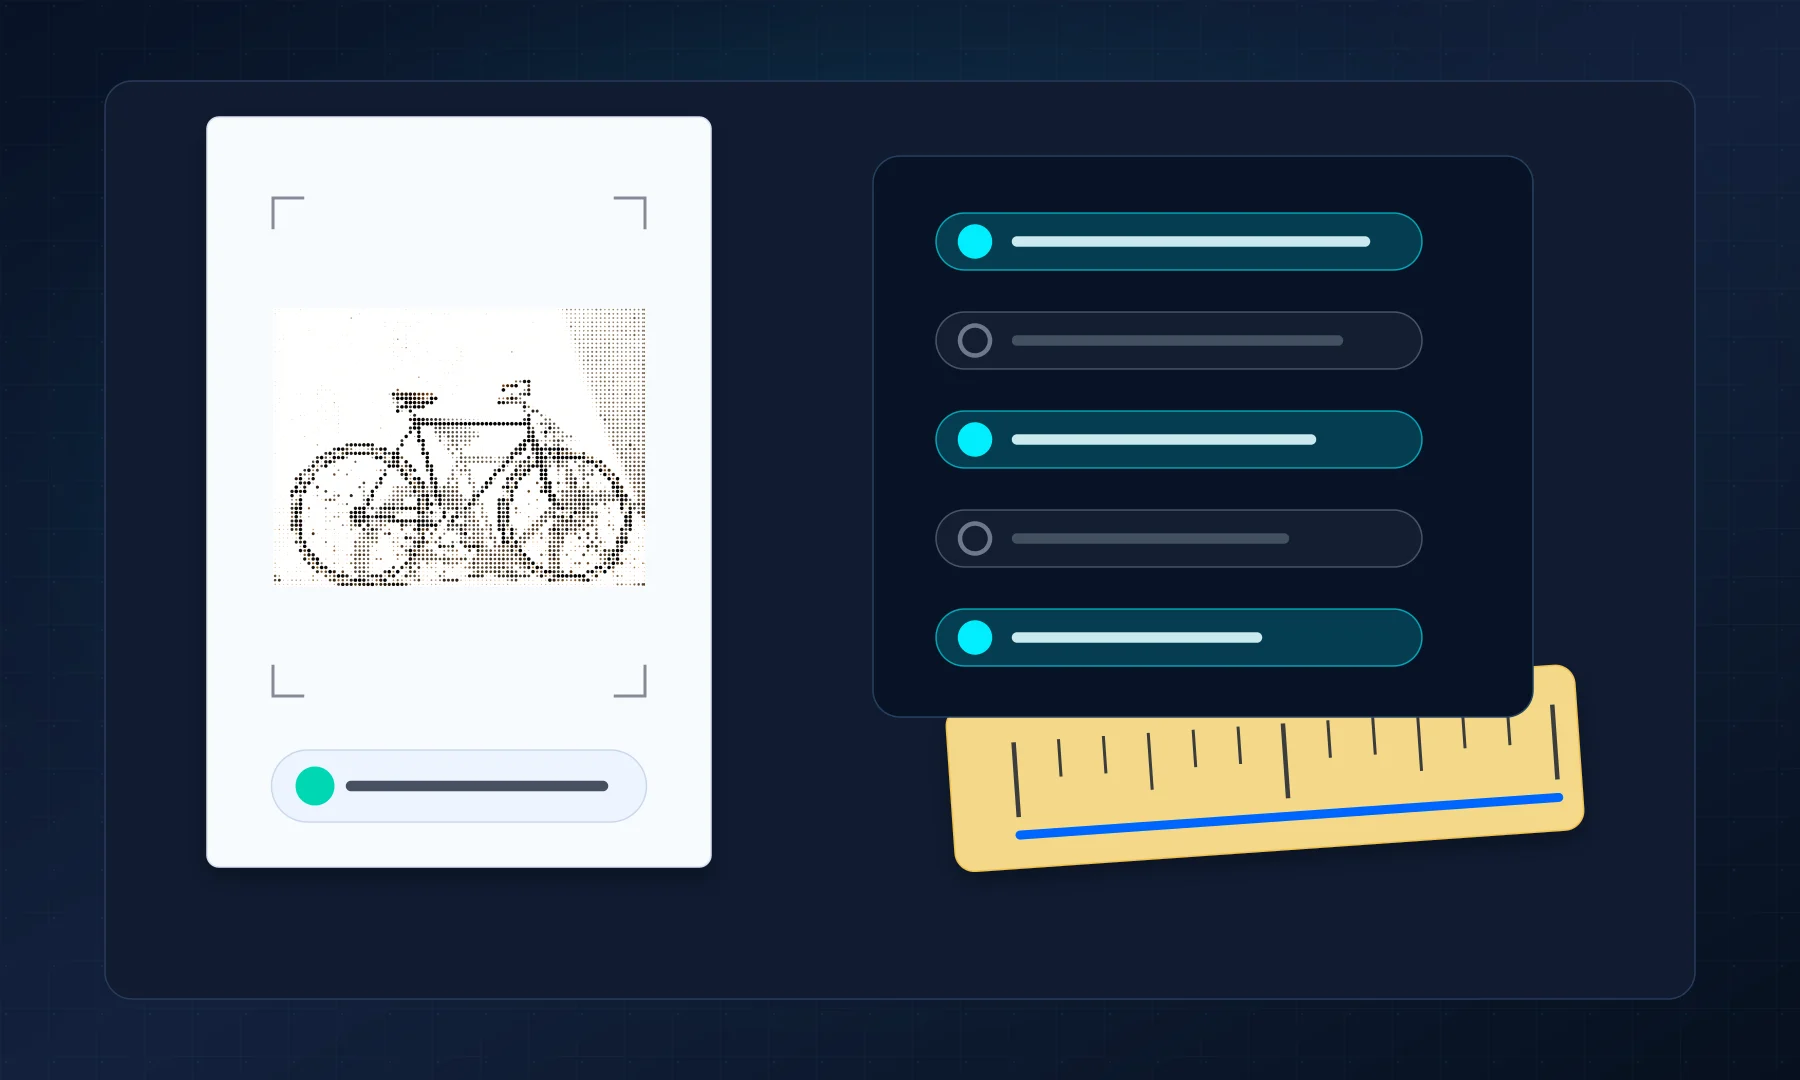
Resolution matters too
Low-resolution images can exaggerate alignment problems because soft edges are harder to match across seams. If the poster itself looks blurry or unclear, check the poster DPI guide before making a larger reprint.
Good assembly cannot recover detail that was missing from the source image. Fix the print settings first, then make sure the image has enough real pixels for the final poster size.
FAQ
Why are there white gaps between my poster pages?
The most common causes are untrimmed printer borders, Fit to Page scaling, the wrong paper size, overlap mistakes, or assembling by sheet edges instead of image content.
Can I fix white gaps without reprinting?
Often, yes. If the image content lines up after trimming the internal white borders, you can usually assemble the pages with glue stick or tape from the back.
When do I need to reprint the poster?
Reprint when the pages were scaled, printed on the wrong paper size, clipped by the printer, or mixed between different orientation and print settings.
Should I use Adobe Acrobat Reader Poster mode?
Use Poster mode for a single-page PDF that still needs tiling. Do not use it on a PDF that was already tiled in Rasterbator.pics; print that PDF at Actual Size or 100% instead.
Try Rasterbator.pics
Use Rasterbator.pics to test the article advice with your own image, page size, overlap, margins, and tiled PDF export.
Try Rasterbator.pics