A large world map gives students a constant visual reference for geography, current events, literature, history, and language lessons. You do not need a print shop to make one. With a clear source image and a home printer, you can build a tiled classroom poster from standard sheets.
Rasterbator.pics prepares this kind of poster locally in the browser. You load the map image, choose the physical size and paper format, export a PDF, and print the sheets at actual size.
Build trimming time into the plan. Most classroom printers leave a white unprintable border of about 3 to 5 mm, so a tiled map needs clean trimming and careful joining even when the PDF itself is correct.
Choose a map image that stays readable
For a classroom wall, readability matters more than decoration. Pick a map with clear borders, strong contrast, and labels that are large enough for the intended viewing distance.
Use a map that you have permission to print and display. Good sources include public-domain map collections, government geography resources, and properly licensed educational artwork. Avoid copying commercial atlas pages or random web images unless the license clearly allows classroom display.
If the map looks blurry when you zoom in on your screen, it will not become clearer after enlargement. Start with the highest-resolution file you can legally use.
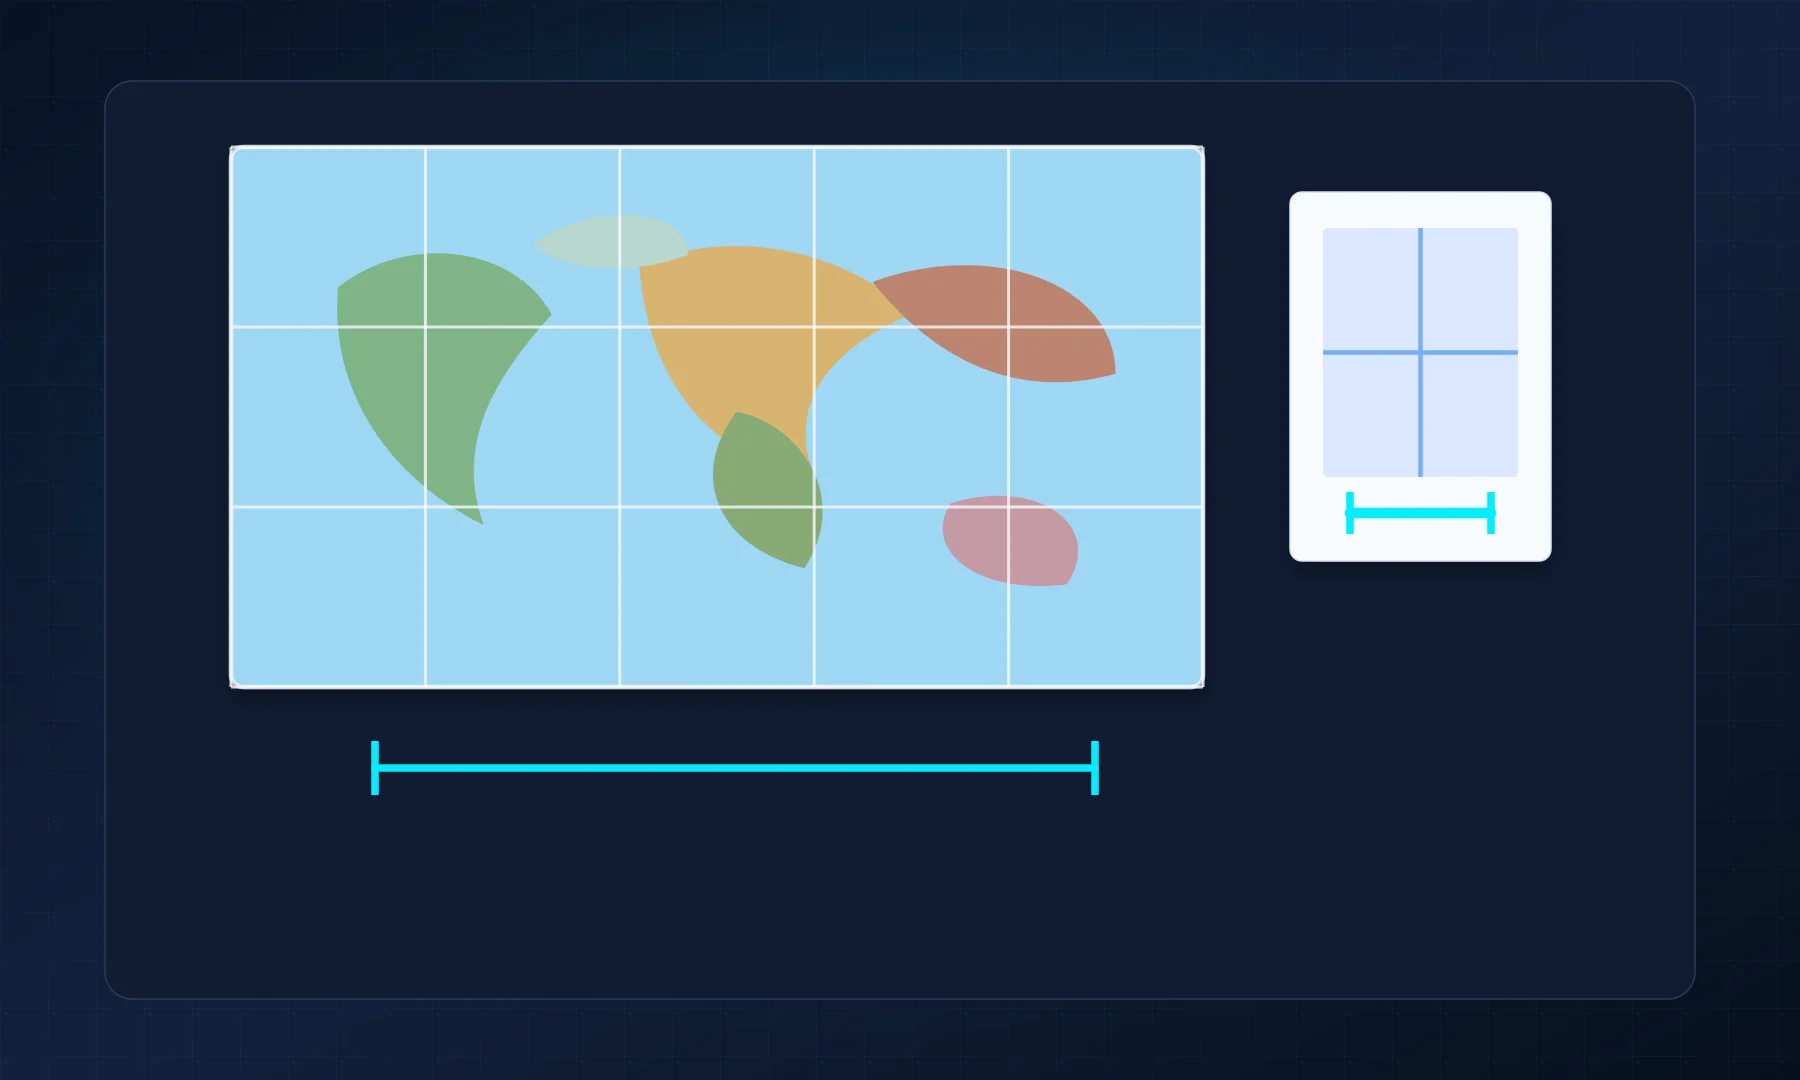
Measure the wall before choosing the poster size
Measure the usable wall width and height, then leave space around whiteboards, shelves, doors, and classroom displays. A wide landscape map often works best above a low shelf or between two boards.
As a practical starting point:
36 inches or 91 cm wide works for a compact classroom map
48 inches or 122 cm wide is a strong general-purpose size
60 inches or 152 cm wide works for a feature wall or longer viewing distance
Larger maps are easier to see, but they use more sheets, ink, trimming time, and wall space.
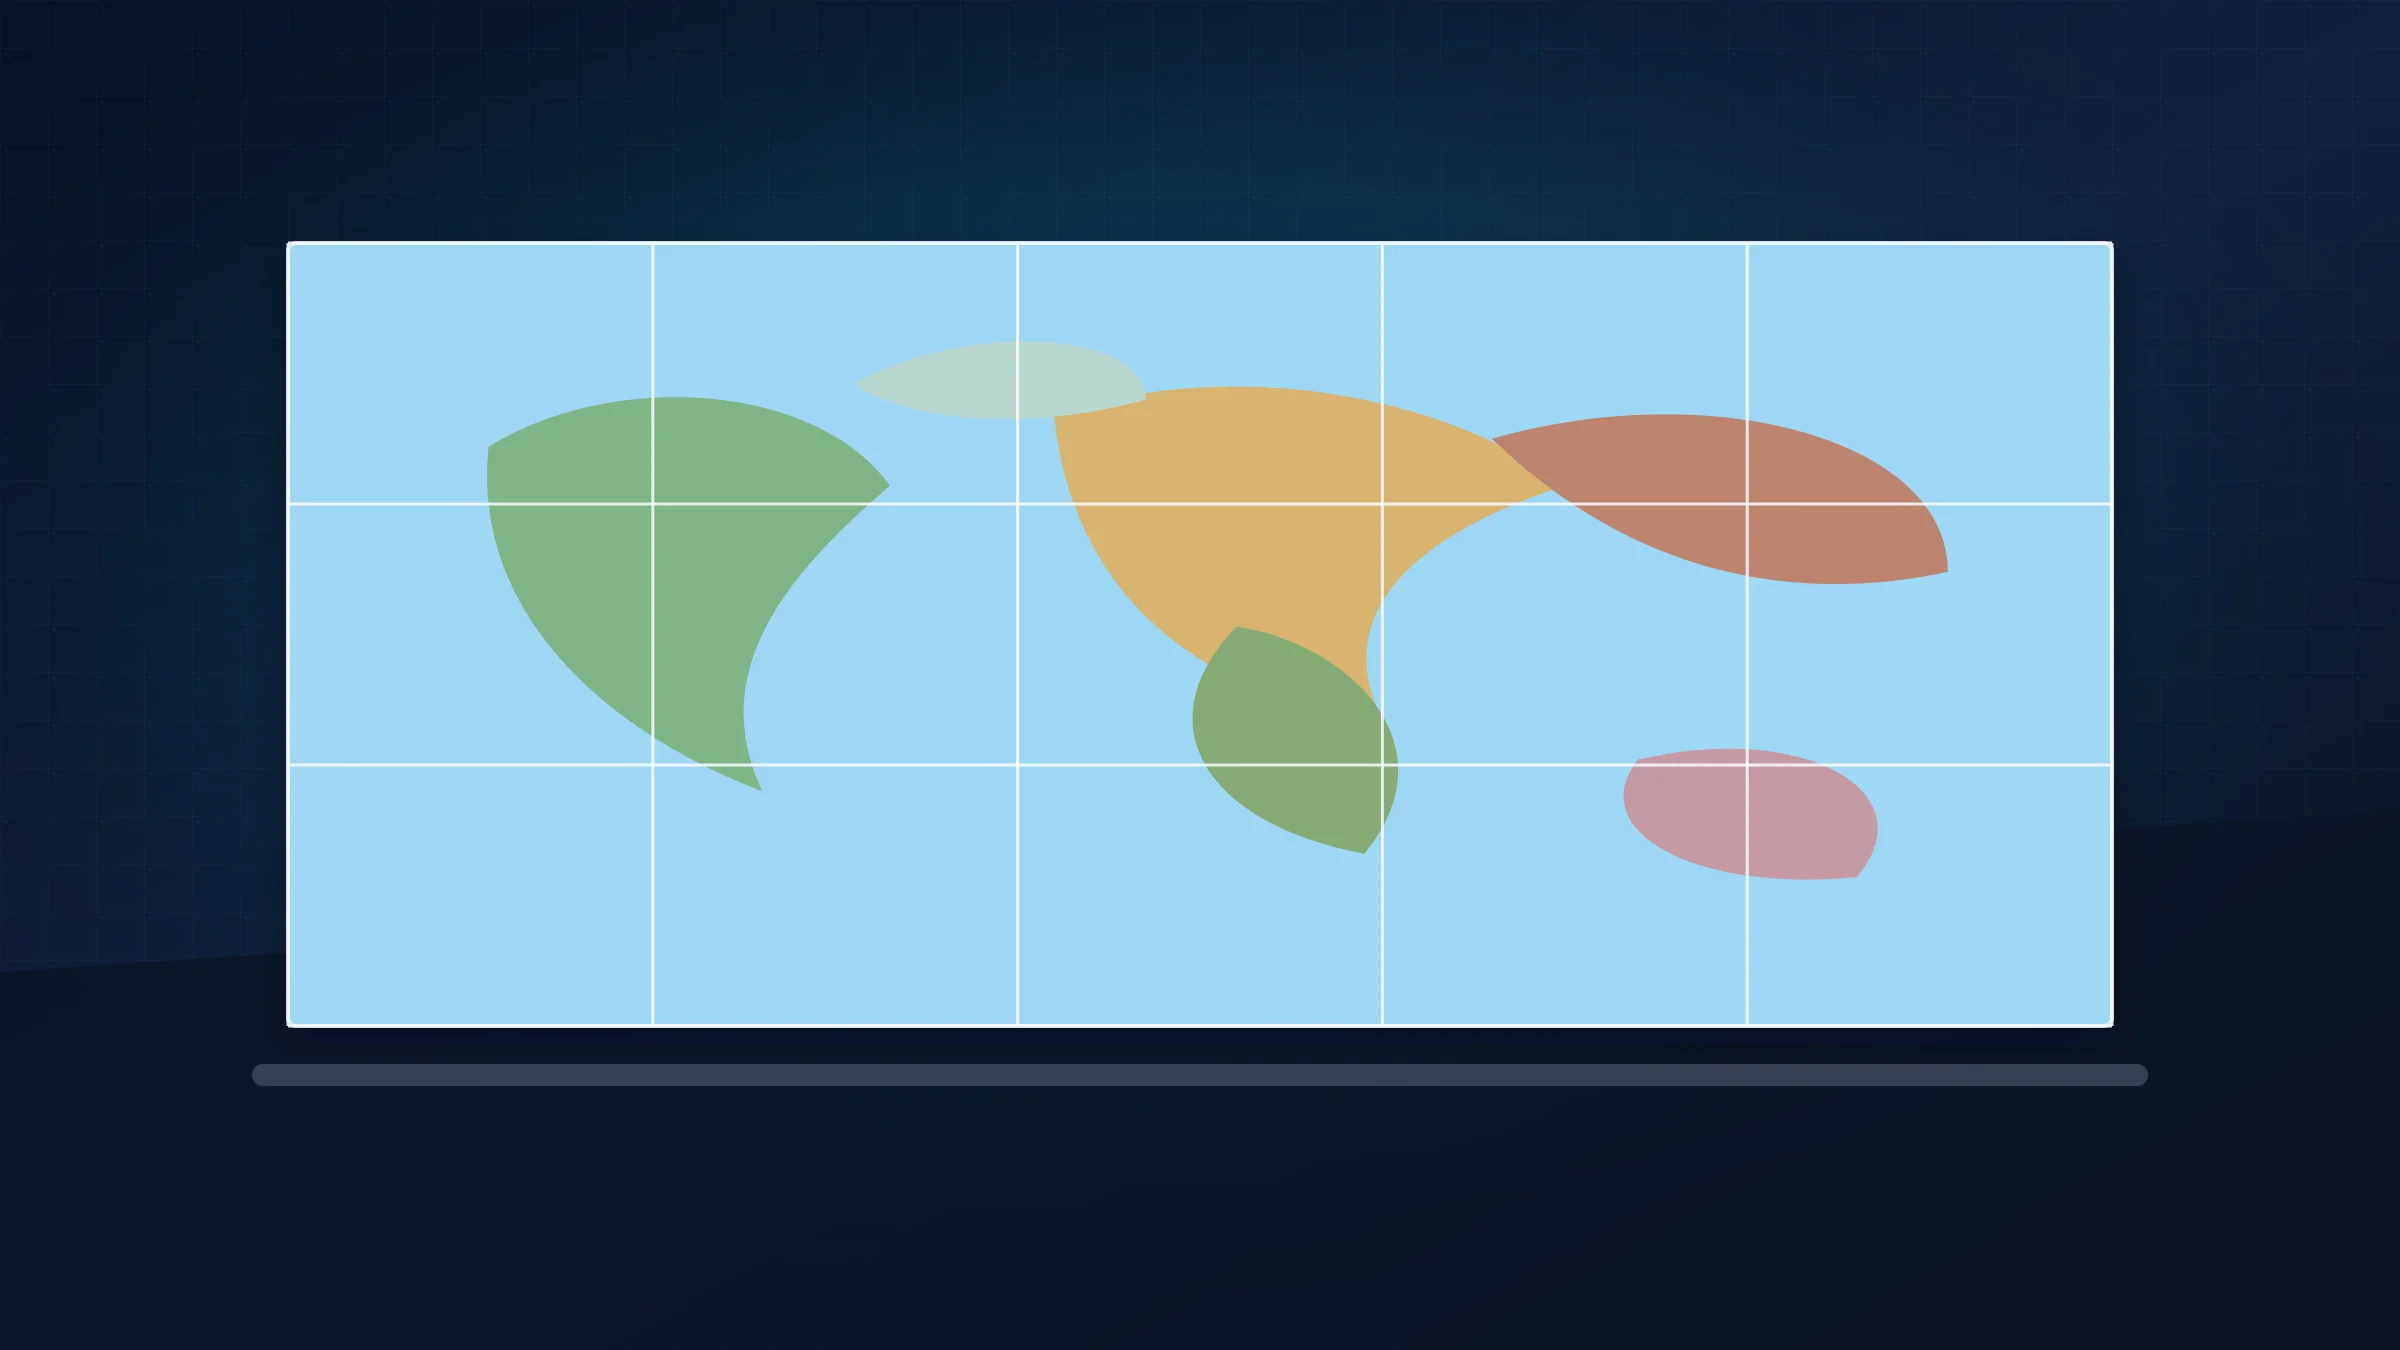
Plan the page grid
After choosing the final size, choose the paper format you will actually put in the printer: A4 or US Letter. Do not mix a PDF made for one paper size with another physical paper size.
Check the preview before exporting:
the map should keep its original proportions
country names or classroom-relevant details should not land on every seam
the sheet count should be realistic for your time and supplies
margins and overlap should match how you plan to trim and mount the poster
For sharpness planning, use the same reasoning as the poster DPI guide: large classroom posters can tolerate lower detail than a handout because they are usually viewed from farther away.
Export and print the PDF
Load the map into Rasterbator.pics, choose the final poster size, select your paper format, and export the tiled PDF. Images are processed locally in the browser, so the map stays on your device during layout.
Open the PDF before printing and scan the page thumbnails. Print one test sheet first, especially if the map includes small labels.
Checklist before you hit Print
Paper size in the PDF and printer dialog matches the paper in the tray.
Scale is set to Actual Size or 100%.
Fit to Page and Shrink to Fit are disabled.
The first test page looks readable at classroom viewing distance.
Trimming tools and a flat assembly surface are ready.
Assemble and mount the classroom map
Lay every sheet on the floor or a large table before taping. Sort the pages by row, then join small groups before building the full map.
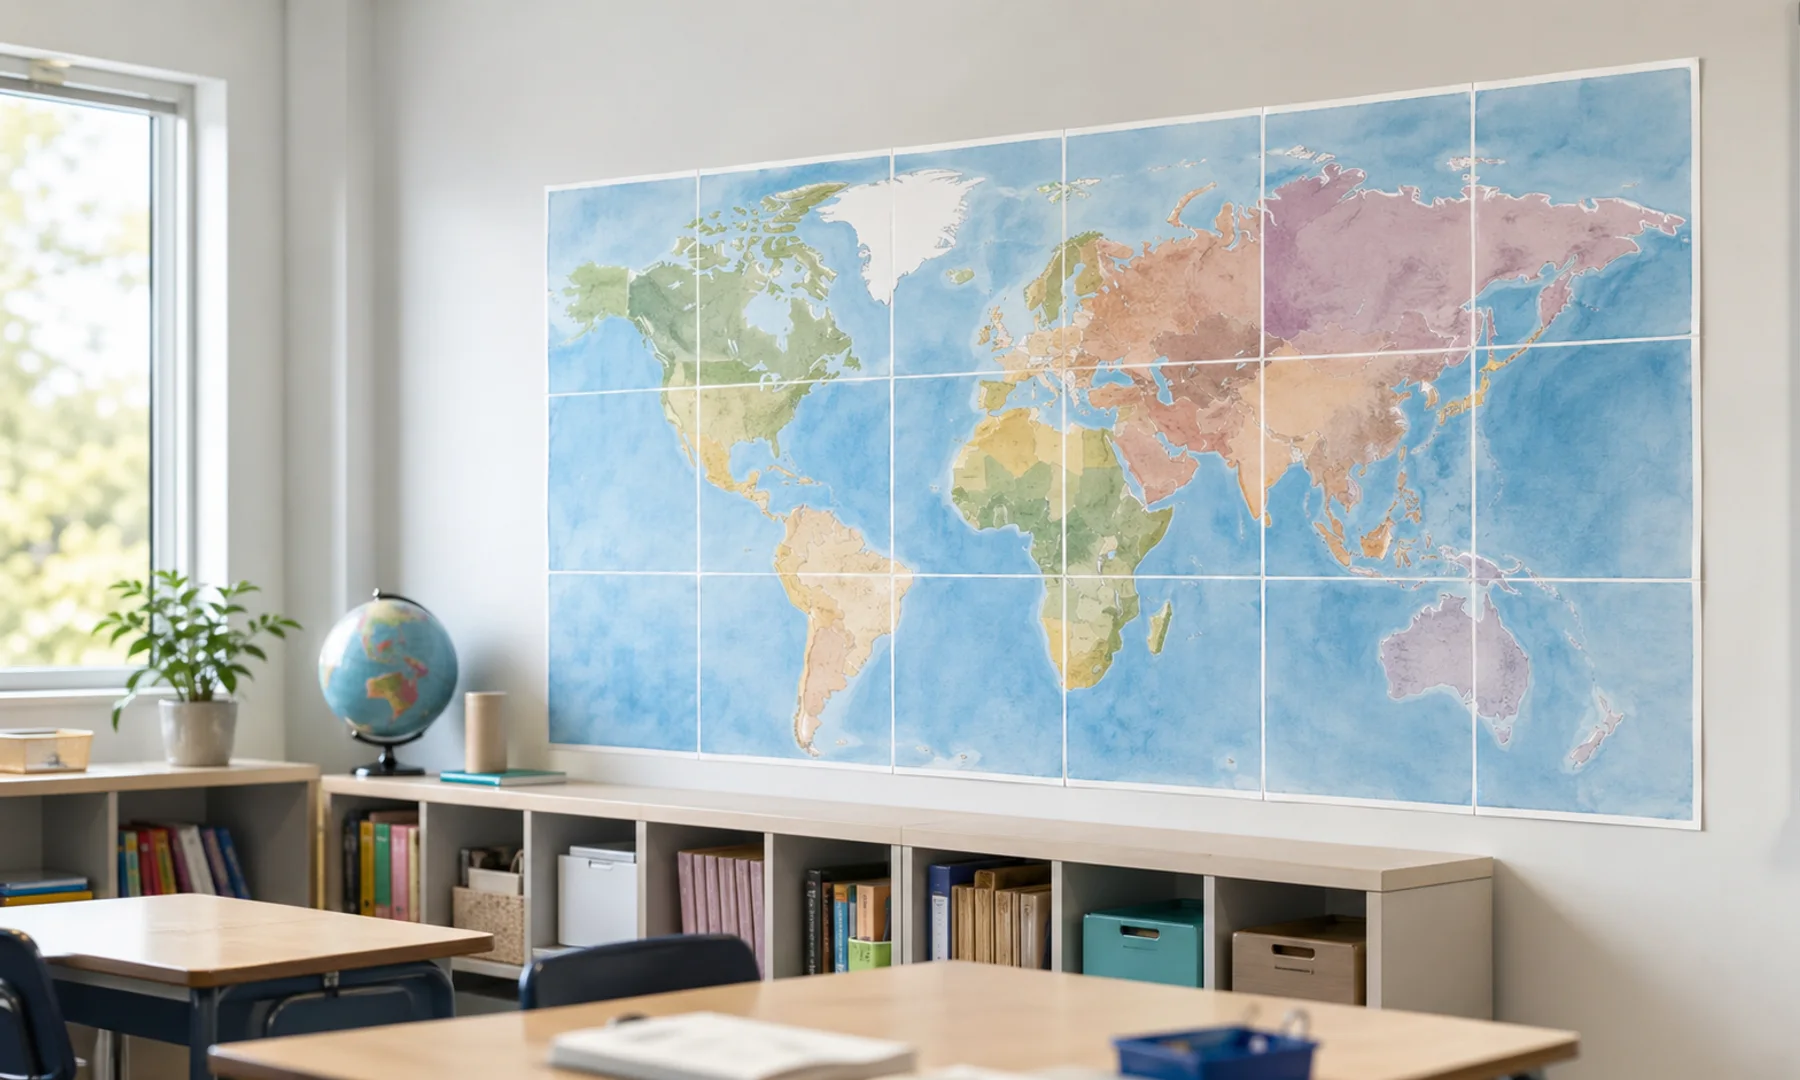
For a cleaner classroom display, use a glue stick for adjustable joins or tape from the back, then mount the finished map on poster board, foam board, kraft paper, or directly on the wall with removable adhesive. Avoid glossy tape across the front because it can catch classroom light and distract from map details. If the map will be handled often, consider laminating sections or covering the surface with clear contact film.
Avoid common classroom poster problems
If the map prints too small, the printer probably used Fit to Page. Reprint at Actual Size or 100%. If pages do not align, check that the PDF paper size and physical paper match. If labels are unreadable, reduce the final poster size or find a higher-resolution map source.
For smaller classroom projects before you try a full wall map, start with the guide to printing an image on multiple A4 pages.
FAQ
Can I make a classroom world map poster with a home printer?
Yes. Use a high-resolution map image, split it into a tiled PDF, print each sheet at 100%, and assemble the pages on a wall or backing board.
What size works well for a classroom map poster?
A width around 36 to 60 inches works for many classrooms. Choose the final size based on wall space, viewing distance, and how readable the labels need to be.
Should a classroom map use overlap?
A small overlap can make alignment easier, especially on larger posters, but you can also trim internal borders and join the sheets edge to edge.
Try Rasterbator.pics
Use Rasterbator.pics to test the article advice with your own image, page size, overlap, margins, and tiled PDF export.
Try Rasterbator.pics