A 72 DPI image can be enough for a poster, but only in the right situation.
The short answer is:
For a small poster viewed up close: 72 DPI is usually too low.
For a large wall poster viewed from several feet away: 72 DPI can be acceptable.
For a bold rasterbated, halftone, or graphic-style poster: 72 DPI may work better than you expect.
For detailed photos, faces, text, or fine lines: aim higher if possible.
One practical detail matters before you print: most home printers cannot print to the very edge of the paper. They typically leave a 3-5 mm unprintable white border, so trimming is a normal part of clean tiled poster assembly.
The important point is that poster quality is not decided by DPI alone. It depends on:
The pixel dimensions of your image
The physical print size
The viewing distance
The type of image
The printing method
If you want to check your image quickly, use the poster DPI guide to estimate what print size your file can support.
What 72 DPI Actually Means
DPI means dots per inch in printing. In everyday image discussions, people often use "DPI" when they really mean PPI, or pixels per inch.
For practical poster planning, the useful question is:
How many image pixels will be printed across each inch of paper?
For example, if your image is 1440 pixels wide and you print it 20 inches wide, the result is:
| Image width | Print width | Effective resolution |
|---|---|---|
| 1440 px | 20 in | 72 pixels per inch |
That is what people usually mean when they say a poster is "72 DPI."
The metadata inside an image file may say 72 DPI, but that number alone does not tell you whether the file is good enough. A 6000 x 4000 px photo tagged as 72 DPI still contains far more usable detail than a 900 x 600 px image tagged as 300 DPI.
The real question is always:
How many pixels do you have, and how large do you want to print them?
Is 72 DPI Good Enough for Poster Printing?
For close viewing, 72 DPI is generally soft. You may see blur, jagged edges, or pixelation, especially in photos and text.
For posters viewed from farther away, 72 DPI can be usable. Large posters are rarely inspected from 20 cm away. People usually look at them from across a room, down a hallway, or from a few steps back.
Use this as a rough guide:
| Viewing distance | Suggested effective resolution | Typical use |
|---|---|---|
| 30 cm / 1 ft | 200-300 DPI | Photo prints, small posters, text-heavy designs |
| 60 cm / 2 ft | 150-200 DPI | Medium posters, wall art viewed nearby |
| 1 m / 3 ft | 100-150 DPI | Large posters, classroom or office walls |
| 1.5-2 m / 5-6 ft | 72-100 DPI | Big wall posters, event signs, graphic posters |
| 3 m / 10 ft or more | 40-72 DPI | Banners, large display graphics |
So, is 72 DPI enough?
Yes, if the poster is large, viewed from a distance, and does not rely on tiny details.
No, if people will read small text, inspect faces, or stand close to it.
Why Viewing Distance Matters So Much
Your eyes can only resolve a certain amount of detail at a given distance. When you step back from a poster, tiny imperfections become less visible.
This is why a billboard can look sharp from the street even though it would look rough up close. The same idea applies to home poster printing, just at a smaller scale.
A 72 DPI poster viewed from arm's length may look pixelated. The same poster viewed from 2 meters away may look fine.
Before choosing your print size, ask:
Will people stand right next to it?
Is it decorative wall art?
Is it meant to be read?
Does the image contain small text, faces, product details, or fine patterns?
Is the style realistic, graphic, comic-like, or halftone?
The more the poster depends on fine detail, the more resolution you need.
How to Calculate the Maximum Poster Size from Your Image
To estimate print quality, divide your image pixel dimensions by your target DPI.
The formula is:
Print size in inches = pixels / target DPI
For example, suppose your image is 2400 x 1600 px.
At 300 DPI:
| Dimension | Calculation | Print size |
|---|---|---|
| Width | 2400 / 300 | 8 in |
| Height | 1600 / 300 | 5.3 in |
That is great for a small high-quality print, but not a large poster.
At 150 DPI:
| Dimension | Calculation | Print size |
|---|---|---|
| Width | 2400 / 150 | 16 in |
| Height | 1600 / 150 | 10.7 in |
This is more suitable for a medium poster.
At 72 DPI:
| Dimension | Calculation | Print size |
|---|---|---|
| Width | 2400 / 72 | 33.3 in |
| Height | 1600 / 72 | 22.2 in |
Now the same image can become a large poster, but with softer detail.
You can do this manually, or use the poster DPI guide to check your image and choose a safer poster size.
Common Poster Sizes at 72 DPI
Here are approximate pixel requirements for several poster sizes at 72 DPI.
| Poster size | Size in inches | Pixels needed at 72 DPI |
|---|---|---|
| A4 | 8.3 x 11.7 in | 598 x 842 px |
| A3 | 11.7 x 16.5 in | 842 x 1188 px |
| A2 | 16.5 x 23.4 in | 1188 x 1684 px |
| A1 | 23.4 x 33.1 in | 1684 x 2384 px |
| A0 | 33.1 x 46.8 in | 2384 x 3370 px |
| 24 x 36 in | 24 x 36 in | 1728 x 2592 px |
| 36 x 48 in | 36 x 48 in | 2592 x 3456 px |
These numbers may look surprisingly low. That is because 72 DPI is a low effective resolution for print.
For comparison, at 150 DPI a 24 x 36 inch poster needs 3600 x 5400 px. At 300 DPI, it needs 7200 x 10800 px.
When 72 DPI Works Best
A 72 DPI source image is more likely to work if:
The poster is large and viewed from a distance
The image has bold shapes instead of tiny details
The design uses strong contrast
The poster is decorative rather than informational
The image will be rasterbated, halftoned, or stylized
Slight softness is acceptable
The original image is clean and not already heavily compressed
Good candidates include:
Graphic portraits
High-contrast photos
Comic-style images
Abstract art
Simple illustrations
Event decorations
Bedroom, dorm, classroom, or workshop posters
Risky candidates include:
Group photos with small faces
Screenshots
Images with small text
Product photos
Maps
Fine line art
Logos with crisp edges
Low-quality images downloaded from social media
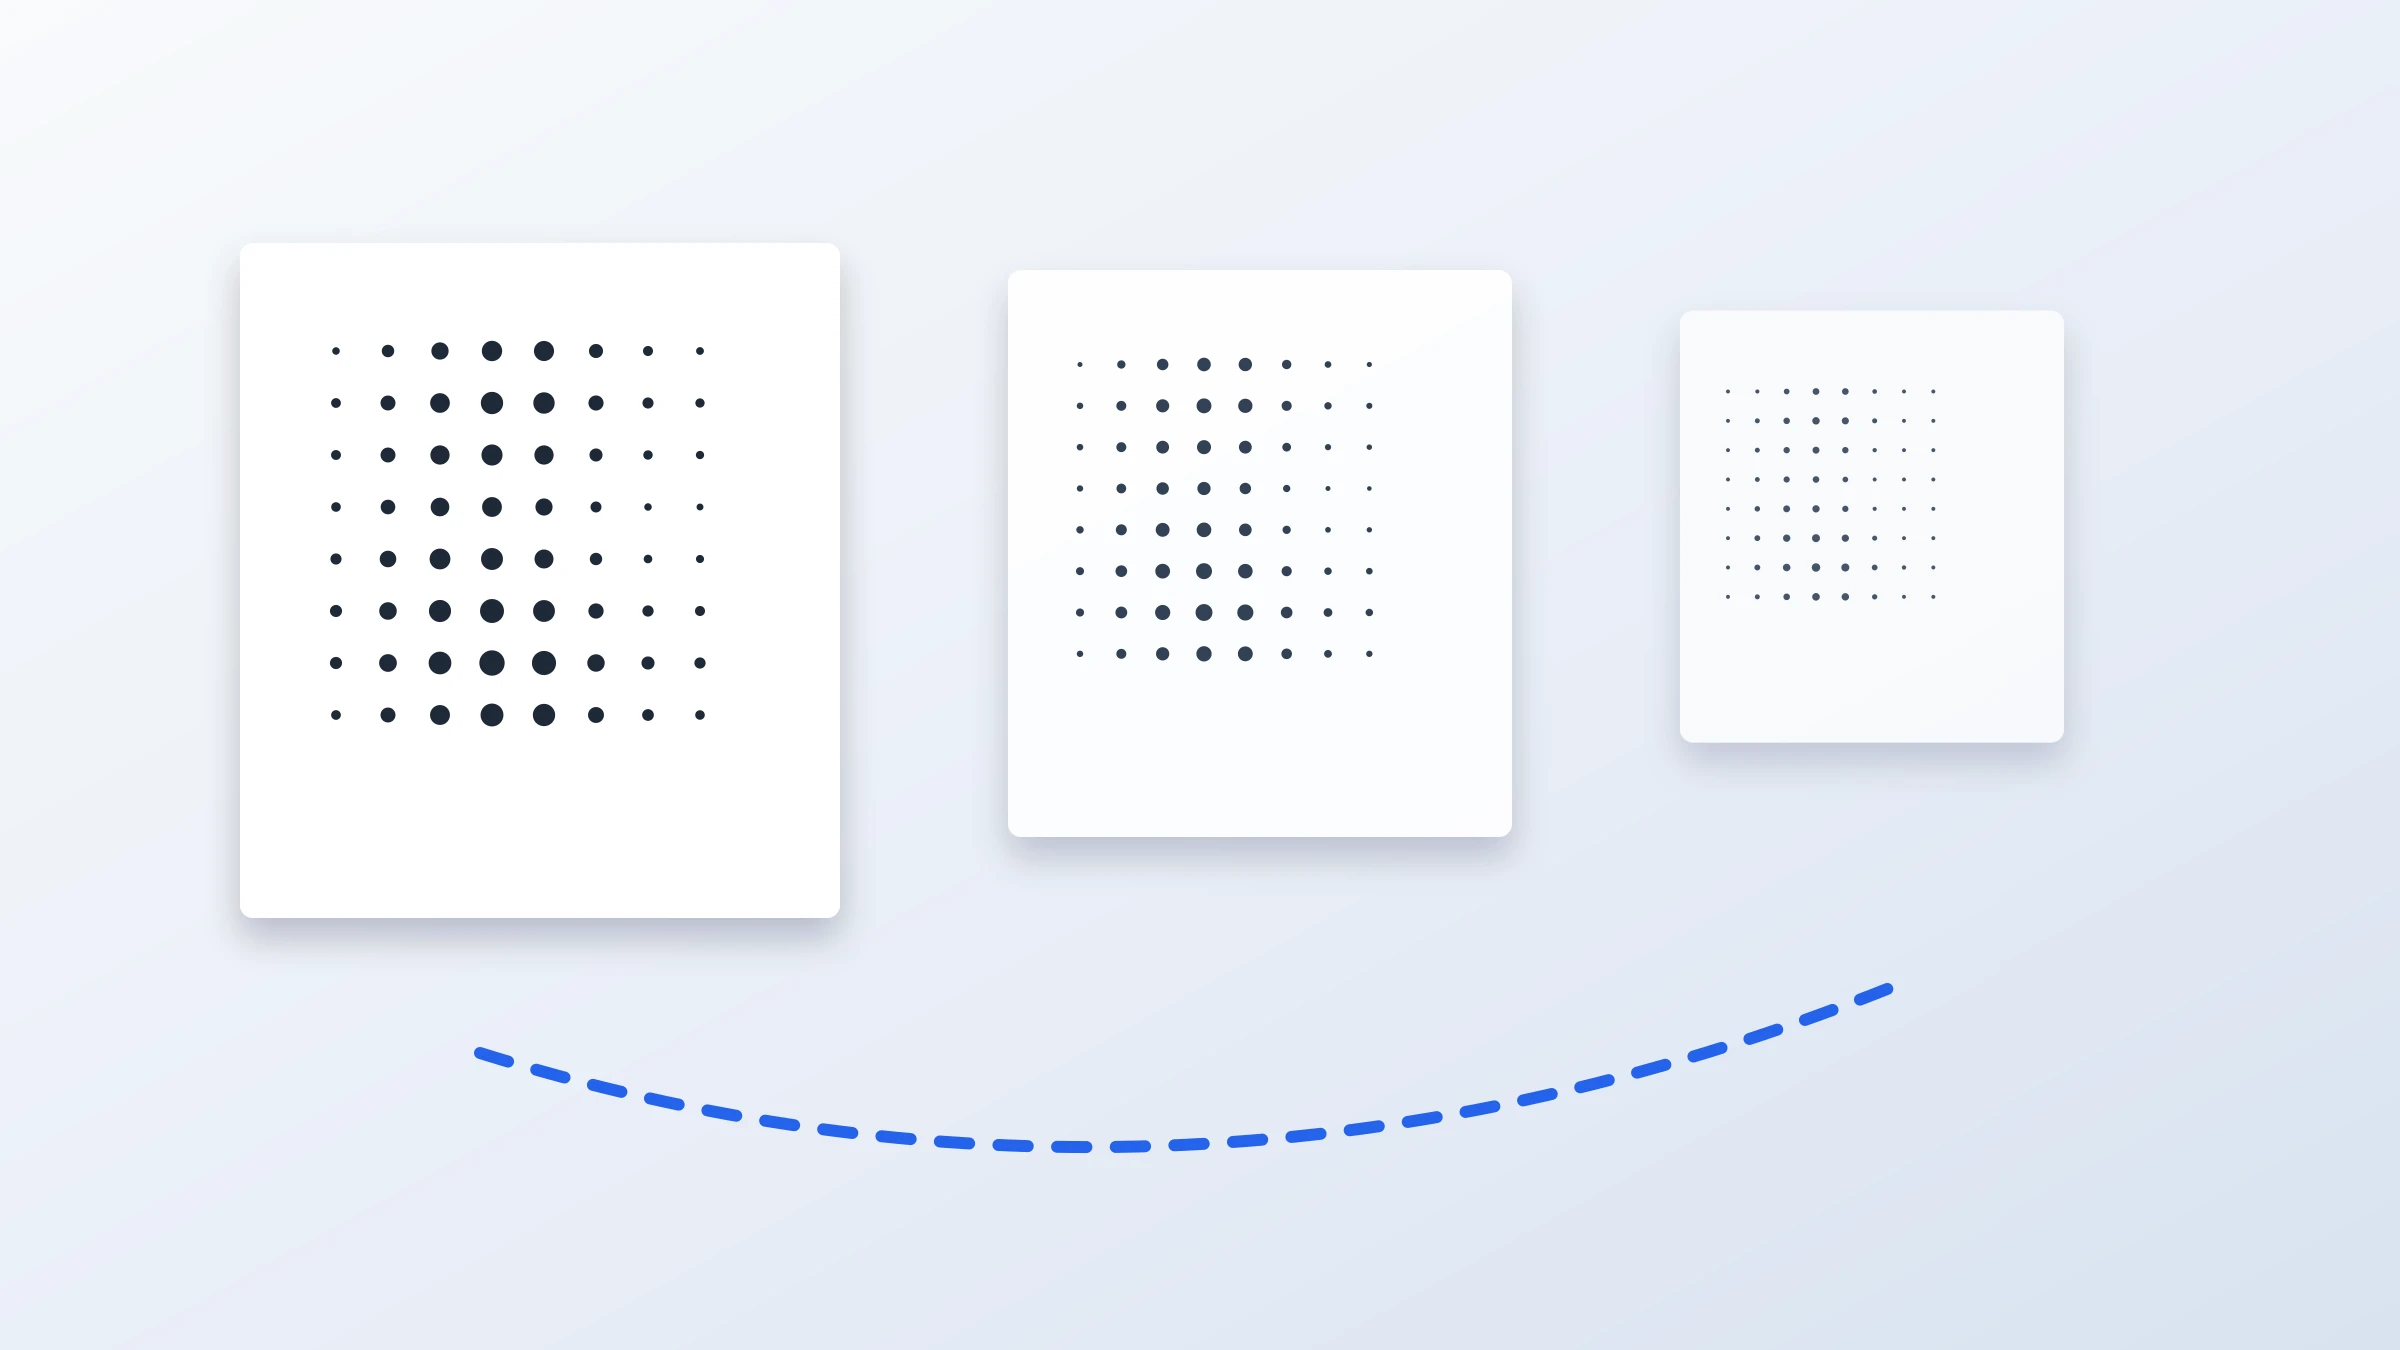
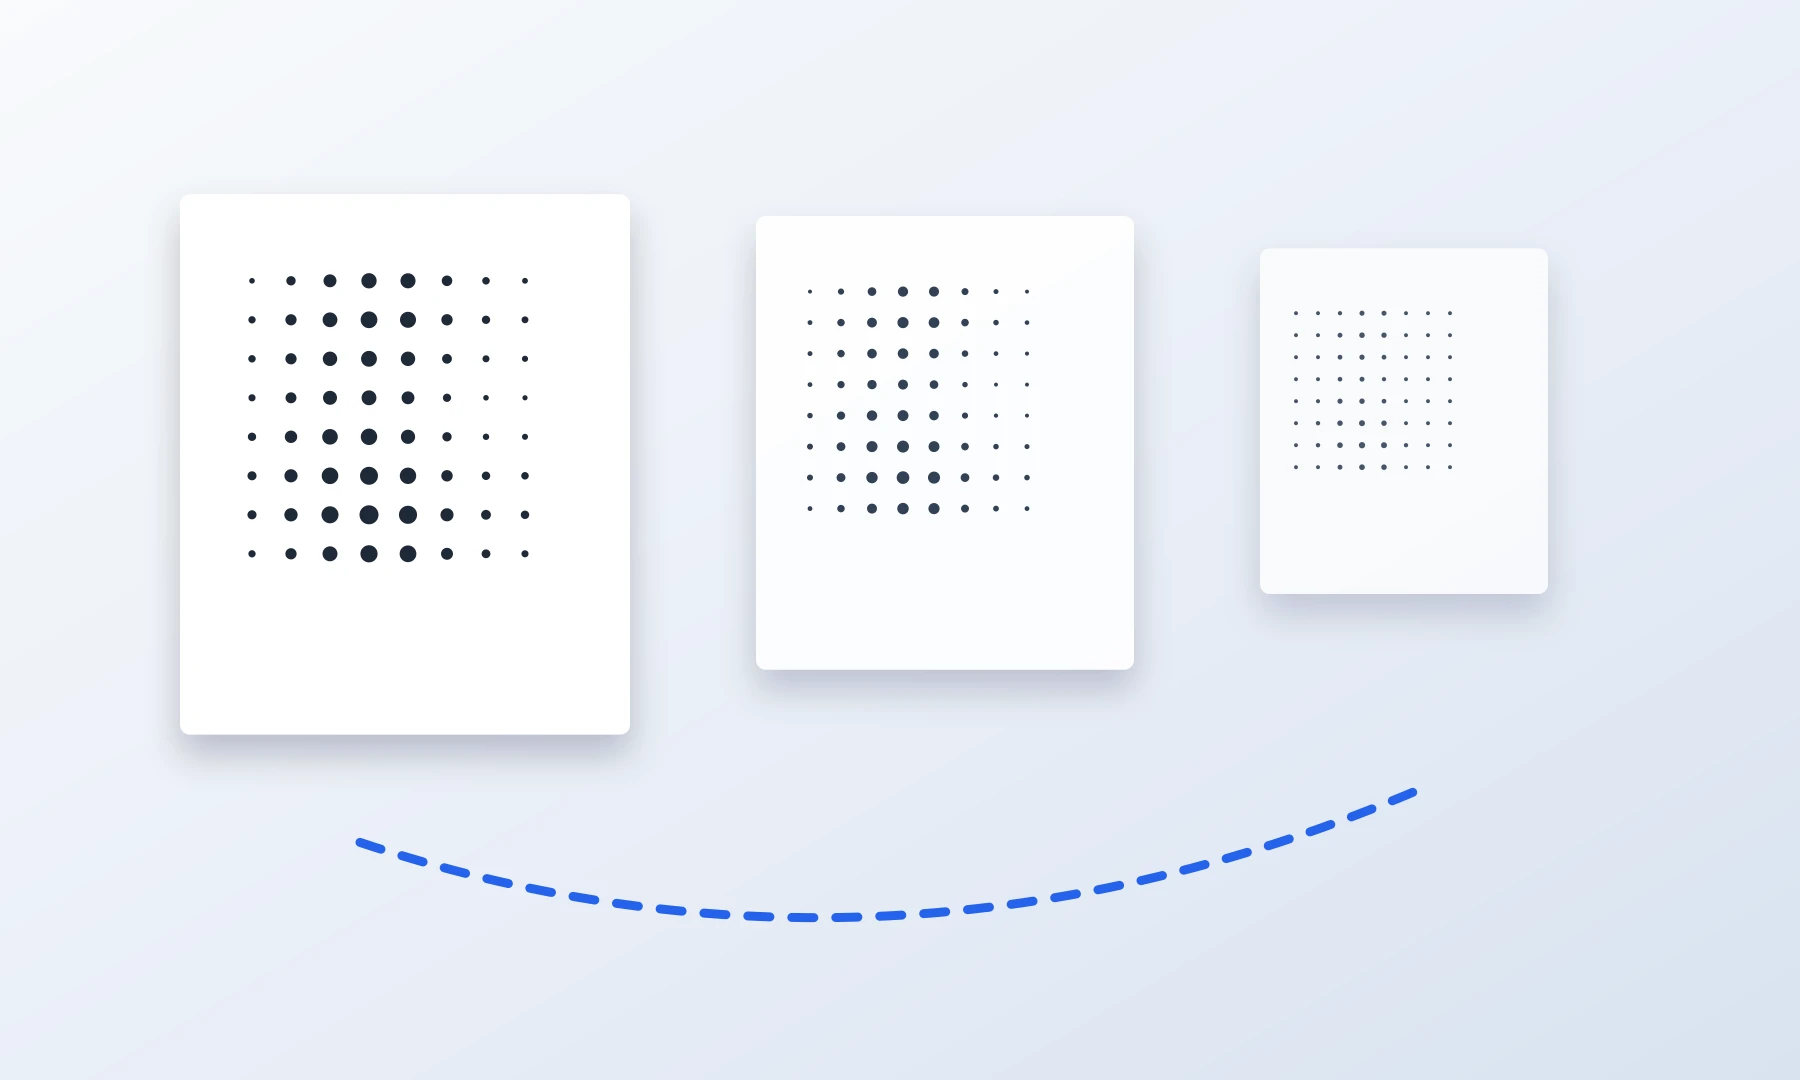
Why Halftone and Raster Effects Can Hide Pixelation
A halftone or raster effect, meaning a dot-based image conversion, does not try to reproduce every tiny detail as a continuous photo. Instead, it converts the image into larger visible dots or shapes. That can make a 72 DPI source image look intentional rather than broken.
Pixelation is most obvious when a photo is printed as a smooth image and the pixels become visible. But if the final design intentionally uses dots, circles, squares, or other large marks, the viewer reads the poster from a distance as a complete image.
For a low-resolution image, a stylized poster may look better than a conventional photo enlargement.
What to Do If Your Image Is Low Resolution
If your image is only good for about 72 DPI at your desired poster size, you still have options.
1. Print smaller
The safest fix is to reduce the poster size.
If your image looks too soft at 24 x 36 inches, try 18 x 24 inches or A2 instead. Smaller prints increase the effective DPI because the same pixels are packed into less paper.
2. Increase viewing distance
A poster on a wall across the room can tolerate lower DPI than a print people hold in their hands.
If the poster will be viewed from 1.5 meters or more, 72 DPI may be acceptable for many images.
3. Use a halftone or raster style
Stylizing the image can make limited resolution less obvious. This is a popular technique for large, tiled posters printed at home.
Rasterbator.pics processes images locally in your browser, so your image does not need to be uploaded to a server for the poster generation step.
4. Avoid small text
Small text is unforgiving. If your design includes text, make it large and bold.
For home-printed tiled posters, very thin fonts can also suffer from page alignment issues, trimming, and printer margins.
5. Sharpen carefully
A little sharpening can help a soft image, but too much sharpening creates halos and harsh edges. It cannot recover detail that is not in the original file.
6. Start from the best file you have
Use the original photo when possible. Avoid screenshots, heavily compressed previews, and images saved repeatedly through messaging apps or social media.
Printing a 72 DPI Poster at Home on A4 Sheets
If you print a large poster at home, you will usually use tile printing: the poster is split across multiple A4 or Letter sheets and assembled afterward.
This method works, but has practical limits.
Most consumer printers cannot print to the very edge of the paper, typically leaving a 3-5 mm unprintable white border. You will need to trim these edges to ensure your tiles align cleanly.
For best results:
Print a small test section first.
Use Actual Size or 100% scaling in the print dialog.
Avoid "Fit to page" unless you intentionally want resizing.
Trim the white margins carefully where needed.
Use a glue stick to mount sheets to a backing surface.
Reinforce seams with tape on the back.
Check alignment every few sheets instead of waiting until the end.
When joining sheets, use a glue stick for a flat, clean bond. If extra strength is needed, apply thin tape to the back side of the seams. Avoid clear tape on the front of the poster; it creates glossy, light-reflecting lines that make the joins more visible.
Adobe Acrobat Reader can print large PDFs using its Poster tiled printing mode. This is useful if you already have a PDF and want control over tile scale, overlap, and cut marks. However, it is not a magic resolution fix: if the source image is low resolution, tiling the PDF across more sheets will make it larger, not sharper.
Rasterbator.pics is useful when you want a browser-based poster setup with local image processing and predictable PDF export before printing.
Choosing a Safer Poster Size
If you are unsure, choose a size that gives you at least 100-150 DPI for general poster printing. Use 72 DPI only when the poster will be viewed from farther away or when the style is forgiving.
A practical decision table:
| Effective DPI | How it usually looks | Best for |
|---|---|---|
| 300 DPI | Very sharp up close | Small photo prints, detailed art |
| 200 DPI | Sharp for most close viewing | Quality posters, portraits, text |
| 150 DPI | Good general poster quality | Wall posters, medium viewing distance |
| 100 DPI | Acceptable for many large posters | Decorative posters, classroom walls |
| 72 DPI | Soft up close, usable from distance | Large posters, raster effects, bold graphics |
| Below 72 DPI | Often visibly rough | Only for very large distant viewing or stylized effects |
If the poster matters and you only get one chance to print it, aim for 150 DPI or higher. If it is a large decorative poster and you like the look from a few steps back, 72 DPI can be enough.
Checklist Before You Hit Print
Before printing a 72 DPI poster, check the following:
Confirm the image pixel dimensions, not just the DPI metadata.
Estimate effective DPI at the final poster size.
Use the poster DPI guide if you are unsure.
Decide the expected viewing distance.
Inspect the image at roughly the size people will see it.
Avoid tiny text, thin lines, and small faces if the image is low resolution.
Print a test tile or small section first.
Set print scaling to Actual Size or 100%.
Account for printer margins of about 3-5 mm.
Plan trimming and overlap before assembling the sheets.
Use a glue stick for clean mounting.
Reinforce seams with tape on the back.
Avoid front-side clear tape if glare or visible seams matter.
Step back and judge the poster from its real viewing distance, not only from your desk.
FAQ
Is 72 DPI too low for a poster?
It depends on the poster size and viewing distance. For close-up photo quality, 72 DPI is too low. For a large poster viewed from several feet away, it can be acceptable, especially for bold or stylized images.
Can I print a 72 DPI image at 300 DPI?
You can print it with printer settings that say 300 DPI, but that does not add real image detail. If the image only has enough pixels for 72 pixels per inch at the chosen size, it will still look like a 72 PPI enlargement.
Does changing the DPI metadata improve quality?
No. Changing DPI metadata without changing the pixel dimensions only changes the suggested print size. It does not create new detail. What matters is the number of pixels in the image and the final physical print size.
What DPI should I use for a poster printed at home?
For most home poster printing, aim for 150 DPI if possible. Use 200-300 DPI for detailed prints viewed up close. Use 72-100 DPI only for larger posters viewed from farther away or for stylized designs.
Is 72 DPI enough for an A4 print?
Usually no, if you want a sharp A4 photo print. A4 at 72 DPI is only about 598 x 842 pixels, which will look soft up close. For A4, aim for 200-300 DPI.
Is 72 DPI enough for a 24 x 36 inch poster?
It can be, if the image is about 1728 x 2592 pixels or larger and the poster will be viewed from a distance. For sharper results, 150 DPI would require about 3600 x 5400 pixels.
Will tile printing improve the resolution?
No. Tile printing spreads your image across multiple sheets, but it does not add detail. It only makes the poster physically larger.
Can halftone effects make a low-resolution image look better?
Yes, sometimes. Halftone and raster effects can make limited detail look intentional by turning the image into visible dots or shapes. This works best for bold images viewed from a distance.
Should I use Adobe Acrobat Reader for poster printing?
Adobe Acrobat Reader's Poster mode can be useful for tiled PDF printing, especially if you need overlap and tile controls. It is a good option for some workflows, but it does not improve the actual image resolution. Rasterbator.pics is a better fit when you want a clearer poster setup in the browser, local image processing, and a predictable generated PDF to print afterward.
How do I know the largest safe poster size?
Divide your image width and height in pixels by your target DPI. For a quick estimate, use the poster DPI guide. If the result is below 100 DPI, be cautious unless the poster is large, bold, and viewed from far away.
Try Rasterbator.pics
Use Rasterbator.pics to test the article advice with your own image, page size, overlap, margins, and tiled PDF export.
Try Rasterbator.pics