
A classic black-and-white halftone poster is a quick, bold way to turn any photo into wall art. It works especially well for portraits, pets, architecture, musicians, sports photos, and any image with strong contrast and a clear subject.
Rasterbator.pics includes ready-made presets so you can skip manual setup. The workflow is straightforward: pick the preset, upload your photo, set the poster size, generate the PDF, and print at 100% scale.
When to use the classic black-and-white halftone template
Use this template when you want a poster that looks graphic, high-contrast, and printable on ordinary home or office paper.
Choose it for:
Fast DIY wall art
Dorm room posters
Band, movie, or sports-inspired decoration
Portrait posters
Event or party visuals
Large prints made from standard A4 or Letter sheets
Images that need to look intentional even when printed in tiles
The classic black-and-white halftone style is forgiving. Because the image becomes a dot pattern, the result can still look sharp and stylish even when the source photo is not perfect.
What the preset does
The classic black-and-white halftone preset gives you a practical starting point:
| Setting | Typical result |
|---|---|
| Color mode | Black-and-white poster output |
| Effect | Halftone dot pattern |
| Visual style | High-contrast, graphic, retro print look |
| Best source images | Clear subject, good lighting, strong shadows |
| Best use | Large tiled wall posters |
You can still adjust the photo, crop, poster size, dot size, paper format, and print layout before generating the final PDF.
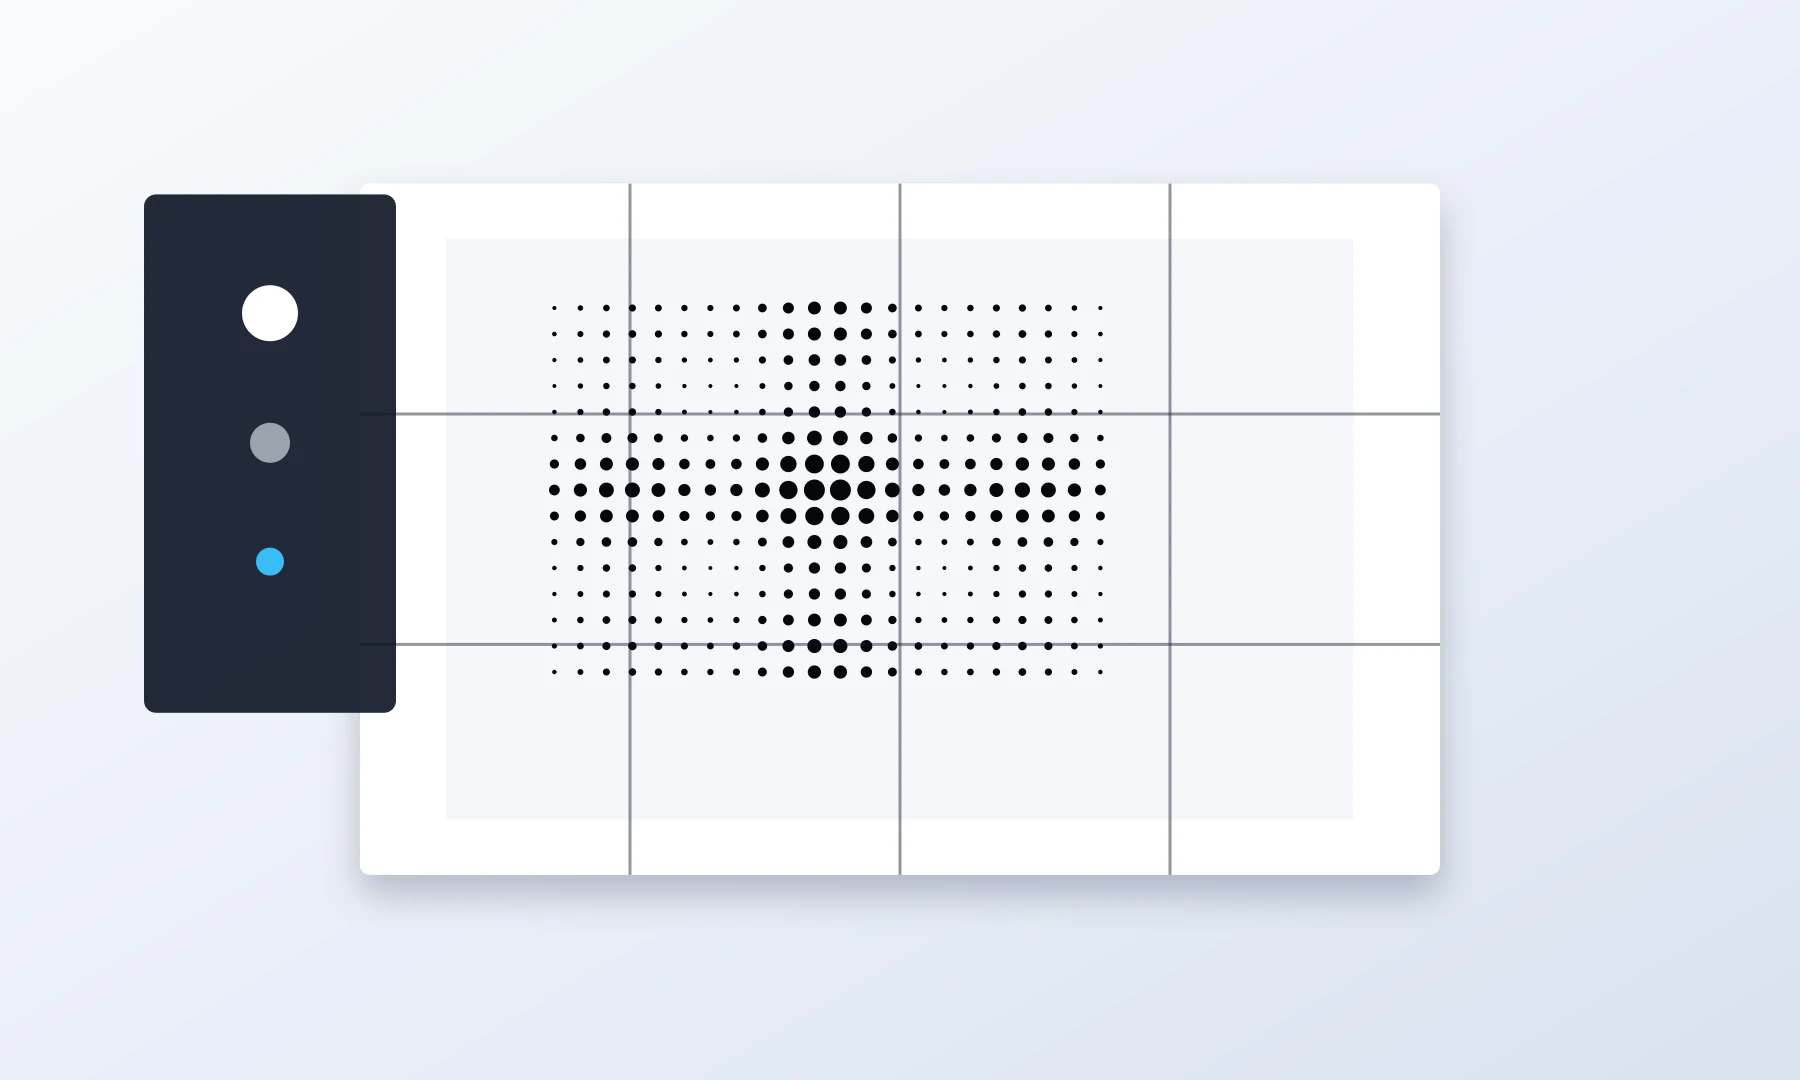
Choose the template
Open Rasterbator.pics and select the Classic Black-and-White Halftone preset. The preset loads with a sample image and default settings, so you can check the style before replacing the photo.
After opening the preset, check that the preview has the basic look you want:
The subject is recognizable.
The darkest areas are strong enough.
The face or main object does not disappear into the background.
The halftone dots are visible but not so large that the image becomes unreadable.
If the preview looks too flat, choose a photo with stronger lighting or crop closer to the subject.
Replace the photo
Replace the template image with a file from your device.
For best results, choose a photo with:
One clear main subject
Good contrast between subject and background
Enough resolution for a large poster
A simple composition
No important details placed too close to the edges
Portraits often work best when the face fills a large part of the frame. Full-body photos can work too, but they may need a larger poster size to keep details readable.
Rasterbator.pics processes your image locally in your browser. The poster generation happens on your device.
Adjust the crop and composition
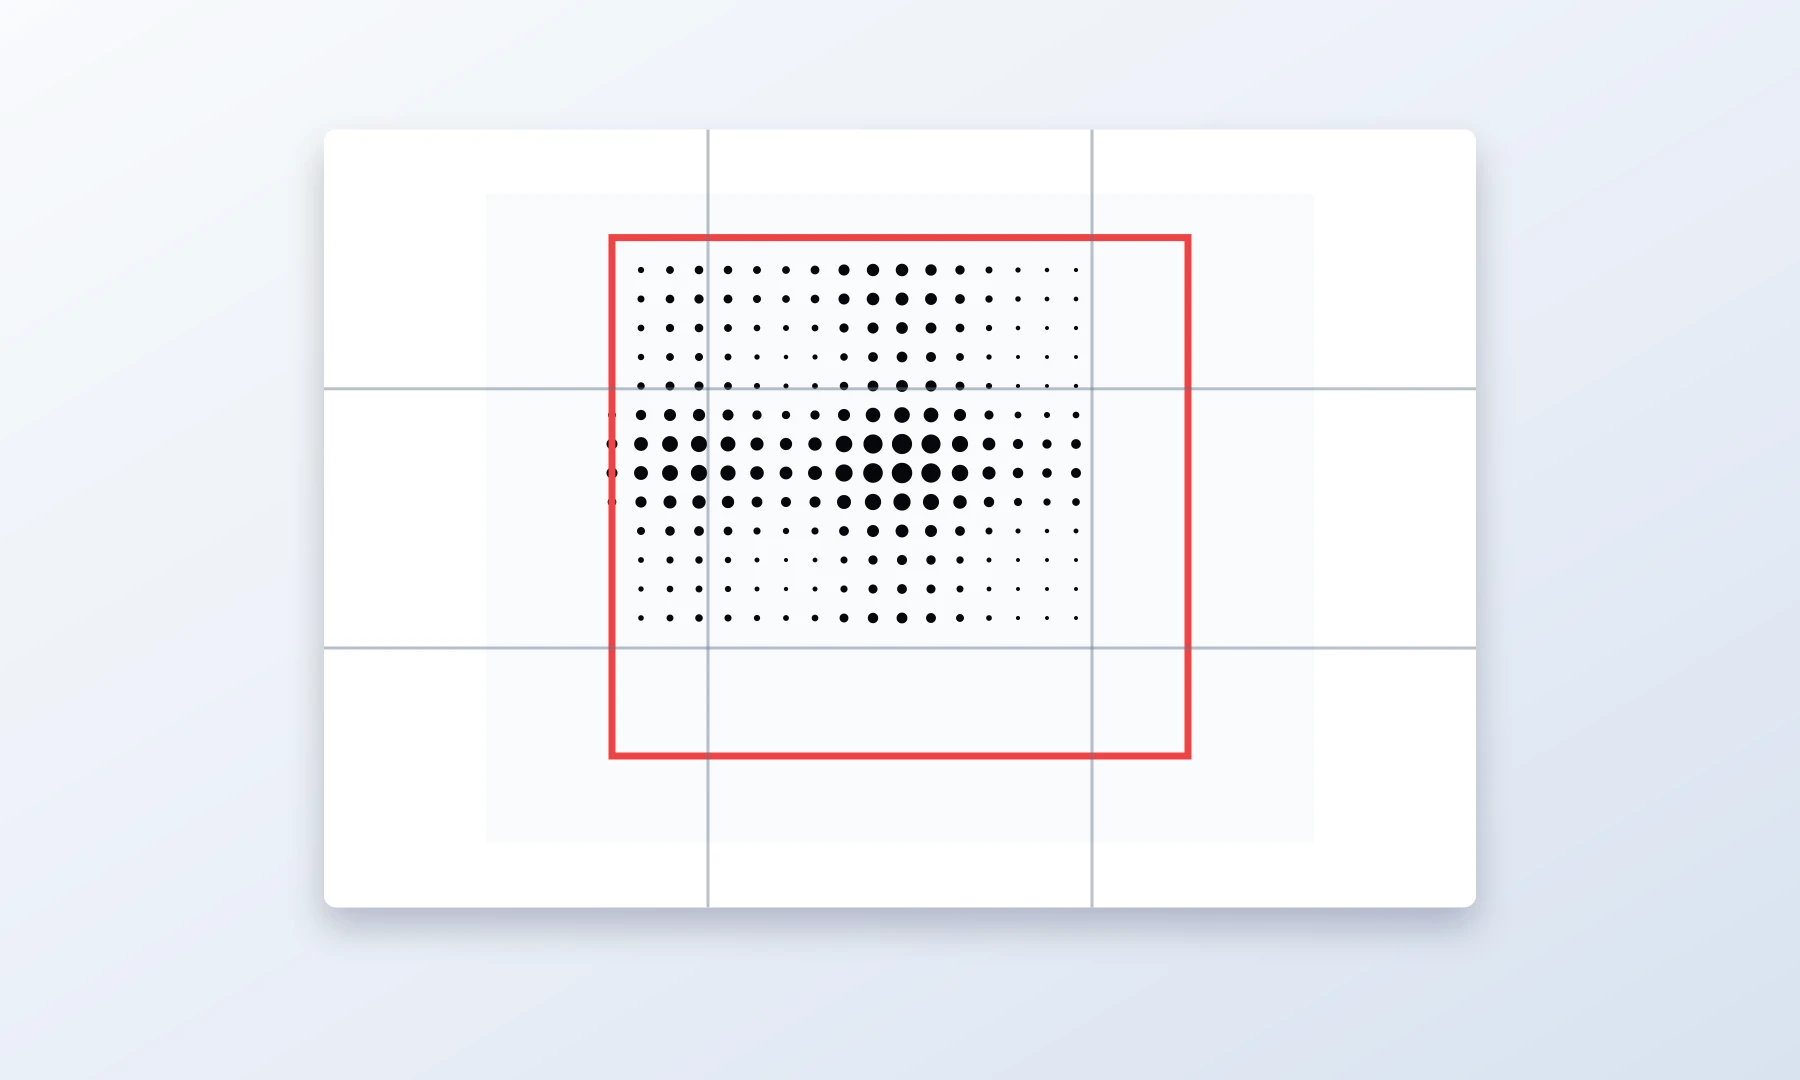
Before choosing the final poster size, check the crop.
A good halftone poster crop usually has:
The main subject centered or intentionally off-center
Enough breathing room around the subject
No important face details split awkwardly between many page edges
Strong contrast in the most important area of the image
For portraits, avoid placing eyes or mouths exactly on tile boundaries if possible. Tile edges are normal in tiled posters, but careful composition makes assembly easier and cleaner.
Set the poster size
Next, decide how large the final wall poster should be.
Common quick-start sizes:
| Poster size | Good for |
|---|---|
| 2 x 2 pages | Small wall print, quick test, desk area |
| 3 x 3 pages | Medium poster, good for portraits |
| 4 x 4 pages | Large wall art with stronger impact |
| 3 x 5 or 4 x 6 pages | Tall portrait or vertical image |
| 5 x 3 or 6 x 4 pages | Landscape image or wide wall space |
If this is your first tiled poster, a 3 x 3 page layout is often a good balance. It is large enough to feel like a poster but not so large that trimming and assembly become difficult.
Important: most home printers leave unprintable margins of 3-5 mm. Tiled posters expect this limitation, so trimming or overlapping pages is normal.
Pick paper size and orientation
Choose the paper format you actually plan to print:
A4 for many international printers
Letter for common North American printers
Then choose portrait or landscape orientation based on your poster shape. If your source image is vertical, portrait pages often make sense. If your source image is wide, landscape pages may reduce the number of awkward cuts.
Choose dot size carefully
Halftone dot size controls the character of the poster.
Smaller dots:
Preserve more image detail
Work better for faces
Look smoother from close range
May require more accurate printing
Larger dots:
Look more graphic and retro
Are easier to see from a distance
Can hide low-resolution image problems
May make small facial details less recognizable
A practical rule: if the poster will be viewed from close range, use smaller dots. If it will be viewed from across the room, larger dots can look more dramatic.
Preview before generating the PDF
Before printing the final tiled PDF, inspect the preview.
Check:
Is the subject easy to recognize?
Are the shadows too dark?
Are the highlights too empty?
Are the halftone dots the right size?
Is the poster large enough for the amount of detail in the photo?
Are important details too close to page edges?
If the image looks muddy, try a higher-contrast photo or adjust the crop. If it looks too abstract, reduce the dot size or increase the poster size.
Generate a predictable tiled PDF
Once the preview looks right, generate the tiled PDF.
Click Generate PDF. Rasterbator.pics will process the image locally in your browser and prepare the tiled file.
Verify the generated PDF matches:
Your selected paper size
Your selected poster dimensions
Your chosen page orientation
The halftone style shown in the preview
Save the PDF somewhere easy to find. Open it before printing and confirm that the page count matches your expected layout. For example, a 3 x 3 poster should usually produce 9 printed sheets.
Print settings that matter
The most important print setting is scale.
Use:
Actual Size
100%
No scaling
Avoid:
Fit to page
Shrink oversized pages
Scale to printable area
Borderless settings unless you know your printer supports them correctly
Most consumer printers leave a 3-5 mm unprintable white border. Do not use Borderless mode unless you know your printer keeps the page at the correct scale, because borderless printing can force scaling and ruin tile alignment. Expect to trim white margins manually for a clean fit.
If your PDF viewer or printer driver scales the pages, the tiles may not line up cleanly.
Adobe Acrobat Reader has a built-in Poster option for tiled printing. If Rasterbator.pics already tiled the PDF, print at Actual Size or 100%. Use Acrobat's Poster feature only if you start with a single-page image and need the viewer to create tiles.
Checklist before you hit Print
Before printing the whole poster, run through this quick checklist:
The correct paper size is selected: A4 or Letter.
The page orientation matches the generated PDF.
Print scale is set to Actual Size or 100%.
Fit to page and automatic scaling are turned off.
You understand your printer may leave 3-5 mm unprintable margins.
You have enough paper and ink or toner.
The first test page prints sharp and at correct scale.
Print page 1 first. Measure a known element, such as a face width, and confirm it matches the preview scale before printing all pages.
You have a trimming tool or scissors ready.
You have a glue stick for mounting.
You have painter's tape or masking tape for reinforcing seams on the back side.
If possible, print one or two pages first before printing the entire tiled poster.
Trim and assemble the poster
After printing, lay the pages on a clean floor or large table in the correct order.
A practical assembly method:
Arrange all pages before gluing anything.
Check that the image lines up across page edges.
Trim the unprintable white border from edges that will overlap with neighboring pages. Leave the outer poster edges untrimmed unless you want a borderless finish.
Work row by row.
Use a glue stick to attach pages to backing paper, cardboard, or directly to a temporary layout surface.
Use painter's tape or masking tape on the back side to reinforce seams.
Let the poster flatten before hanging.
Avoid glossy clear tape on the front of the poster. It catches light, creates glare, and makes seams more visible.
Do not rush trimming. Most alignment problems come from cutting too much or too little from the page margins.
Simple examples for the classic halftone look
Here are a few fast ideas:
| Image type | Suggested approach | Dot size |
|---|---|---|
| Portrait | Crop close and print 3 x 3 or larger | Medium |
| Pet photo | Use high contrast and keep the eyes clear | Medium |
| Band photo | Push the contrast for a concert-poster feel | Large |
| Architecture | Use strong black-and-white contrast and a wider layout | Small or medium |
| Sports image | Crop around the action and use a larger poster size | Medium or large |
Common mistakes to avoid
Avoid these issues when making your first black-and-white halftone poster:
Using a dark photo with no highlight detail
Choosing a poster size that is too small for a detailed image
Making the dots so large that the subject becomes unreadable
Printing with Fit to page enabled
Forgetting about unprintable printer margins
Assembling pages without first checking the full layout
Using glossy tape on the front instead of reinforcing seams from the back
Correct scale and careful assembly make the difference between a poster that looks intentional and one that looks misaligned.
FAQ
What is a classic black-and-white halftone poster?
It is a poster style that turns an image into a pattern of black dots on a white background. From a distance, the dots blend into tones and create a recognizable image.
Is this the same as rasterbation?
Rasterbation is a popular term for making large, tiled posters from images, often using dot or halftone effects. A black-and-white halftone poster is a classic example of this style.
Can I use a color photo?
Yes. A color photo can be converted into a black-and-white halftone result. The key is contrast, not color. Photos with strong light and shadow usually work best.
What photo works best for this template?
Use a clear image with one main subject, good lighting, and a simple background. Portraits, pets, cars, buildings, and musicians are strong choices.
How large should my first poster be?
A 3 x 3 page poster is a good first size. It is large enough to create impact but still manageable to print, trim, and assemble.
Why do my printed pages have white borders?
Most printers cannot print all the way to the paper edge. A 3-5 mm unprintable margin is normal. You can trim the margins or overlap pages during assembly.
Should I print with borderless mode?
Only use borderless mode if your printer supports it reliably and keeps the page at the correct scale. For most tiled posters, Actual Size or 100% is safer.
Can I use Adobe Acrobat Reader for printing?
Yes. Adobe Acrobat Reader is useful for checking and printing PDFs. Its Poster feature can tile a single large page, but if Rasterbator.pics already generated a tiled PDF, do not tile it again. Print at Actual Size or 100%.
Does Rasterbator.pics upload my image for processing?
Rasterbator.pics processes the image locally in your browser. The poster generation happens on your device.
What is the easiest way to assemble the pages?
Lay out all pages first, trim the margins that will overlap, then attach the sheets row by row. Use a glue stick for clean joins and tape on the back side to strengthen seams.
Try Rasterbator.pics
Use Rasterbator.pics to test the article advice with your own image, page size, overlap, margins, and tiled PDF export.
Try Rasterbator.pics