
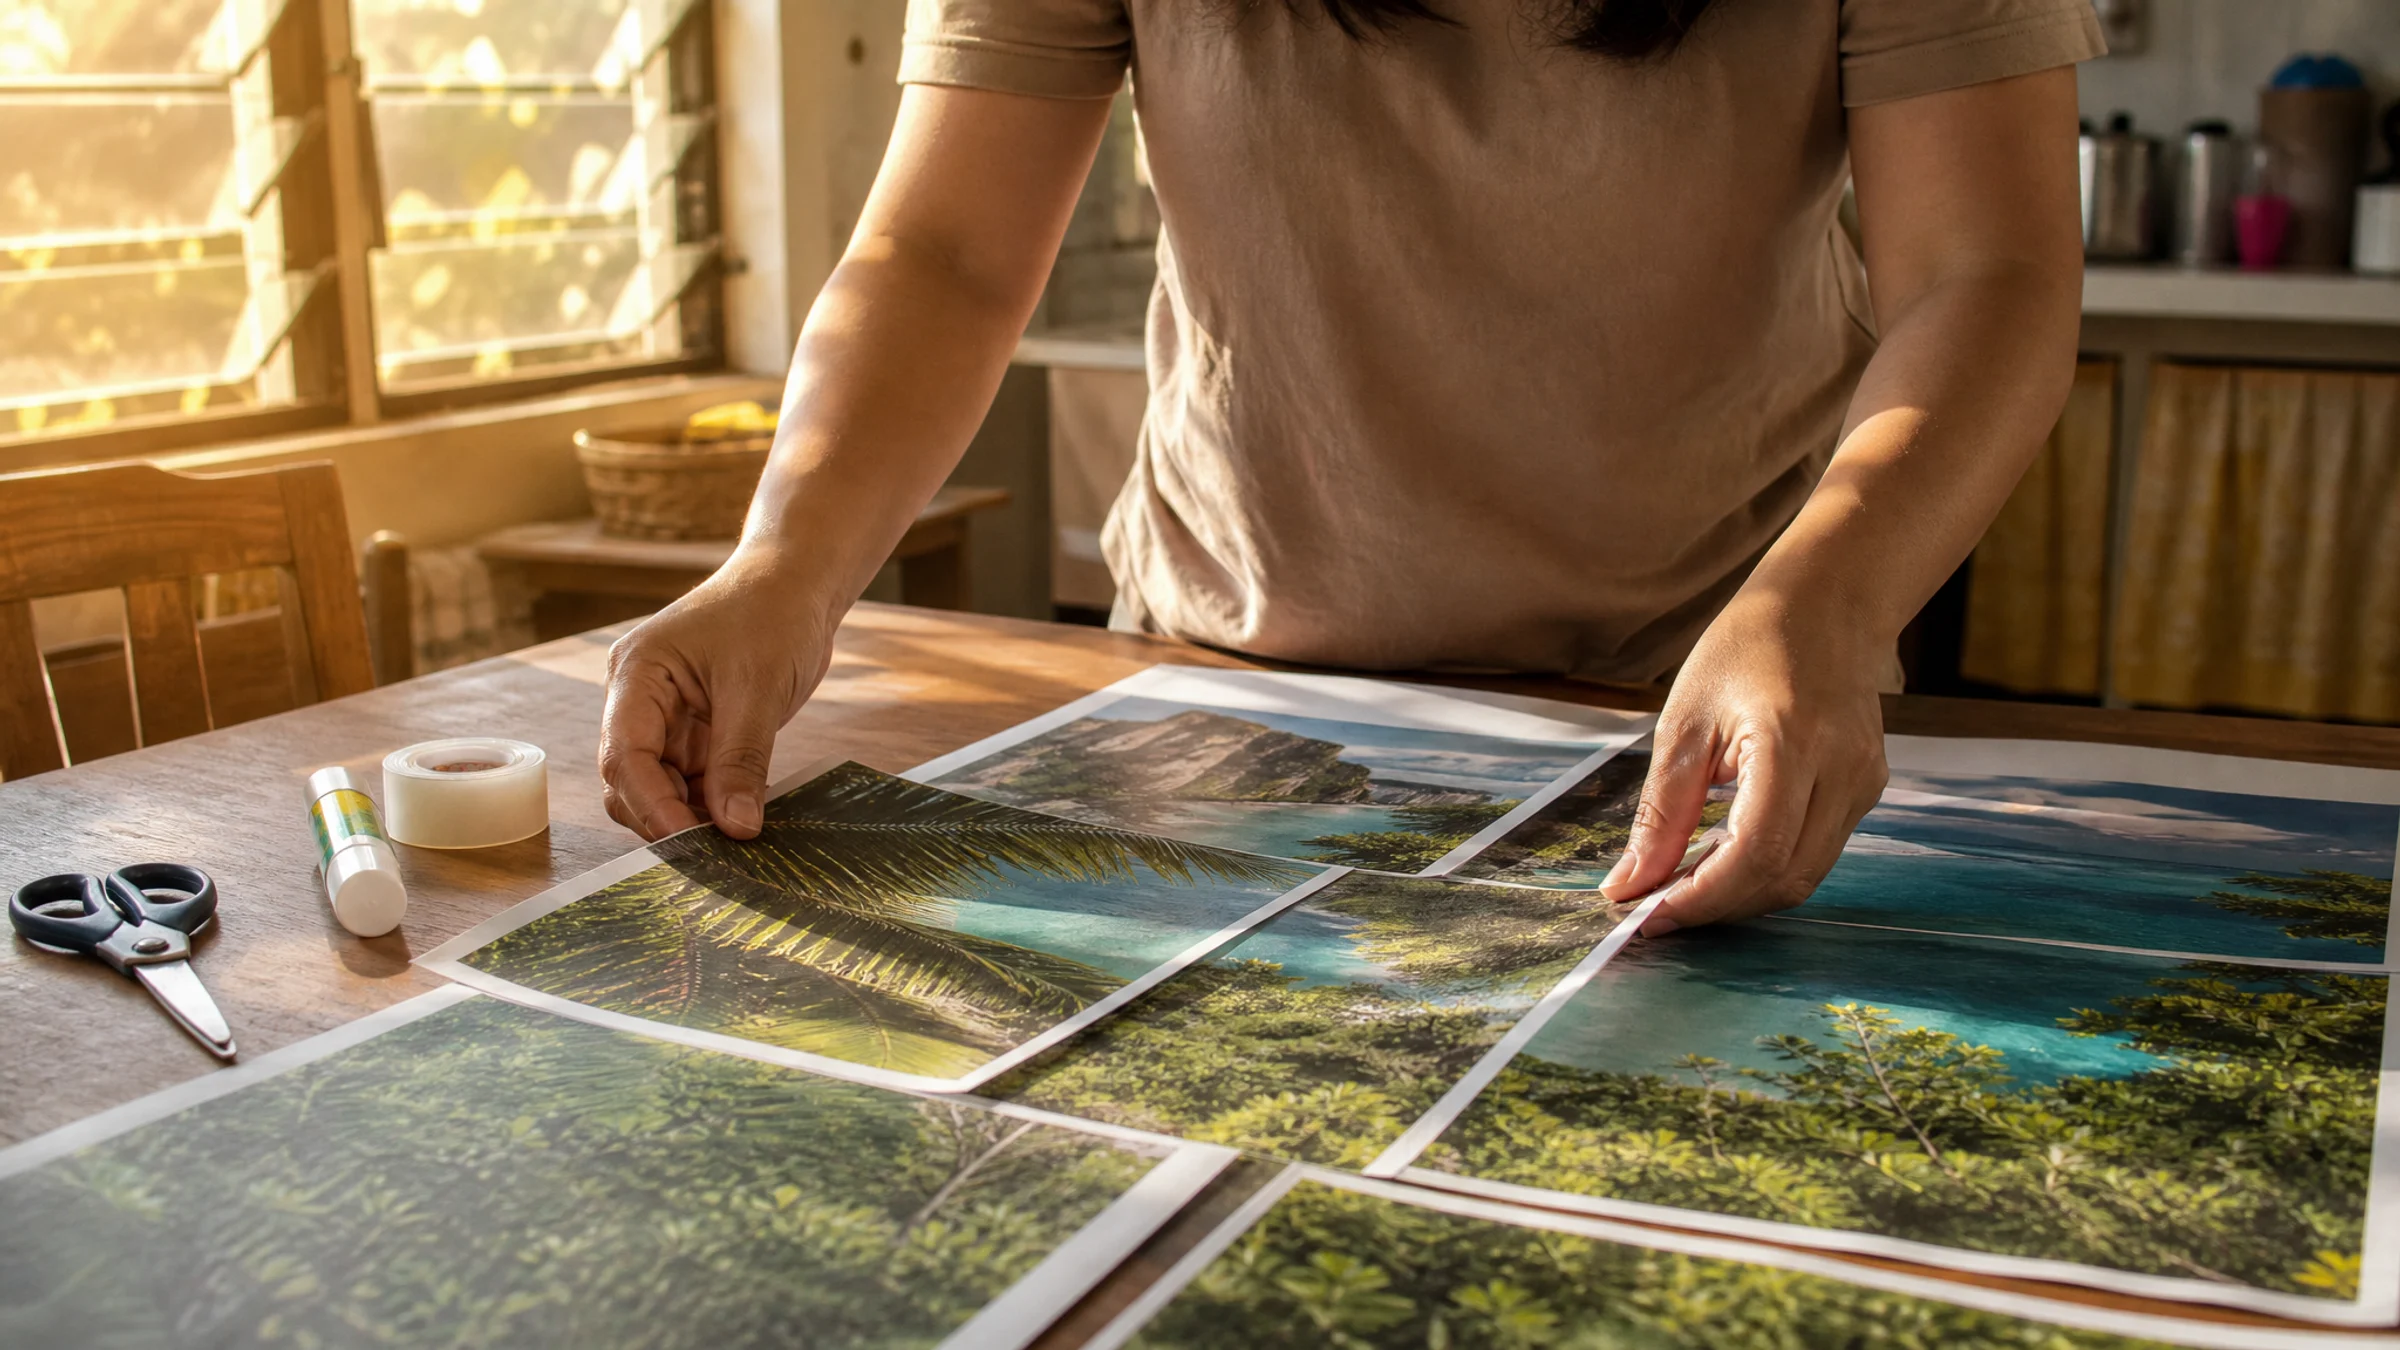
Tarpapel is a common search term for a poster printed across multiple sheets. In practice, people usually mean the same thing as tiled poster printing: one large image, split across A4 or Letter pages, then trimmed and assembled into a bigger poster.
Before anything else, one print fact matters: most home printers leave a 3-5 mm unprintable white border around each sheet. That means trimming is a normal part of the job if you want the pages to join cleanly.
This guide explains what tarpapel usually means, how A4 and Letter paper change the result, and how to choose a practical workflow for printing a poster across pages. Rasterbator.pics is a browser-based tool that splits images into printable poster grids locally in your browser. For region-specific paper defaults, compare A4 and Letter paper assumptions in our international printing guides.
What “tarpapel” usually means
“Tarpapel” is not a standard English print term. It is how people often search for a large paper poster made from multiple sheets.
The same task is searched differently by region and language:
Common search terms for tiled poster printing by region:
| Language or region | Common search | Meaning |
|---|---|---|
| Spanish | imprimir poster varias hojas | print a poster on several sheets |
| Portuguese | imprimir pôster em várias folhas | print a poster across multiple pages |
| French | imprimer une affiche sur plusieurs feuilles | print a poster on several sheets |
| German | Poster auf mehreren Seiten drucken | print a poster on multiple pages |
| Turkish | posteri parçalara bölerek yazdırma | print a poster by splitting it into parts |
| Philippines / English | tarpapel, tarpaulin paper, tiled poster | paper version of a large banner or poster |
| English | tile print, poster print, rasterbator, posterizer | split an image into printable pages |
If you searched for “tarpapel,” you are looking for tiled poster printing.
The basic idea: one image, many pages
Home printers print one page at a time, so tiled printing splits your image across multiple sheets.
The usual workflow is simple:
Choose your image.
Pick the correct paper size: A4 or Letter.
Choose how many pages wide and tall the poster should be.
Export a multi-page PDF.
Print at Actual Size or 100%.
Trim the white borders that would block clean alignment.
Glue and tape the pages together.
Rasterbator.pics handles the splitting step. Image processing happens locally in your browser, so your image is prepared on your device rather than uploaded for server-side processing.
A4 vs Letter: why paper size matters
Paper size is one of the most common reasons tiled posters print badly.
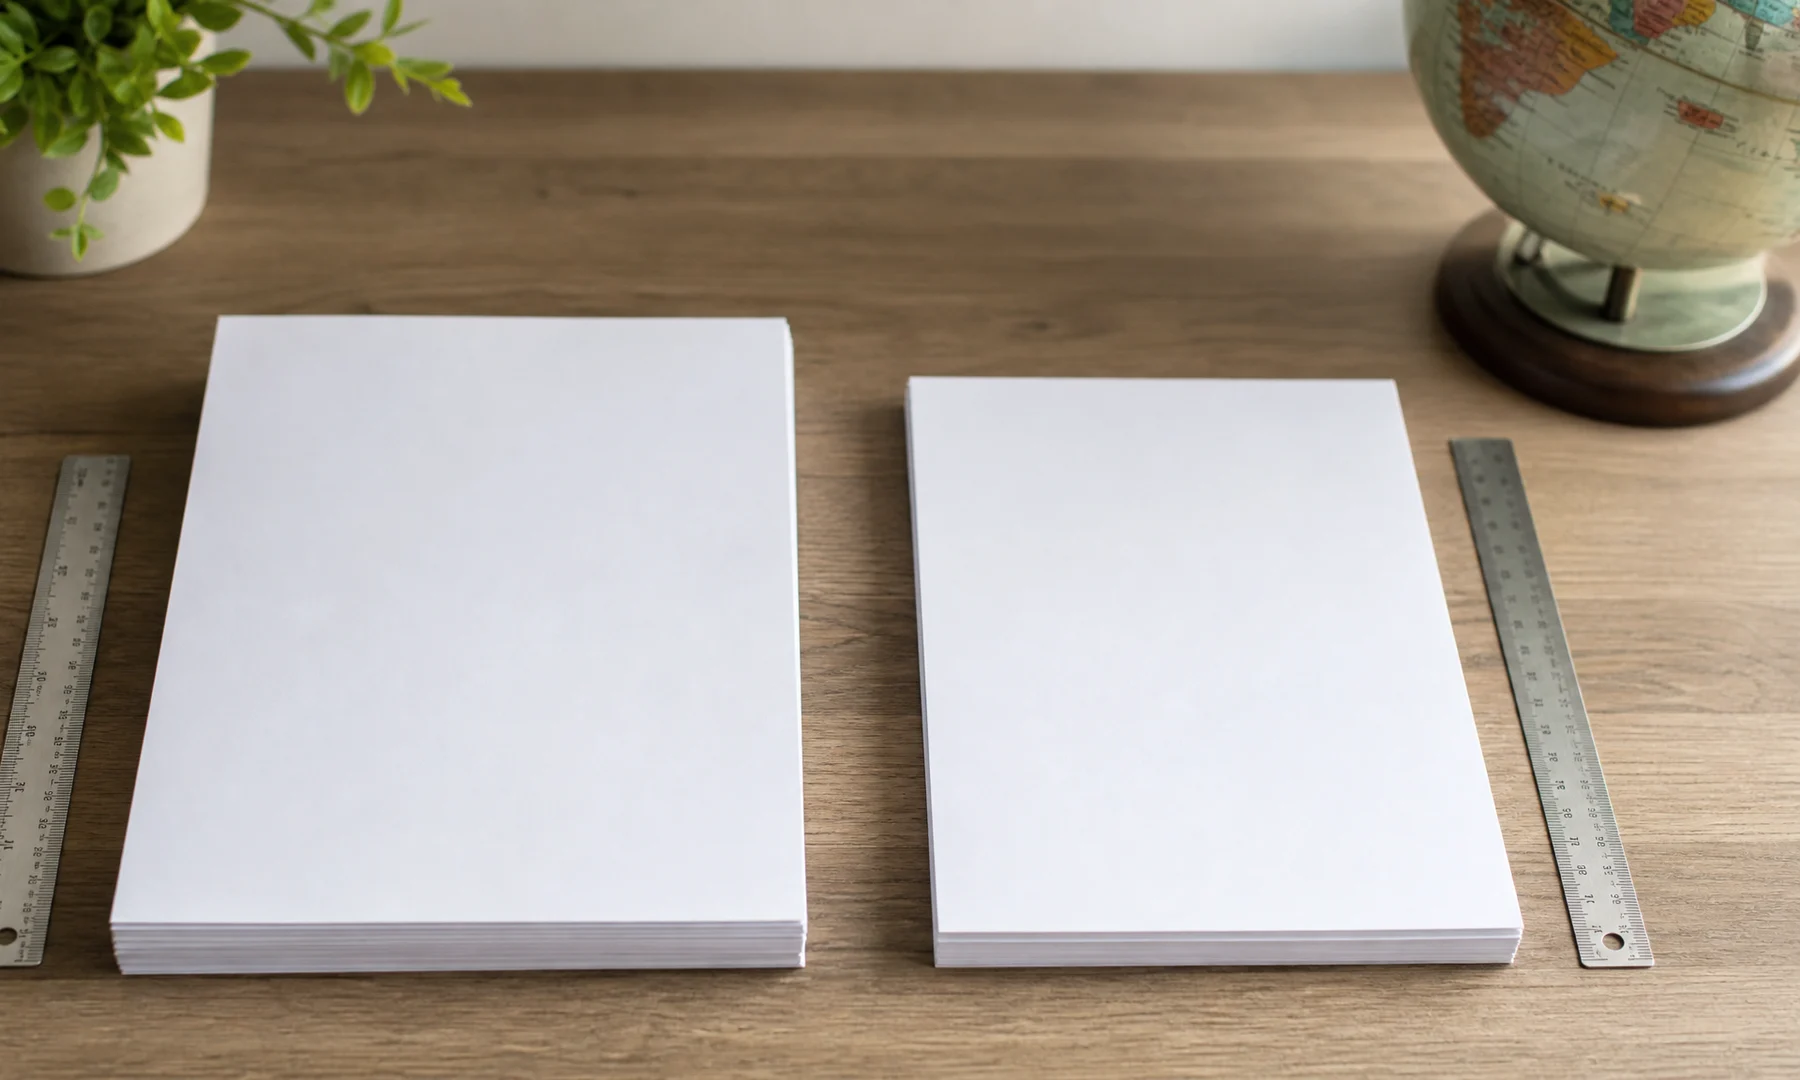
A4 and Letter are close in size, but not interchangeable:
A4 and Letter paper dimensions and common regions:
| Paper size | Dimensions | Common regions |
|---|---|---|
| A4 | 210 × 297 mm | Europe, Latin America, Asia, Africa, many international regions |
| Letter | 8.5 × 11 in, about 216 × 279 mm | United States, Canada, parts of the Philippines and Latin America |
The proportions differ, which can shift page breaks and crop important details near the edges.
Practical example: a 3 × 4 poster
Suppose you want a poster that is 3 pages wide by 4 pages tall.
Approximate poster size for a 3 × 4 page layout:
| Paper choice | Approximate raw poster size before trimming |
|---|---|
| A4, portrait pages | 630 × 1188 mm |
| Letter, portrait pages | 25.5 × 44 in, about 648 × 1118 mm |
That difference affects the final aspect ratio of the assembled poster. If your design includes a face, title, logo, border, or QR code near an edge, the wrong paper setting can change where seams fall.
Since paper standards vary globally, see our international printing guides if you are unsure which size is standard for your region.
Why trimming is usually required
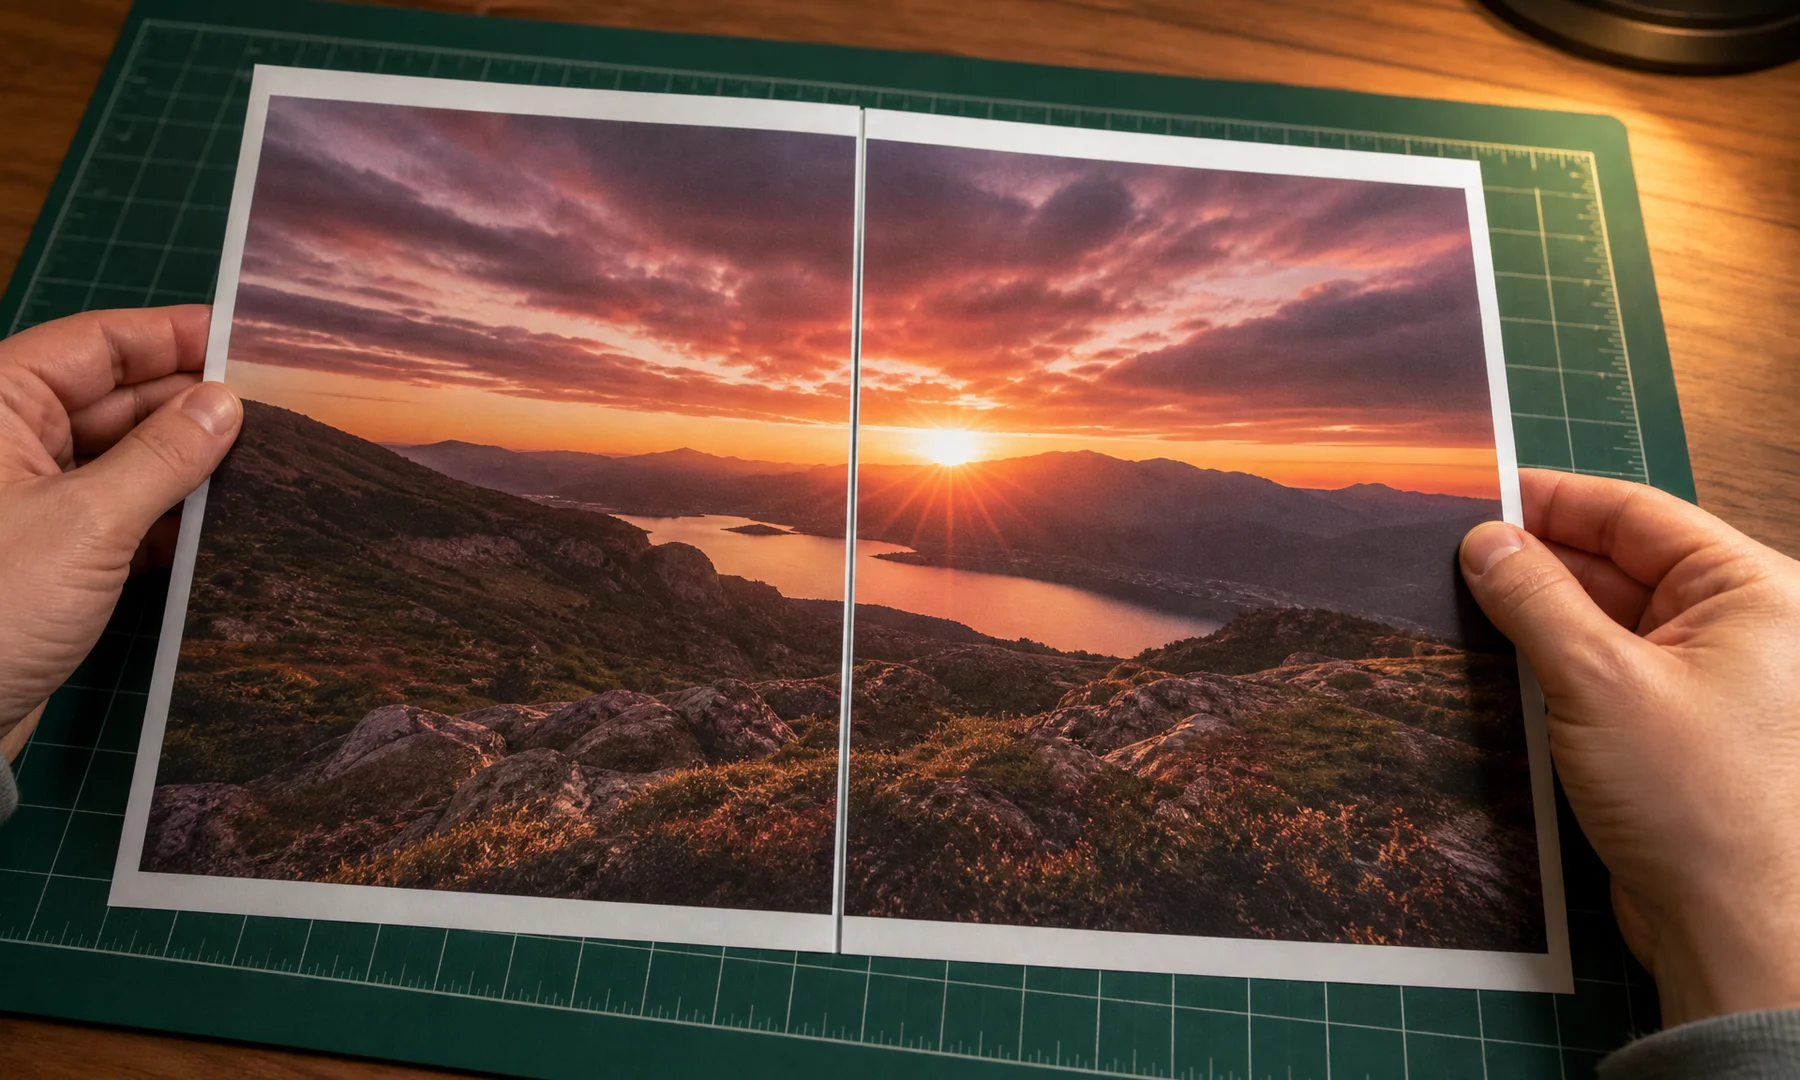
Very few consumer printers support true borderless printing. Expect to trim white margins to align your image segments properly.
Most home and office printers leave an unprintable margin of about 3-5 mm on each side, sometimes more. For tiled posters, that means:
Avoid placing important text at extreme page edges.
Expect to trim white borders unless you intentionally want visible seams.
Check previews carefully if a face, logo, or border lands near a page edge.
Do not assume a “borderless” option will work on plain paper.
For a tarpapel-style poster, trimming is normal, not a sign that something went wrong.
Recommended Rasterbator.pics workflow
Use this workflow when you want a straightforward poster without printer scaling issues.
1. Choose the poster size in pages
Start by choosing how many pages wide and tall your poster should be:
Small poster: 2 × 2 pages
Medium poster: 3 × 3 pages or 3 × 4 pages
Large wall poster: 4 × 4 pages or more
A 3-page width is common for school, office, and event posters: large enough to read from a distance, still manageable to trim and assemble.
2. Pick the right paper size
Match the project to the paper in your printer tray:
Choose A4 if the printer is loaded with A4.
Choose Letter if the printer is loaded with US Letter.
Don't assume the printer will scale the wrong paper size correctly.
3. Choose a strong source image
Large posters magnify image problems, so start with the clearest file you have.
Good choices:
High-resolution photos
Clean digital artwork
Large PNG or JPG files
Simple graphics with strong contrast
Avoid these source images:
Tiny social media thumbnails
Blurry screenshots
Low-contrast text
Images with important details right at the edges
4. Set the page grid and preview the seams
Choose how many sheets wide and tall the poster should be, then inspect the preview.
Check these points:
Is the main subject centered?
Does any text break awkwardly across a seam?
Are faces, logos, or QR codes split across joins?
Is the finished size realistic for the wall, board, or window space?
If something important lands on a seam, change the page count or crop the image differently.
5. Export the poster PDF
Export a PDF with the poster already divided into pages in reading order.
For example, a 3 × 4 layout creates a 12-page PDF:
Page 1: top-left
Page 2: top-middle
Page 3: top-right
Next pages: the second row, then the third, then the fourth
This makes printing and assembly much easier to manage.
6. Print at Actual Size or 100%
This step is critical. Incorrect scaling is the most common reason seams fail to line up.
In the print dialog, use:
Actual Size
100%
No scaling, if available
Disable these settings unless you intentionally want them:
Fit to page
Shrink oversized pages
Scale to printable area
Auto-rotate and scale, if it changes the layout
Rasterbator.pics vs Adobe Acrobat Reader Poster printing
Adobe Acrobat Reader includes a Poster or tile printing mode. It can be useful when you already have a single-page PDF and want Acrobat to split it at print time.
But if you are starting from an image, Rasterbator.pics is usually clearer for poster setup and more predictable for generating a print-ready PDF.
Comparison of tiled printing methods:
| Option | Best for | Main trade-off |
|---|---|---|
| Rasterbator.pics | Starting from an image and building a tiled poster intentionally | You still need to print at 100% and assemble carefully |
| Adobe Acrobat Reader Poster printing | Splitting an existing PDF during printing | Overlap, scaling, and paper-size settings can be harder to read |
| Printer driver poster mode | Using built-in poster features from a specific printer brand | Features vary a lot between printers and computers |
A practical rule:
Use Rasterbator.pics when you want to turn an image into a tiled poster PDF.
Use Adobe Acrobat Reader Poster printing when you already have a PDF and only need to tile it.
In both cases, verify paper size and print at Actual Size or 100%.
Assembly tips: trimming, glue, and tape
To assemble cleanly:
Lay all printed pages out in order on a large table or the floor.
Check the full picture before cutting.
Trim only the margins that will overlap with neighboring pages.
Use a ruler and craft knife for the straightest cuts, or scissors if that is what you have.
Work slowly and keep the page order visible.
Use a glue stick on the underside edge where pages overlap.
Reinforce seams with back-side tape on the back of the poster.
Assemble rows first: glue page 1 to page 2, then page 2 to page 3, and so on. Once each row is complete, join row 1 to row 2, then row 2 to row 3.
Glue sticks spread evenly and wrinkle paper less than liquid glue. Tape on the back adds strength without adding glare or visible seams to the front.
If appearance matters, avoid clear tape on the front. Front-side tape often catches light and makes the joins more obvious.
Checklist before you hit Print
Confirm the paper size: A4 or Letter.
Confirm the page orientation: portrait or landscape.
Confirm the poster grid: for example, 3 × 4 pages.
Make sure faces, text, logos, and QR codes are not cut by seams.
Expect 3-5 mm unprintable margins unless your printer truly supports borderless printing on your paper.
Use Actual Size or 100% in the print dialog.
Turn off unwanted “Fit to page” scaling.
Print a test: print page 1 and page 2, trim one edge, and check that the image aligns before printing all pages.
Have a ruler, cutter or scissors, glue stick, and tape for the back ready.
Plan enough flat space to lay out the sheets before final assembly.
Common related searches
Many people arrive through misspellings, regional phrases, or older tool names. Common searches include:
tarpapel
tarp papel
tarpa papel
tarpaulin paper poster
rasterbator
rastorbator
rasterbater
raster poster
posterizer
tile print poster
imprimir poster varias hojas
imprimir imagen en varias hojas
print poster on multiple pages
The wording changes, but the practical goal stays the same: split one image into pages, print at the correct scale, trim the white borders, and assemble the poster cleanly.
FAQ
Is “tarpapel” the same as a tarpaulin?
Not exactly. A tarpaulin is usually a large vinyl banner. Tarpapel usually refers to the paper version: a large poster made from multiple standard sheets.
Can I make a tarpapel poster with A4 paper?
Yes. Choose A4 in the setup, make sure the printer is loaded with A4, and print the final PDF at Actual Size or 100%.
Can I use Letter paper instead of A4?
Yes, but only if you set the project to Letter from the start. Switching from A4 to Letter at print time can cause scaling, cropping, or seam alignment problems.
Why do my pages not line up after printing?
The most common cause is print scaling. Reprint using Actual Size, 100%, or No scaling. Also make sure the PDF paper size matches the paper in the printer.
Do I really need to trim the white borders?
Usually, yes. Most printers leave 3-5 mm unprintable margins, so trimming is the normal way to make the image align across pages.
What is a good first poster size?
A 2 × 2 or 3 × 3 poster is a good starting point. It is large enough to test the effect without creating too much trimming and assembly work.
Is Adobe Acrobat Reader required?
No. Acrobat can be useful for poster printing when you already have a PDF, but it is not required. If you export a tiled poster PDF first, any PDF viewer that respects actual-size printing can work.
Does Rasterbator.pics upload my image for processing?
Rasterbator.pics processes images locally in the browser, which is useful when you want to set up a poster from your own device without using a separate desktop app.
What is the best way to join the pages?
Use a glue stick for the overlaps and tape on the back for reinforcement. If clean appearance matters, avoid tape on the front because it can create shine and visible seams.
Final recommendation
If your search was “tarpapel,” think of it as tiled poster printing. The most practical workflow is:
Choose the correct paper size.
Split the image into a clear page grid.
Export a multi-page PDF.
Print at Actual Size or 100%.
Trim the white borders.
Assemble with glue stick and tape on the back.
That approach gives you the best chance of getting a clean, readable poster without surprise scaling or awkward seams.
Try Rasterbator.pics
Use Rasterbator.pics to test the article advice with your own image, page size, overlap, margins, and tiled PDF export.
Try Rasterbator.pics