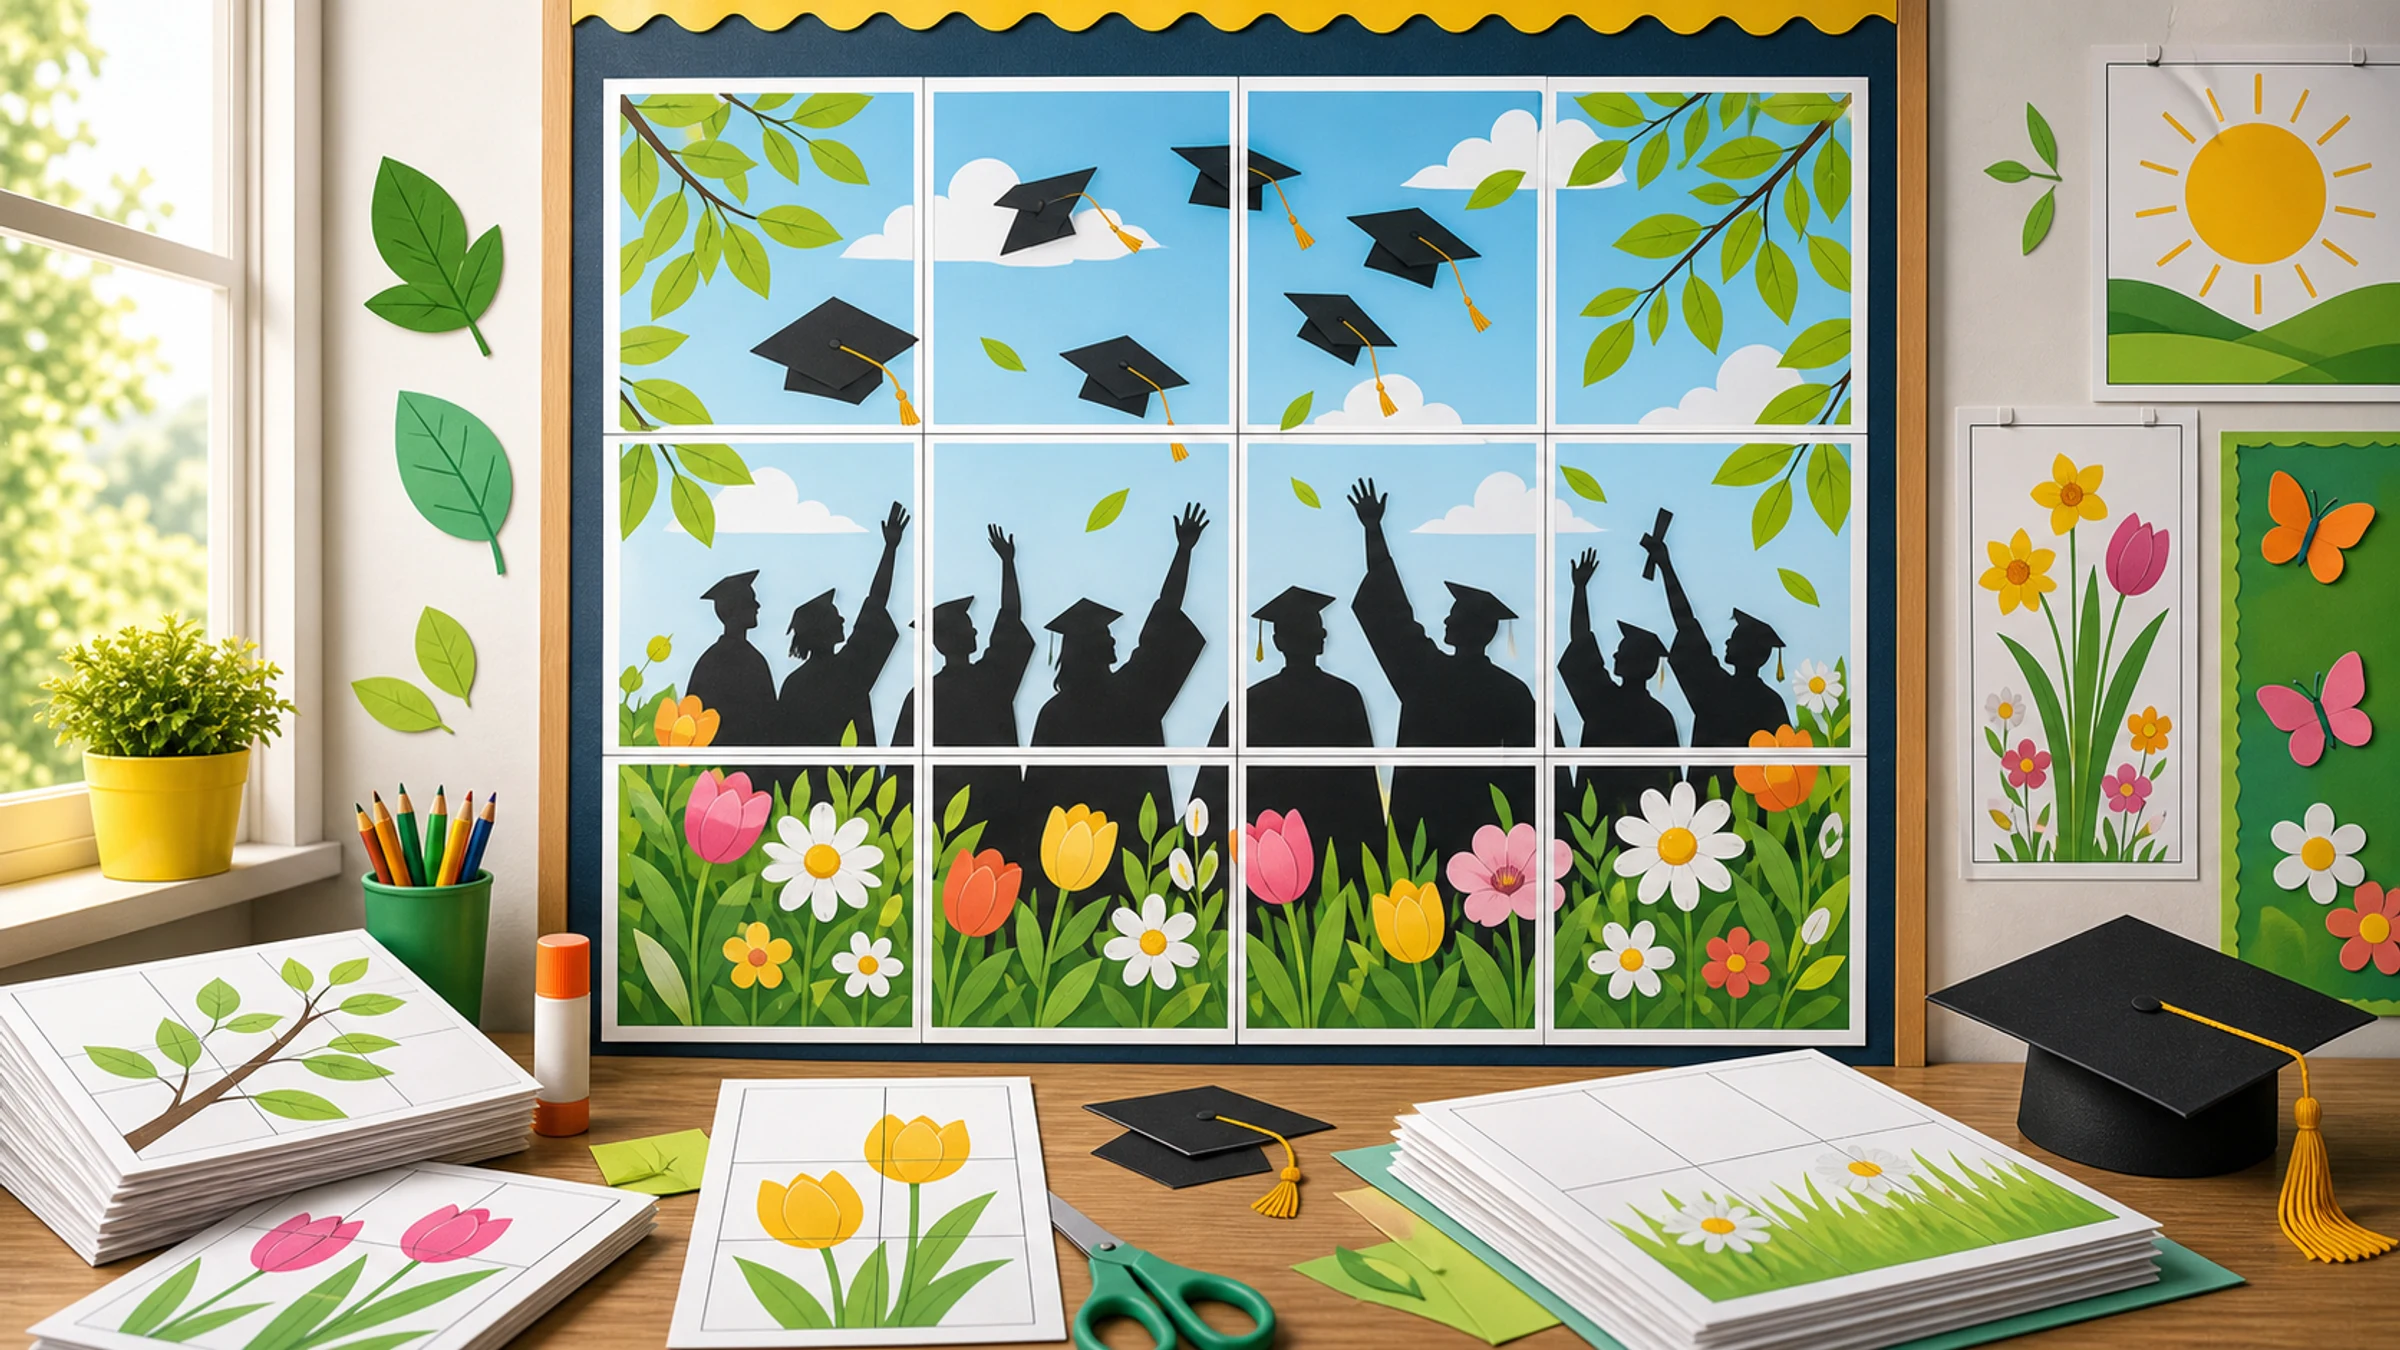
May is a busy month for school posters. Graduation is close, classrooms need a final refresh, awards nights and concerts are on the calendar, and many schools are preparing open houses, senior nights, field days, and end-of-year celebrations.
You do not need a large-format printer to make a useful display. A clear idea, a simple layout, and tiled printing can turn normal A4 or Letter paper into a large poster for a hallway, classroom door, bulletin board, or ceremony entrance.
Rasterbator.pics prepares tiled poster PDFs locally in your browser, so your image stays on your device while you choose the final size and paper layout.
Quick May poster ideas
Use these ideas when you need something attractive, fast, and practical to print.
| Poster idea | Best for | Simple design approach |
|---|---|---|
| Class of 2026 graduation board | Hallway, ceremony entrance, photo wall | Large class year, school colors, student names or photos |
| Before-and-after school year display | Classroom wall, open house, parent night | Two-column layout with fall and spring photos |
| May calendar of events | School entrance, office board, classroom | Big month title, event dates, color-coded sections |
| Teacher appreciation poster | Staff room, classroom door, hallway | Thank-you message with student notes or small portraits |
| Spring concert or art show poster | Music room, auditorium, lobby | Event title, date, time, location, one bold visual |
| Sports senior night board | Gym, field entrance, team banquet | Player name, number, team photo, season highlights |
| Almost-summer countdown | Classroom, library, common area | Large countdown numbers with bright seasonal colors |
| Awards night welcome sign | Auditorium entrance, photo area | Formal title, school name, date, clean border |
For graduation and school events, readability matters more than decoration. One strong headline, a few large photos, and clear event details usually work better than a crowded design.
Start with one clear message
A strong May poster shows a transition:
from school year to graduation
from classroom work to celebration
from spring events to summer break
from first-day photos to final-day memories
from rehearsal and practice to performance night
Before designing, answer five quick questions:
Who will look at this poster?
Where will it be displayed?
What should people understand or do after seeing it?
Does it need to be readable from across a hallway?
Will families take photos in front of it?
If the poster has to work in a hallway or lobby, make the title bigger than feels necessary on your screen. Small captions and thin decorative fonts often disappear once the poster is tiled, trimmed, and viewed from several meters away.
Fast layouts that work in May
1. Large-year graduation poster
Use this for a hallway board, ceremony entrance, or photo backdrop.
Suggested structure:
top: "Class of 2026"
middle: large school photo, cap illustration, or student collage
bottom: school name, date, and short message
Good messages include:
"Congratulations, Class of 2026"
"The Future Starts Here"
"Once a Tiger, Always a Tiger"
"Proud of Our Graduates"
Keep the year very large. It should be readable from several meters away.
2. Before-and-after school year poster
This is one of the easiest May posters to make meaningful.
Use a simple two-part layout:
left side: first week of school, first rehearsal, first practice, or early project photo
right side: final month of school, cap-and-gown photo, spring concert, senior night, or completed project
short captions: "Then" and "Now," "First Day" and "Final Week," or "We Started Here" and "We Made It Here"
This format works well for elementary classrooms, senior graduation boards, clubs, teams, art rooms, music programs, and theater productions.
Practical tip: If you use many small photos, print a larger poster. Small faces are hard to see when tiled across standard pages.
3. May events poster
Use this when the audience needs a quick reference.
Include only the details people need:
testing dates
concerts
art shows
field days
graduation rehearsals
ceremony dates
award nights
last day of school
Use a calendar format only if the dates are the main point. If there are fewer than six events, a clean list is easier to read.
4. Teacher appreciation poster
May often includes teacher appreciation week. A large poster can turn small student notes into a memorable display.
Easy approaches:
one big "Thank You" headline
student names around the border
short notes in speech bubbles
class photo in the center
school colors or simple spring colors
If students will add handwritten notes later, leave enough blank space and print the poster with a light background.
5. Quick spring-to-summer poster
For classrooms, libraries, and office boards, a general May display also works:
"Hello May"
"Almost Summer"
"Finish Strong"
"May Moments"
"Spring Into the Final Stretch"
These are useful when you need a seasonal display without event-specific details.
Choose or create the poster image
You do not need a complex design file. You can create a simple poster image in presentation software, a design tool, a photo editor, or any app that exports a clean JPG, PNG, or PDF.
For best results:
use one large headline
keep important text away from the edges
avoid very small captions
choose high-contrast colors
use fewer, larger photos instead of many tiny photos
leave plain space if students will add handwritten notes later
If the poster will be viewed in a hallway, test the design by zooming out on your screen. If the headline disappears or the photos look too small, simplify the layout before printing.
Measure the display area before sizing
Do not guess the final size. Measure the wall, board, door, or display space first.
| Display area | Useful poster size | Approximate tiled print |
|---|---|---|
| Classroom door | 60 x 90 cm | 6 to 9 A4 sheets |
| Bulletin board center | 90 x 120 cm | 12 to 20 A4 sheets |
| Hallway announcement | 100 x 140 cm | 16 to 25 A4 sheets |
| Graduation photo wall sign | 120 x 180 cm | 25 to 40 A4 sheets |
| Small event sign | 45 x 60 cm | 4 to 6 A4 sheets |
These are planning ranges. Exact page count depends on paper size, orientation, printer margins, overlap, and final dimensions.
Prepare the materials
For a clean school display, gather:
A4 or Letter paper
printer with enough ink or toner
scissors or paper trimmer
glue stick
tape for the back side of seams
ruler or straight edge
pencil for light alignment marks
optional poster board, foam board, or kraft paper backing
A glue stick works well for the main joins because it keeps the front flatter than thick tape. Tape applied to the back of the seams strengthens the poster after assembly without being visible.
Size the poster for tiled printing
Use this practical workflow:
Measure your wall, board, door, or display space.
Decide the maximum poster width and height.
Create or choose a poster image with a clear layout.
Open the image in Rasterbator.pics.
Choose your paper size, such as A4 or Letter.
Set the poster size in pages or physical dimensions.
Use a small overlap, such as 2-4 mm, if you want easier alignment.
Preview the tile layout.
Export the PDF.
Open the exported PDF in Adobe Acrobat Reader or your system PDF viewer.
Print at Actual Size or 100%.
Do not print directly from a browser tab if the final size matters. Browser print dialogs can apply scaling that changes tile dimensions.
Print a test page first
Before printing every tile, print one page that includes text, a face, a date, or another important design element.
Check:
Is the text sharp?
Are colors acceptable?
Is the scale right?
Is the printer cutting off edges?
Did it print at Actual Size or 100%?
Avoid "Fit to page" unless you intentionally want the PDF scaled. For tiled posters, unwanted scaling can make rows and columns harder to align.
Account for printer margins
Most home and office printers cannot print to the exact edge of the paper. They usually leave a 3-5 mm unprintable white border around each sheet.
That border is normal. Plan for it:
keep important words and faces away from page edges
preview where tile seams cross the design
trim only the edges needed for clean joins
use overlap if the poster has important details near seams
print at Actual Size, 100%, or No scaling
Borderless printing can look tempting, but some borderless modes enlarge the image slightly. Test first if exact sizing matters.
Trim and assemble the pages
Work on a large table or clean floor.
Lay out all pages in order.
Check that rows and columns match the preview.
Trim consistently. A common method is to leave the top and left margins, then trim the bottom and right margins.
Build the first row.
Use a glue stick on overlaps.
Check alignment before pressing firmly.
Reinforce seams with tape applied to the back.
Add the next row.
Mount the finished poster on backing if it will be handled or moved.
If time is short, it is better to leave a small white line between pages than to over-trim and cut into faces, dates, or headline letters.
Last-minute May poster workflow
If the event is tomorrow, keep the job low-risk.
Pick one headline and one purpose.
Use one to five images, not a dense collage.
Choose a light background if ink is limited.
Size the poster for the display area.
Export a tiled PDF.
Print one test page.
Print the full set at Actual Size or 100%.
Lay out every page before trimming.
Join pages with glue stick.
Reinforce seams on the back with tape.
Avoid tiny event details, thin script fonts, full dark backgrounds when ink is low, and collages with dozens of small photos.
Checklist before you hit Print
The poster has one clear purpose.
The display area has been measured.
The final poster size fits the wall, board, door, or entrance.
Text is large enough to read from a distance.
Important faces or words are not placed directly on tile seams.
Paper size is correct: A4 or Letter.
Overlap is set if needed.
Printer settings are set to Actual Size or 100%.
Fit to page is turned off unless intentionally used.
You have allowed for 3-5 mm unprintable printer margins.
You have scissors or a trimmer ready.
You have a glue stick for clean joins.
You have back-side tape for reinforcing seams.
A test page has been printed and checked.
The pages are laid out in order before gluing.
FAQ
What is a good May poster idea for a school hallway?
A graduation congratulations poster, May events calendar, or before-and-after school year display usually works well. Hallway posters should have a large headline, strong contrast, and minimal small text.
Can I print a large graduation poster at home?
Yes. You can print a large poster across multiple A4 or Letter pages using tiled printing. After printing, trim the pages, overlap or align the edges, glue the joins, and reinforce the back with tape.
What size should a graduation board poster be?
For a small display, 60 x 90 cm can work. For a hallway or ceremony entrance, 90 x 120 cm or larger is often better. Measure the available space before choosing the size.
Why are the edges of my poster not printing?
Most printers have unprintable margins, usually around 3-5 mm. Trim the printed margin on the overlapping edge of each tile before joining pages.
Should I print at Fit to page or Actual Size?
For tiled posters, print at Actual Size or 100% unless you intentionally need scaling. Fit to page can shrink or shift the layout and make tiles harder to align.
What is the easiest poster to make the night before an event?
The easiest option is a bold text poster with one large image, such as "Congratulations, Class of 2026" or "Welcome to Awards Night." Avoid complex photo collages if you are short on time.
Final thought
A good May poster does not need to be complicated. Choose one message, size it for the display space, print a quick test page, and assemble carefully. Whether you are preparing a graduation board, a classroom before-and-after display, or a last-minute event sign, tiled poster printing can turn ordinary A4 or Letter pages into a large seasonal display in one evening.
Try Rasterbator.pics
Use Rasterbator.pics to test the article advice with your own image, page size, overlap, margins, and tiled PDF export.
Try Rasterbator.pics