Printing a PDF poster in Windows 11 is straightforward, but one wrong setting can shrink the whole poster, crop important edges, or make the pages hard to align.
The safest workflow is simple: use a properly prepared poster PDF, open it in a reliable PDF reader, print at Actual Size or 100%, test one page, then trim and assemble the sheets.
If you created your poster with Rasterbator.pics, image processing happens locally in your browser. Your image is turned into a multi-page poster PDF on your device, then Windows 11 and your printer driver handle printing. For related workflows, see the device guides.
What Windows 11 can and cannot do
Windows 11 can print PDF files, but its built-in printing path is not always the clearest option for poster work.
There are two common workflows:
Print a ready-made multi-page PDF
A tool creates a PDF where each page is already one poster tile. You print that PDF at Actual Size or 100%.Use a PDF reader's poster or tiled print mode
Adobe Acrobat Reader can split one large PDF page across several sheets with its Poster option. This can help when the PDF is not already tiled, but it adds another scaling step.
For most home poster projects, the safest method is to generate a multi-page PDF first, then print it without scaling.
Before you start: understand printer margins
Most home printers cannot print all the way to the edge of the paper. In practice, that leaves an unprintable white border of about 3-5 mm on each side.
That matters because:
white borders around each page are normal
trimming is a standard part of clean poster assembly
overlap makes tiled pages easier to join neatly
edge-to-edge alignment is harder if the PDF leaves no room for trimming
If you want the finished poster to look clean, plan for trimming from the start. Include overlap when setting up the PDF so you can cut and join pages without losing important image content.
Step 1: Prepare the poster PDF
Create or download the poster as a PDF before opening the print dialog.
If you use Rasterbator.pics, check these settings while making the PDF:
paper size, such as A4 or Letter
poster layout in pages wide by pages high
overlap for easier assembly
margins that work with your printer
final PDF export
Save the file somewhere easy to find, such as your Desktop or Downloads folder. Avoid resizing the PDF later. If the page size changes after export, the poster can print at the wrong scale.
Step 2: Open the PDF in a reliable reader
Open the PDF in a dedicated PDF reader for predictable results.
Useful options include:
Adobe Acrobat Reader
Microsoft Edge PDF viewer
another PDF viewer with clear scaling controls
Adobe Acrobat Reader is often the clearest because it shows options like Actual Size, Fit, and Poster. Edge can also work, but its print dialog may vary depending on Windows updates and printer drivers.
Step 3: Choose the correct printer and paper
Open the PDF and press Ctrl + P.
Before printing, confirm:
the correct printer is selected
paper size matches the PDF: A4 with A4, Letter with Letter
orientation is correct
color or black and white is set as intended
single-sided printing is selected
print quality is appropriate for the image
Avoid automatic paper selection if your printer driver tends to guess wrong. A paper-size mismatch is one of the most common reasons a poster prints incorrectly.
Step 4: Turn off automatic scaling
This is the setting that causes most poster mistakes.
Look for one of these options:
Actual Size
100%
No scaling
Scale: 100%
Turn off these options unless you intentionally need them:
Fit
Fit to page
Shrink oversized pages
Scale to printable area
Fill page
For a ready-made multi-page poster PDF, the correct choice is Actual Size or 100%.
Step 5: Print a test page first
Before printing the full poster, print one or two pages.
Check the result for:
unexpected shrinking
missing edge detail
incorrect rotation
visible overlap area where needed
correct paper tray and paper size
a match between print preview and actual output
If the PDF includes a scale marker, measure it with a ruler. A 100 mm reference should print as 100 mm. If it prints smaller or larger, scaling is still active somewhere.
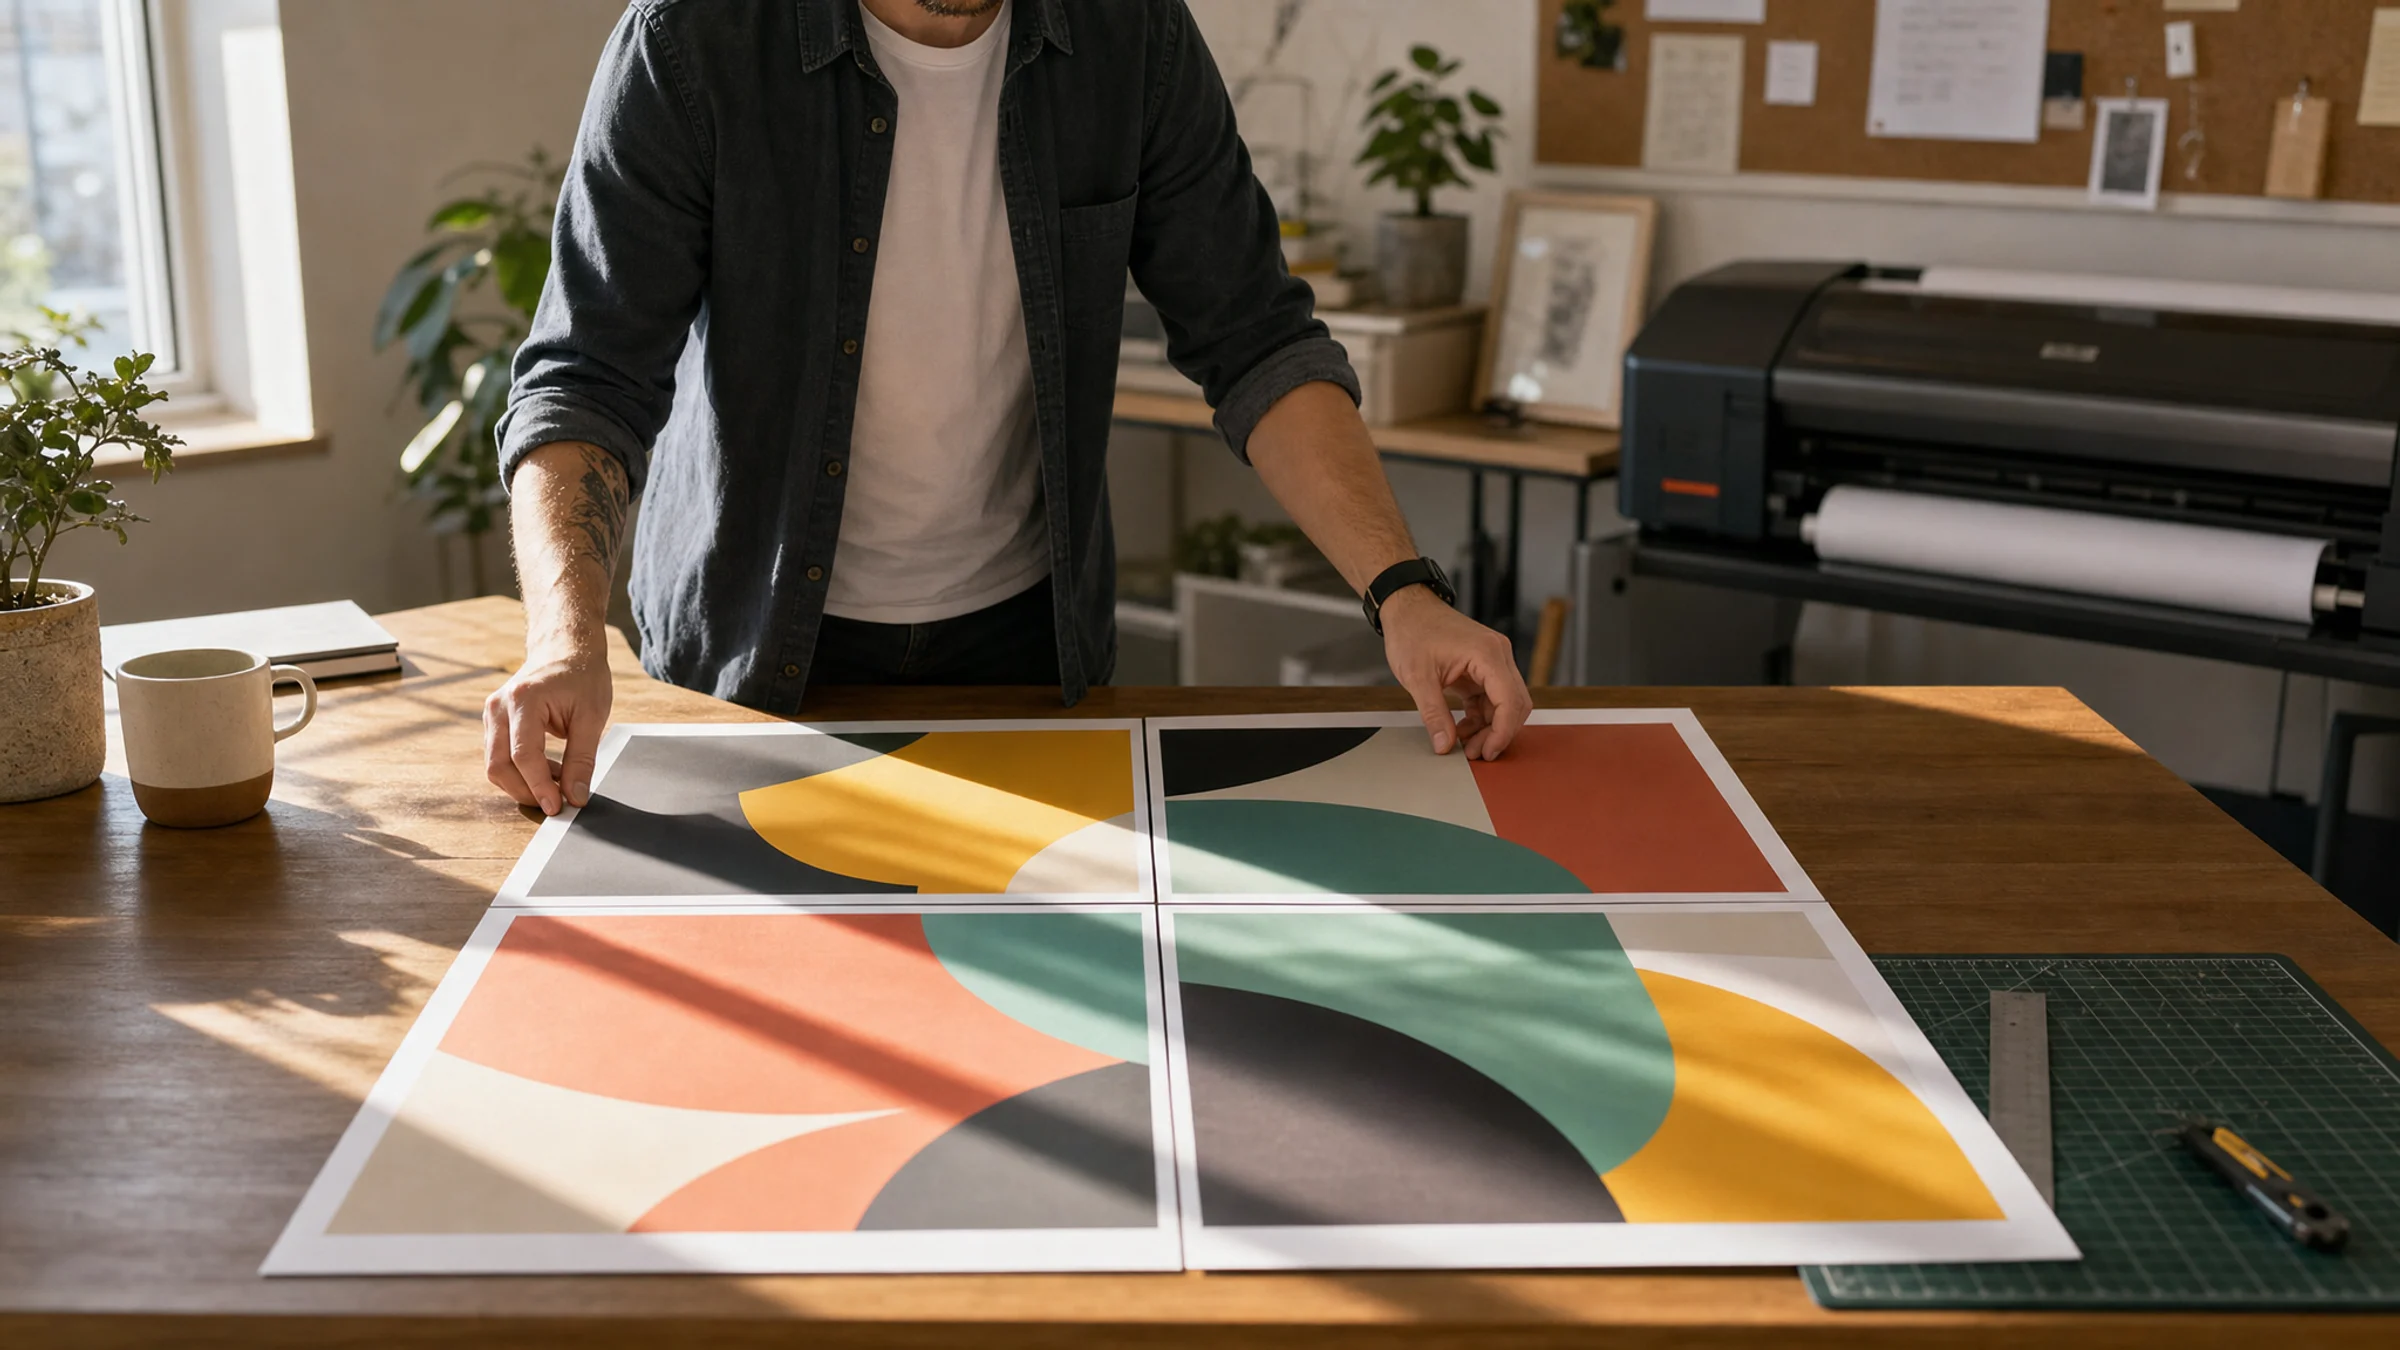
Step 6: Print and assemble the poster
Once the test page looks right, print the full file. For larger posters, print in page ranges so you can catch a jam, wrong orientation, or fading ink before wasting the whole job.
Lay all pages out on the floor or a large table before joining anything.
Use this assembly order:
Arrange all pages in the correct grid.
Check image alignment across tile boundaries.
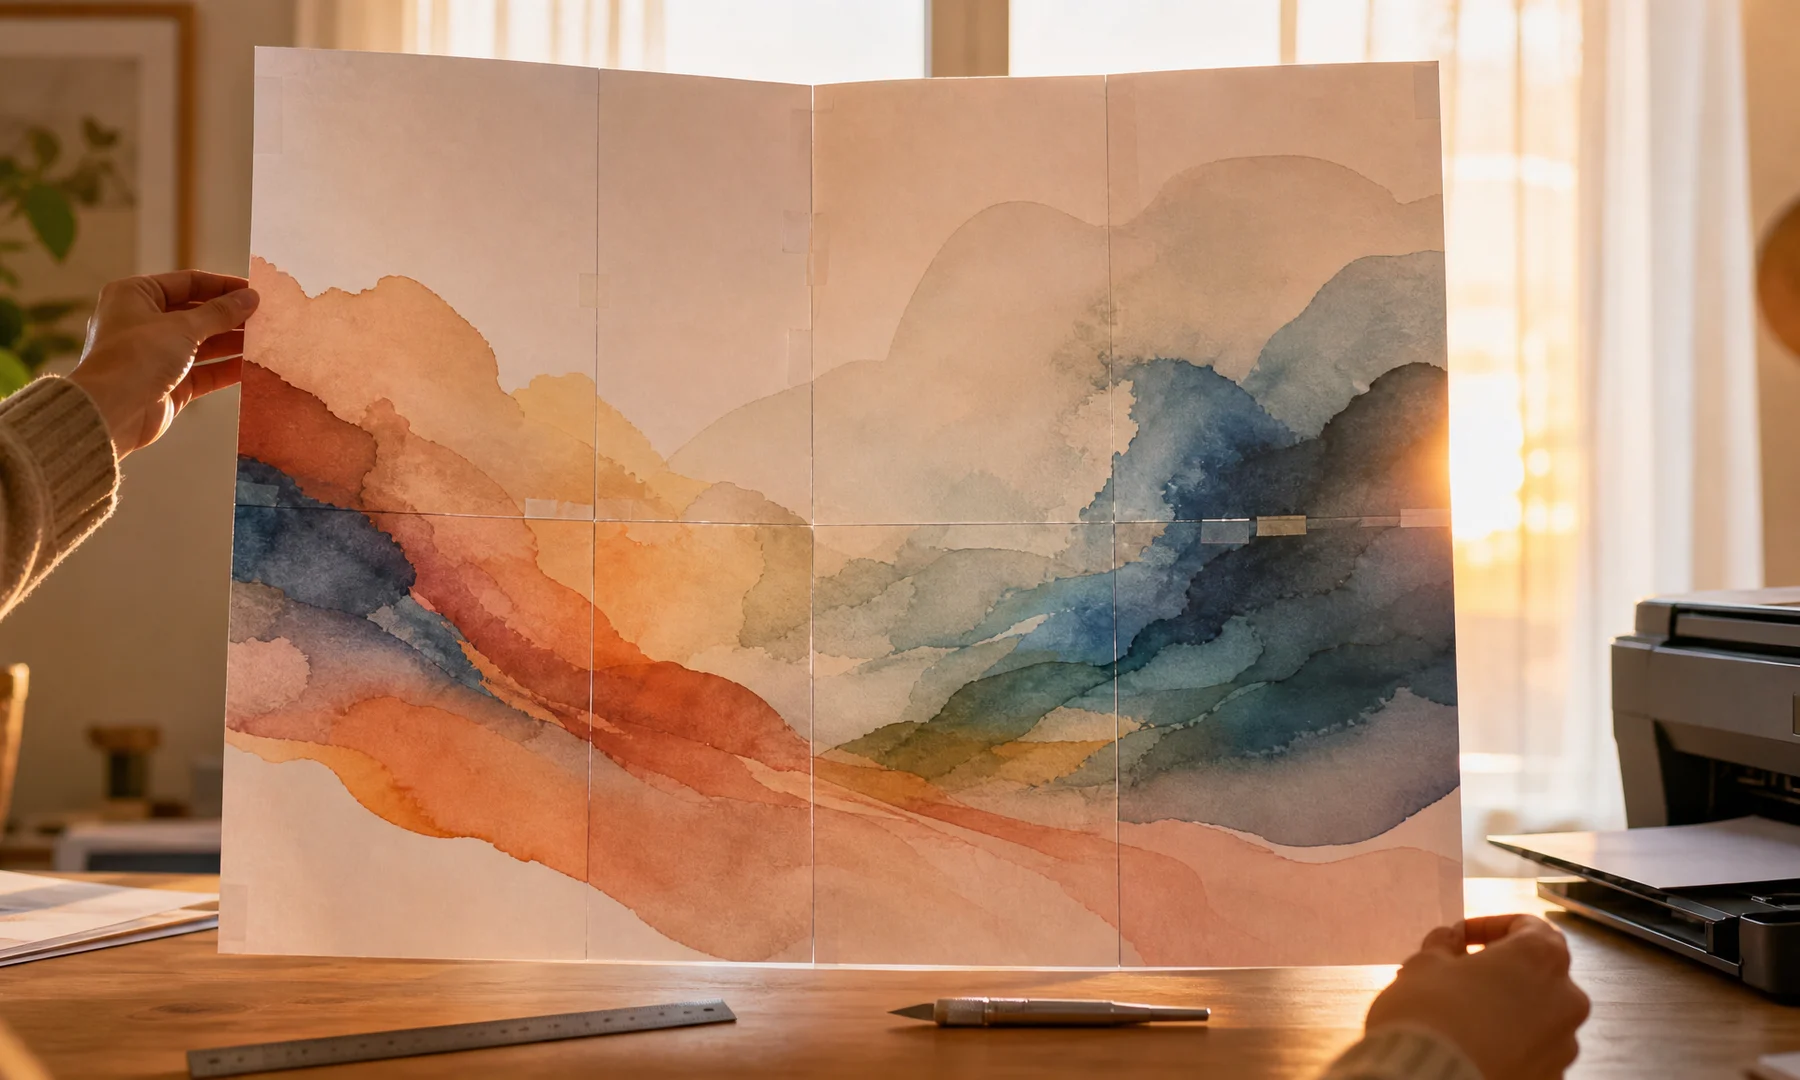
Trim only the edges that need to overlap.
Apply glue stick to the overlap areas.
Press the neighboring sheet onto the glued area and smooth the seam.
Add tape on the back side for strength once the glue has set.
Avoid glossy tape on the front if glare matters.
Glue stick works better than liquid glue for most posters because it is cleaner and less likely to wrinkle the paper. Back-side tape adds strength without making the front look patchy.
Common Windows 11 scaling mistakes
| Problem | Likely cause | Fix |
|---|---|---|
| Poster prints too small | Fit or Shrink is enabled | Use Actual Size or 100% |
| Edges are missing | Printer leaves unprintable margins | Add overlap and expect 3-5 mm white borders |
| Pages do not line up | Mixed paper sizes or scaling | Match PDF size and printer paper size |
| A4 poster prints wrong on Letter | Paper-size mismatch | Recreate the PDF for Letter or load A4 paper |
| One page spreads across many sheets | Poster mode used on an already tiled PDF | Turn off Poster mode and print normal pages |
| Image rotates unexpectedly | Auto orientation changed layout | Set portrait or landscape manually |
FAQ
How do I print a PDF poster on multiple pages in Windows 11?
The safest method is to create a multi-page poster PDF first, then open it in a PDF reader and print it at Actual Size or 100%. If you only have one large PDF page, Adobe Acrobat Reader's Poster option can split it across multiple sheets.
Should I use Fit to Page for a tiled poster PDF?
No. Fit to Page shrinks each tile slightly, which can cause alignment problems when you assemble the poster. Use Actual Size or 100% unless you intentionally want a smaller result.
Why is my poster smaller than expected?
The most common cause is automatic scaling. Look for settings such as Fit, Shrink oversized pages, or Scale to printable area and turn them off. Also make sure the printer paper size matches the PDF paper size.
Can I print an A4 poster on a Letter printer?
You can, but the layout may scale, crop, or shift. For the cleanest result, make the poster PDF for the paper size you will actually use.
Does Rasterbator.pics upload my image to a server?
No. Rasterbator.pics processes images locally in the browser. After the PDF is generated on your device, Windows 11 and your printer handle printing.
Final checklist
Confirm the PDF is the final version.
Match printer paper size to the PDF.
Select the correct printer.
Set printing to Actual Size, 100%, or No scaling.
Turn off Fit to page and Shrink oversized pages.
Turn off Poster mode unless you are tiling one large PDF page on purpose.
Verify orientation.
Print a test page first.
Prepare scissors or a craft knife, a ruler, a glue stick, and back-side tape.
Try Rasterbator.pics
Use Rasterbator.pics to test the article advice with your own image, page size, overlap, margins, and tiled PDF export.
Try Rasterbator.pics