
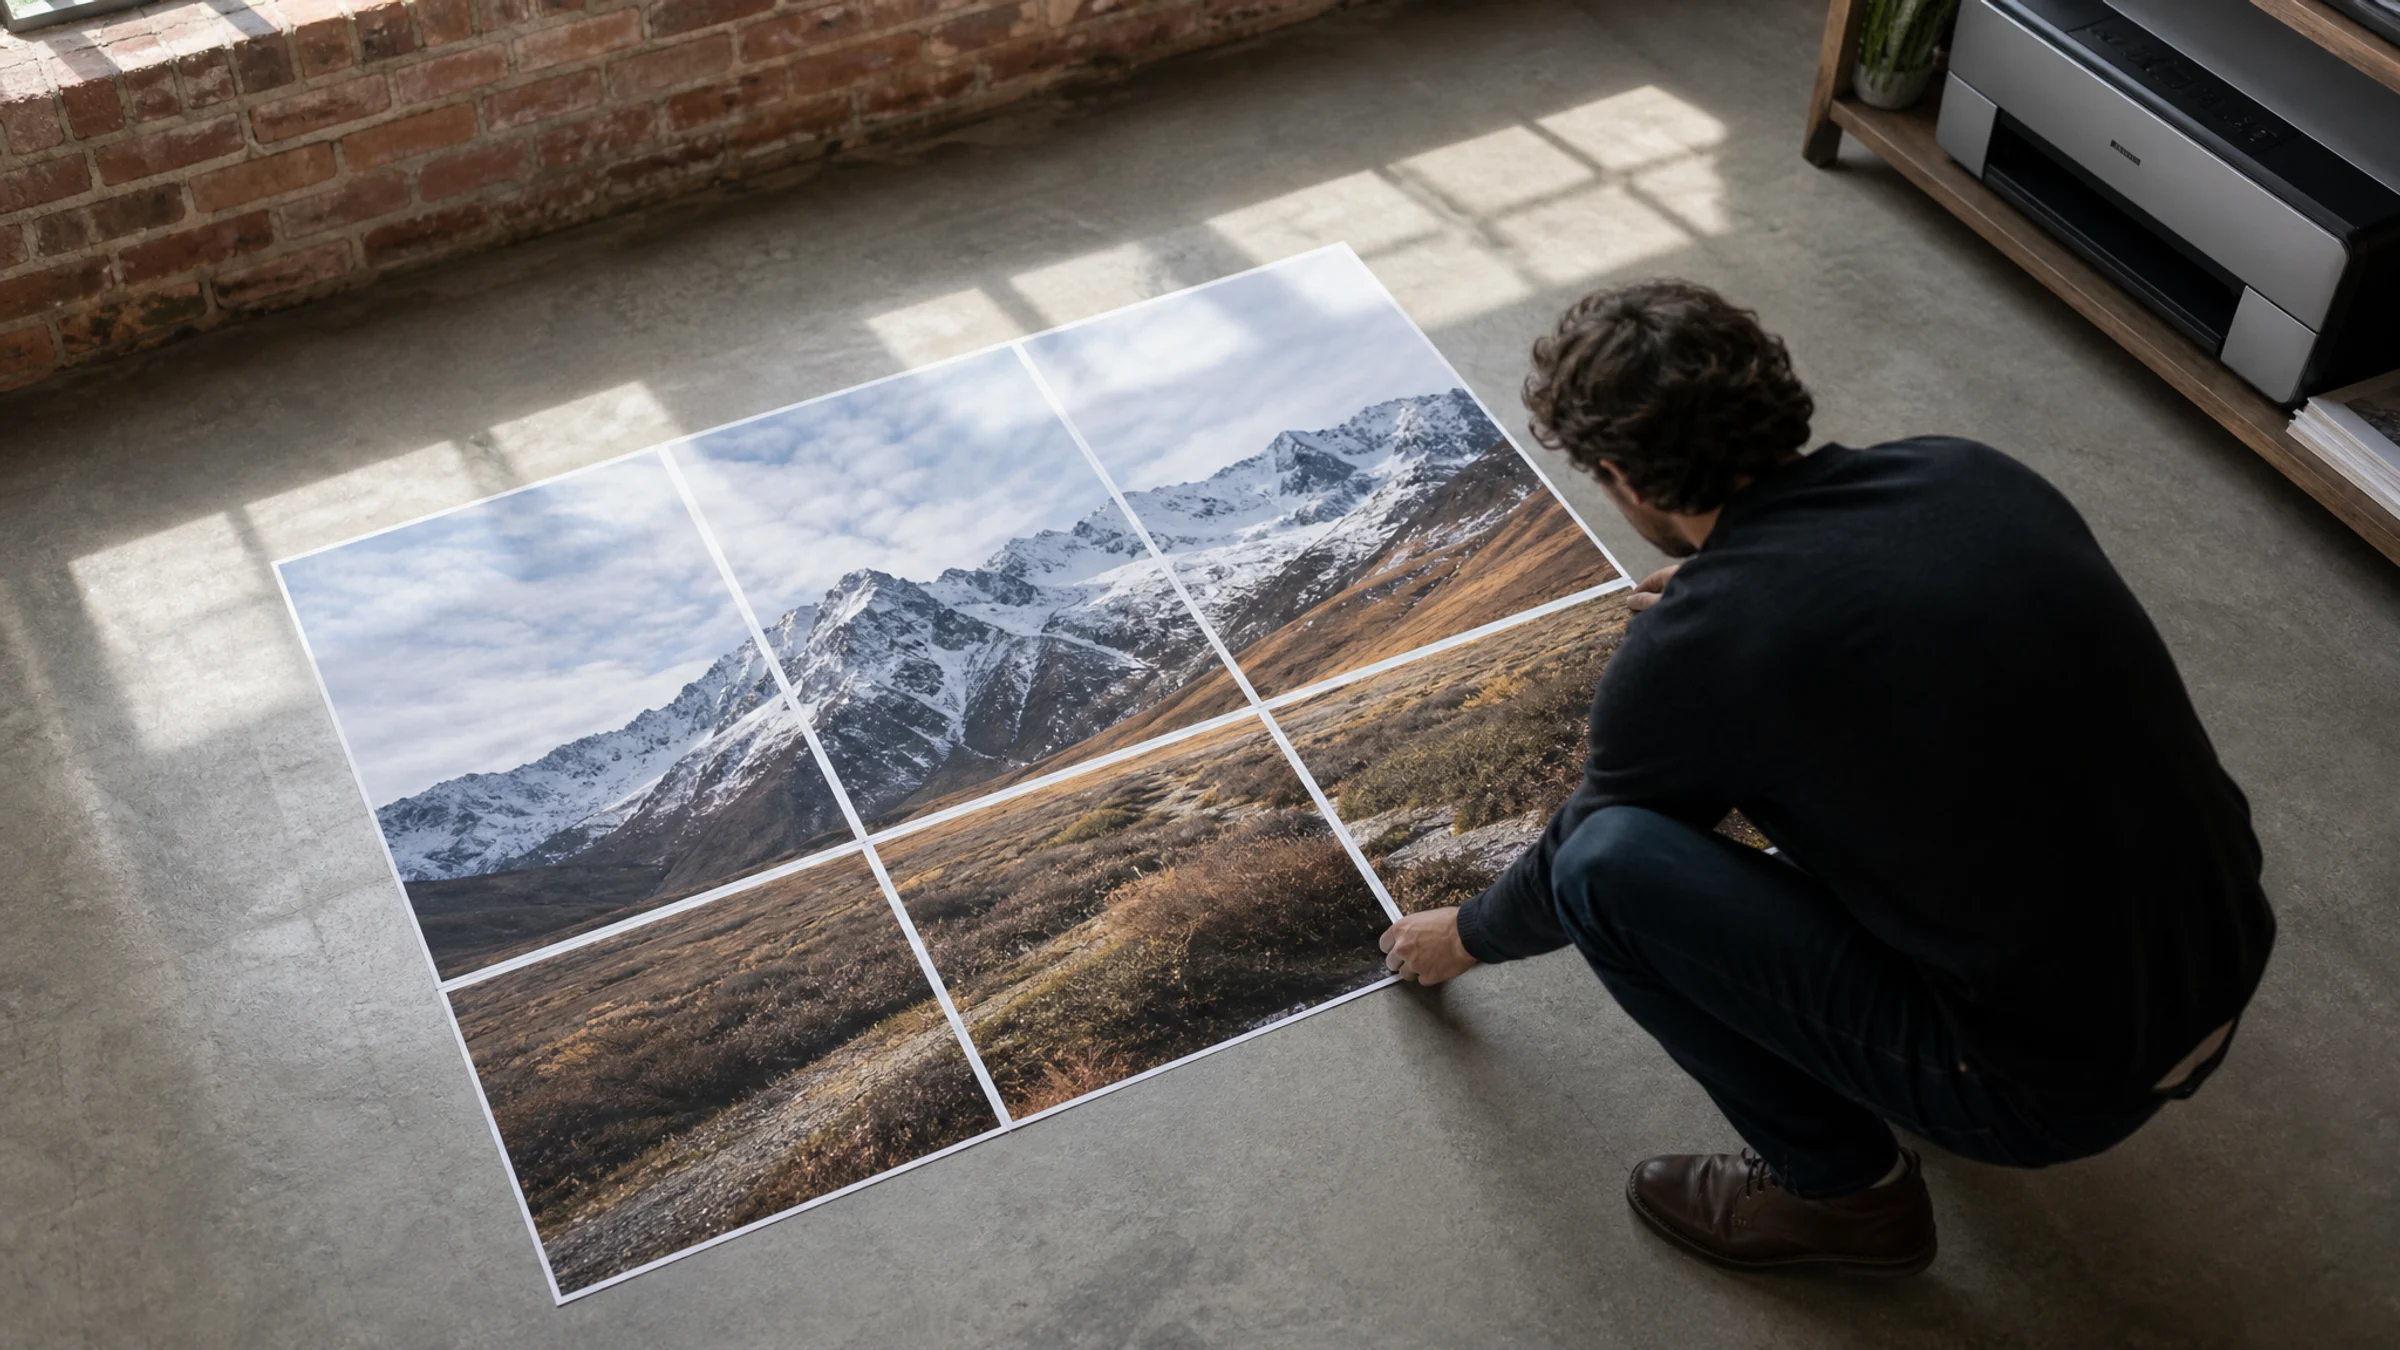
If you want one JPG to become a large poster across six A3 sheets, the cleanest workflow is to set the page grid first, export a tiled PDF, then print that PDF at Actual Size or 100%.
With Rasterbator.pics, you can do the setup locally in your browser, choose A3 paper, set a 2 x 3 layout, and generate a predictable multi-page PDF for printing.
Before you start: unprintable margins
Most home and office printers cannot print edge to edge. Expect a white border of about 3-5 mm on each sheet. That means trimming is a normal part of tiled poster assembly if you want clean joins.
Plan for that before you print. You can either trim the white margins after printing or turn on overlap in the poster settings so adjacent pages share a narrow repeated strip of the image.
What a 2 x 3 A3 poster means
A 2 x 3 A3 layout splits your image across 2 pages horizontally and 3 pages vertically, creating a six-page PDF ready to print.
A3 paper measures 297 x 420 mm per sheet.
| Page 1 | Page 2 |
|---|---|
| Page 3 | Page 4 |
| Page 5 | Page 6 |
That layout is 2 sheets wide and 3 sheets tall.
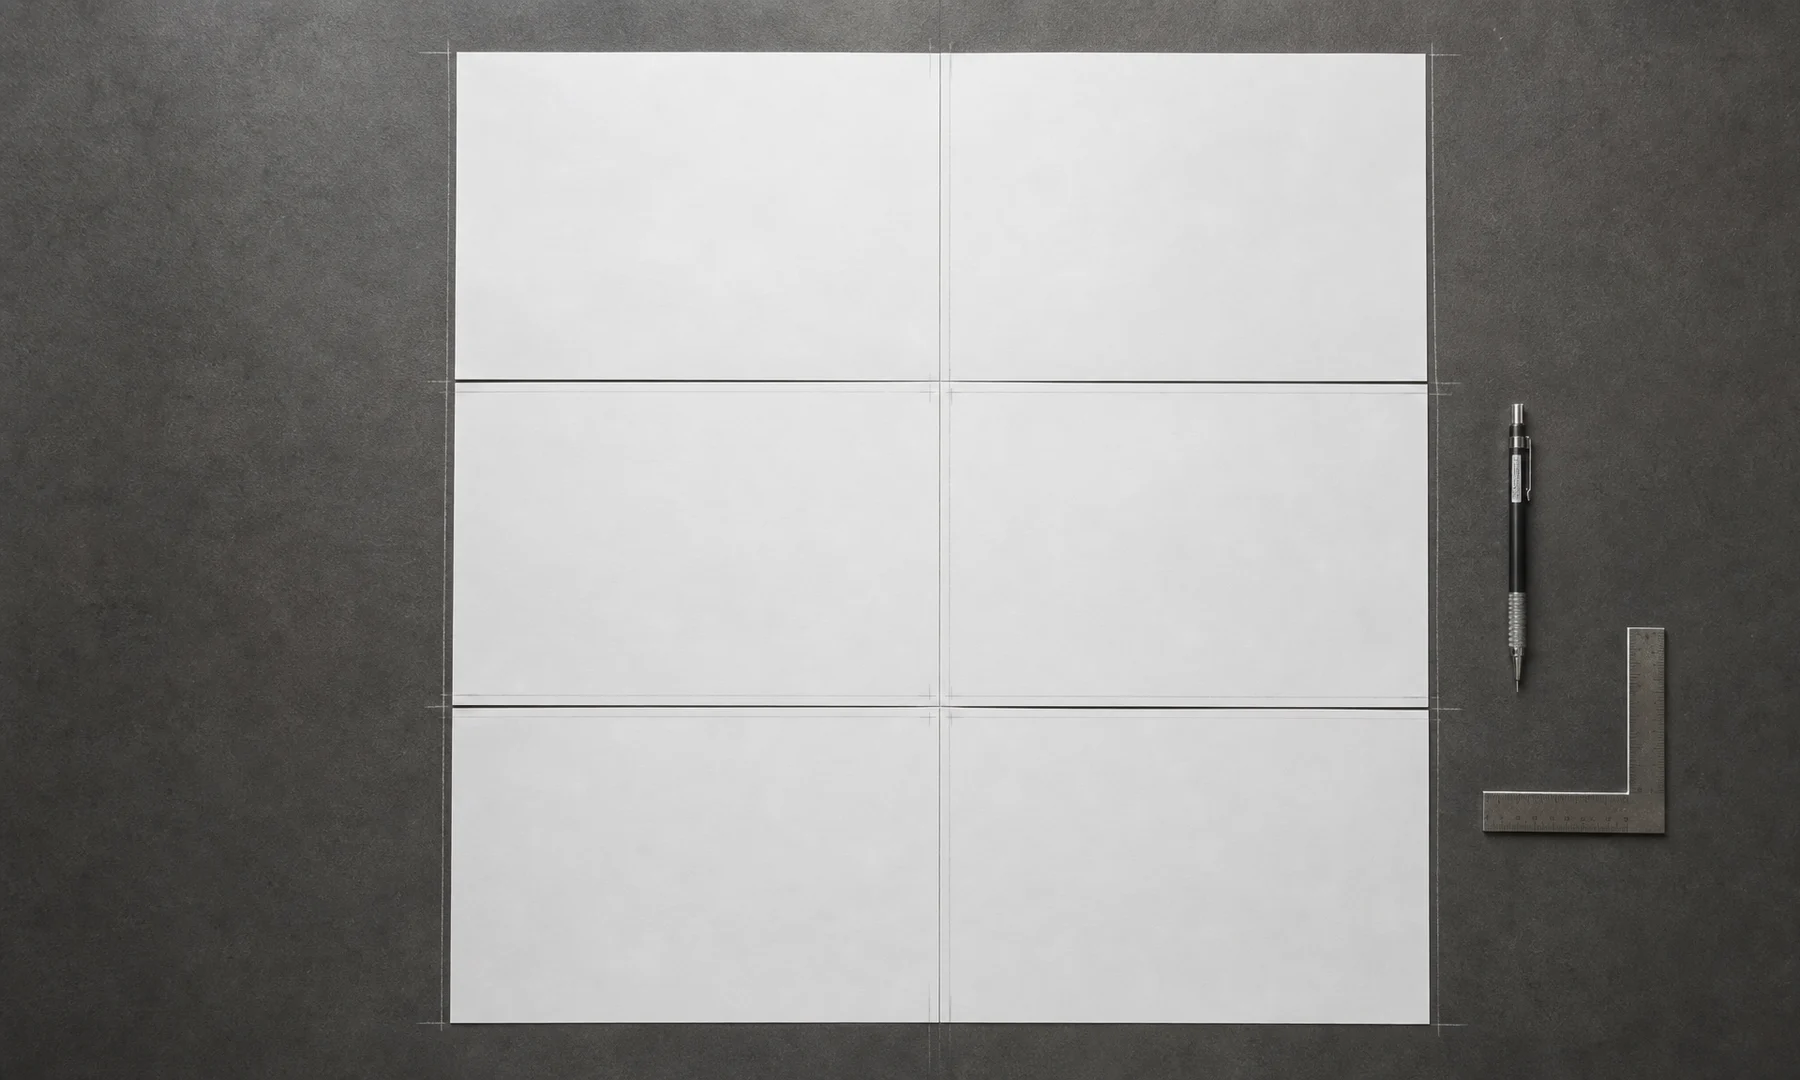
If your image is wider than it is tall, you may prefer a rotated version:
| Page 1 | Page 2 | Page 3 |
|---|---|---|
| Page 4 | Page 5 | Page 6 |
Choose the direction that best fits the JPG. A tall portrait image usually suits 2 wide x 3 tall. A wide image usually suits 3 wide x 2 tall.
Approximate finished size
Before trimming, the total paper area is roughly:
| Grid | A3 orientation | Approximate total paper area |
|---|---|---|
| 2 wide x 3 tall | A3 portrait | 594 x 1260 mm |
| 3 wide x 2 tall | A3 landscape | 1260 x 594 mm |
The visible image area will be slightly smaller on most printers unless you use a borderless A3 printer.
Step 1: Prepare your JPG
Start with the best JPG you have. A small screenshot or heavily compressed image may look soft or blocky once it is enlarged across six A3 sheets.
A few quick checks help:
Use the original image file if possible.
Crop the composition before uploading if you already know what should be included.
If the image is dark, brighten it slightly in an image editor before uploading.
Look closely at faces, text, and other details that matter.
Avoid repeatedly resaving the JPG, since that can add visible compression artifacts.
A poster maker can split the file across pages, but it cannot recover detail that is missing from the original image.
Step 2: Upload the JPG
Upload your JPG to the poster maker.
Rasterbator.pics processes images locally in your browser, so the poster setup happens on your device.
Step 3: Choose A3 paper
In the page settings, select:
Paper size: A3
Orientation: portrait or landscape
Units: millimeters or inches
For a tall poster, A3 portrait is usually the simplest choice. For a wide poster, use landscape orientation or rotate the image and layout if needed.
Step 4: Set the layout to 2 x 3 pages
Choose a six-page layout:
2 pages wide x 3 pages tall for a vertical poster
3 pages wide x 2 pages tall for a horizontal poster
Use the preview to check:
Is the main subject centered well?
Are faces or text cut awkwardly across seams?
Is too much of the image being cropped?
Does the page direction match the shape of the image?
If needed, adjust the image position or scale before exporting.
Step 5: Add overlap or plan your trimming
Because most consumer printers leave a small white border, you need a plan for assembly.
You have two practical options:
Trim the margins
Print all six pages.
Cut away the white edges where needed.
Align the image manually during assembly.
Turn on overlap
In the poster maker settings, look for the overlap option.
This adds a narrow repeated strip of image between neighboring pages.
Overlap makes page alignment easier and is often the best choice for home printing.
If you want the cleanest possible seams, overlap plus careful trimming is usually easier than trying to align untouched sheets edge to edge.
Step 6: Export the tiled PDF
When the preview looks right, export the multi-page PDF.
This is the safest format for printing because the page size, page order, and tiling are already fixed. It is usually more predictable than printing the JPG directly from an image viewer.
For a 2 x 3 layout, the PDF normally maps like this:
| PDF page | Poster position |
|---|---|
| 1 | Top-left |
| 2 | Top-right |
| 3 | Middle-left |
| 4 | Middle-right |
| 5 | Bottom-left |
| 6 | Bottom-right |
In a 3 x 2 layout, the order is usually left to right across the first row, then left to right across the second row.
Step 7: Print the PDF at Actual Size or 100%
Open the exported PDF in a reliable PDF viewer. Adobe Acrobat Reader works well, and many built-in system PDF viewers also work if they preserve the page size correctly.
Open the print command, then check these settings carefully:
Paper size: A3
Scale: Actual Size or 100%
Do not use: Fit to page, Shrink to printable area, or Scale to fit
Orientation: Auto, or the same orientation used in the PDF
Pages: All pages, or page 1 as a test first
To print a test page, select only page 1 in the print dialog. Check that the image is not cropped and that the scale looks correct. If the test page looks right, print the remaining five pages.
Click Print. Wait for all six pages to finish printing before handling them, especially if you are using an inkjet printer.
Adobe Acrobat Reader Poster printing: when to use it
Adobe Acrobat Reader includes a Poster print mode that can split a large single-page PDF across multiple sheets. That is useful when you already have one oversized PDF and want Acrobat to tile it.
For this task, it is simpler to create the tiled PDF in Rasterbator.pics first, then print it at Actual Size or 100%. That gives you a browser-local setup, clearer poster controls, and a predictable generated PDF before you reach the print dialog.
If you export a six-page tiled PDF from Rasterbator.pics, do not apply Acrobat Poster tiling again. That would tile an already tiled file.
Checklist before you hit Print
The correct JPG is loaded.
Paper size is set to A3.
The layout is 2 x 3 or 3 x 2, depending on the image direction.
The preview shows six pages in total.
Important details do not fall badly across seams.
You expect a 3-5 mm unprintable border on most printers.
Overlap is enabled, or you are ready to trim margins.
The file is exported as a multi-page PDF.
Print scale is set to Actual Size or 100%.
Fit, Shrink, and automatic scaling are turned off.
You have enough A3 paper and ink or toner.
You are ready to print page 1 as a test before printing all six.
Step 8: Assemble the six A3 sheets
Let inkjet pages dry fully before trimming, gluing, or stacking them.
Lay the sheets out in order on a large table or on the floor.
For a 2 x 3 poster:
| 1 | 2 |
|---|---|
| 3 | 4 |
| 5 | 6 |
For cleaner assembly:
Trim only the edges you need to remove.
Use a metal ruler and a sharp craft knife for straighter cuts.
Align the printed image, not just the paper edges.
If you have enabled overlap, use a glue stick for a flat, clean finish.
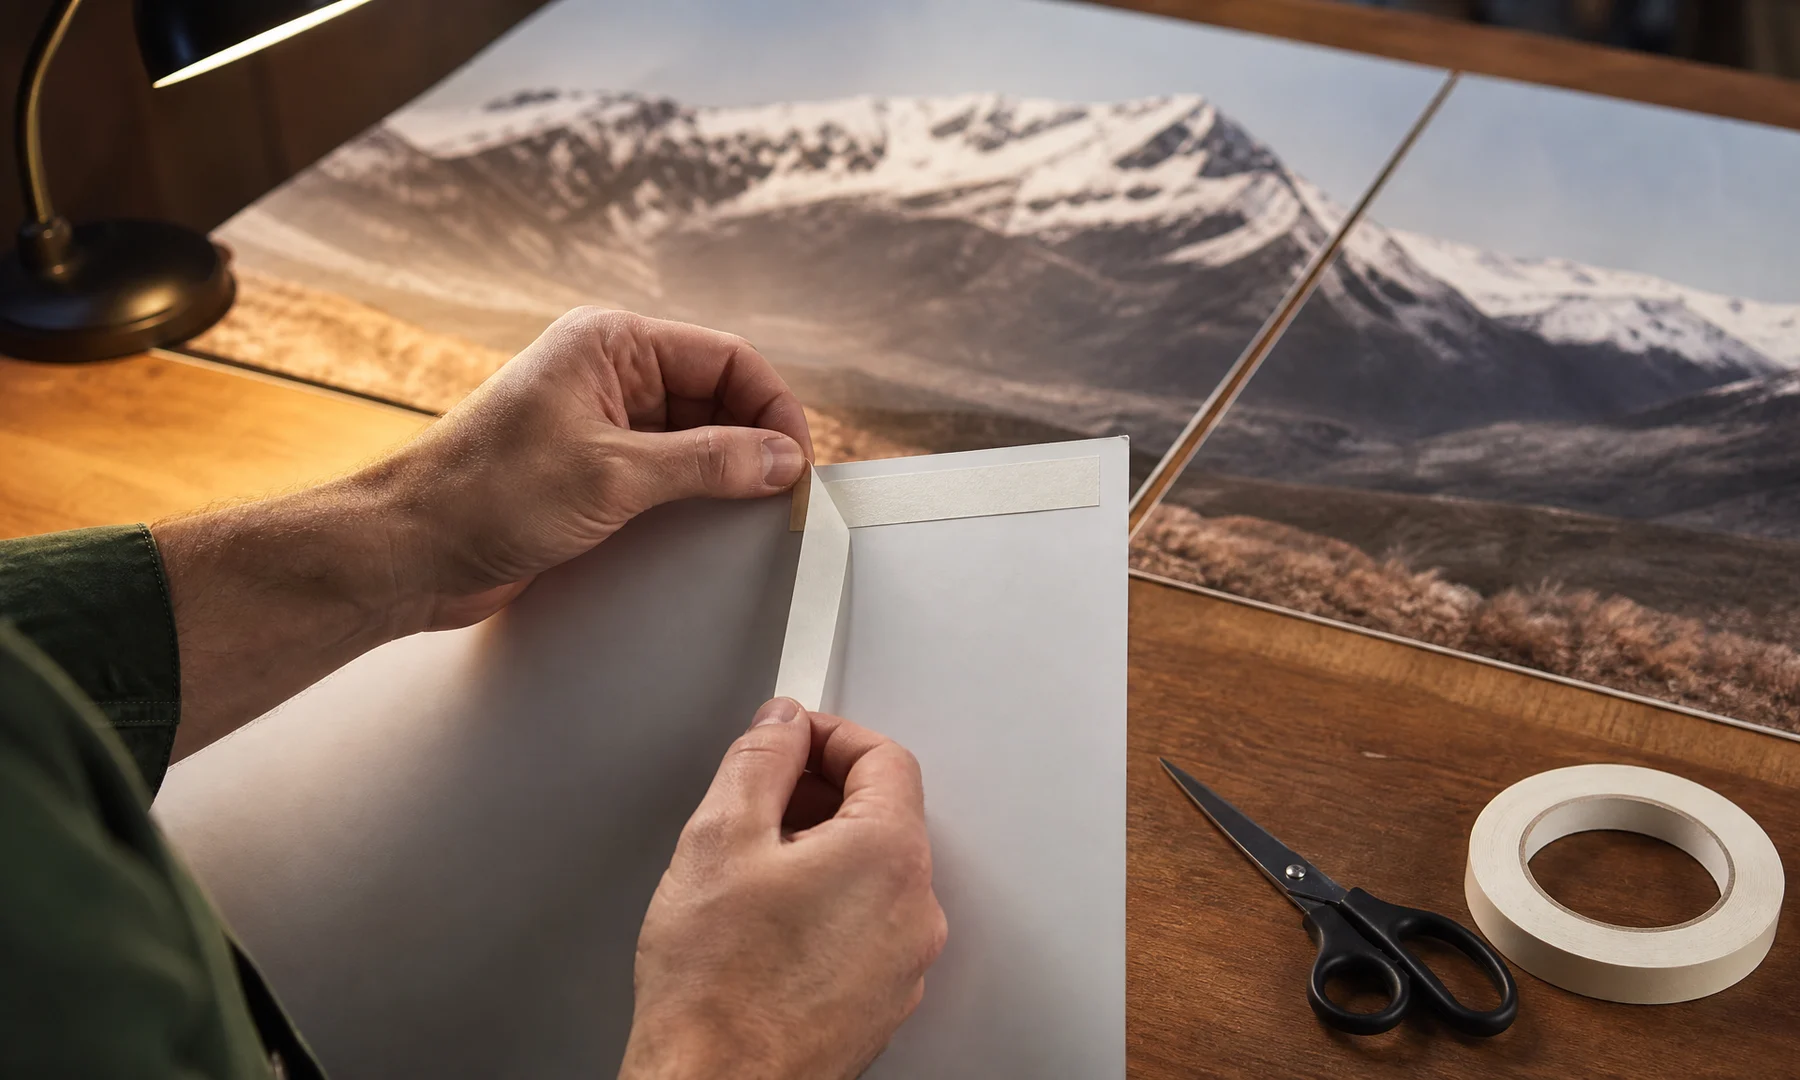
Reinforce the seams from the back with tape.
Avoid front-side tape if glare, texture, or visible seams matter.
Do not use clear tape on the front if you want the poster to look neat under room light.
Check the full layout before pressing everything down permanently.
Glue stick usually looks cleaner than liquid glue because it adds less moisture and reduces wrinkling. Back-side tape adds strength without making the front shiny.
Troubleshooting
The pages do not line up
The most common cause is print scaling. Reprint using Actual Size or 100%, and make sure Fit or Shrink is turned off.
Also confirm that all pages were printed on A3 paper in the same orientation.
There are white gaps between pages
This usually happens because printers cannot print right to the paper edge. Trim the margins, use overlap, or use a borderless A3 printer if you have one.
Part of the image is cut off
Check that the printer is set to A3, not A4 or Letter. Also confirm that the PDF viewer is not applying automatic scaling or rotation.
The image looks blurry
The source JPG may be too small for a six-sheet poster. Use a higher-resolution original file if possible.
The colors look different from the screen
Paper prints almost always look different from a bright display. Paper type, printer settings, and color handling all affect the result. If color matters, print one test page first.
FAQ
Can I print a JPG on six A3 pages at home?
Yes, if you have an A3 printer. Create a six-page tiled PDF in Rasterbator.pics, then print it at Actual Size or 100%.
Can I use an A4 printer instead?
Yes, but the finished poster will be smaller unless you increase the page count. The same workflow still applies: choose the paper size, set the page grid, export the PDF, and print at 100%.
Should I choose 2 x 3 or 3 x 2?
Use 2 x 3 for a tall poster and 3 x 2 for a wide one. Match the layout to the shape of your image.
Why export a PDF instead of printing the JPG directly?
A tiled PDF keeps the page size and page order more predictable. Direct JPG printing often introduces automatic scaling that can throw off alignment.
Do I need to trim the pages?
Usually, yes. Most printers leave a 3-5 mm white border, so trimming is normal if you want clean joins.
What is the best way to join the pages?
A glue stick works well on overlap areas, and tape on the back adds strength. Avoid tape on the front if you want to minimize glare and visible seams.
Ready to make the poster?
If you want the quickest route from JPG to a six-sheet A3 poster, set up the layout in Rasterbator.pics, export the tiled PDF, and print it at Actual Size or 100%.
Try Rasterbator.pics
Use Rasterbator.pics to test the article advice with your own image, page size, overlap, margins, and tiled PDF export.
Try Rasterbator.pics