A large classroom world map does not have to be expensive, and it does not have to come from a specialty print shop. With Rasterbator.pics, you can turn a map image into a multi-page poster and print it at home or at school on A4 or Letter sheets.
Most home and school printers leave a small unprintable white border, usually about 3-5 mm on each side. That means trimming is a normal part of tiled poster assembly if you want coastlines, borders, and labels to line up cleanly.
Rasterbator.pics processes your image in your browser without uploading it to a server, so you can prepare materials quickly and keep files private. This is useful when you're testing different poster sizes, checking label readability, or adapting a map for a classroom, homeschool room, library corner, dorm, or rental wall.
This guide covers practical world map poster ideas, sizing advice, readability checks, tiled printing basics, and assembly methods that make the final display sturdier and easier to live with.
Before and after: what changes when a world map becomes a tiled poster
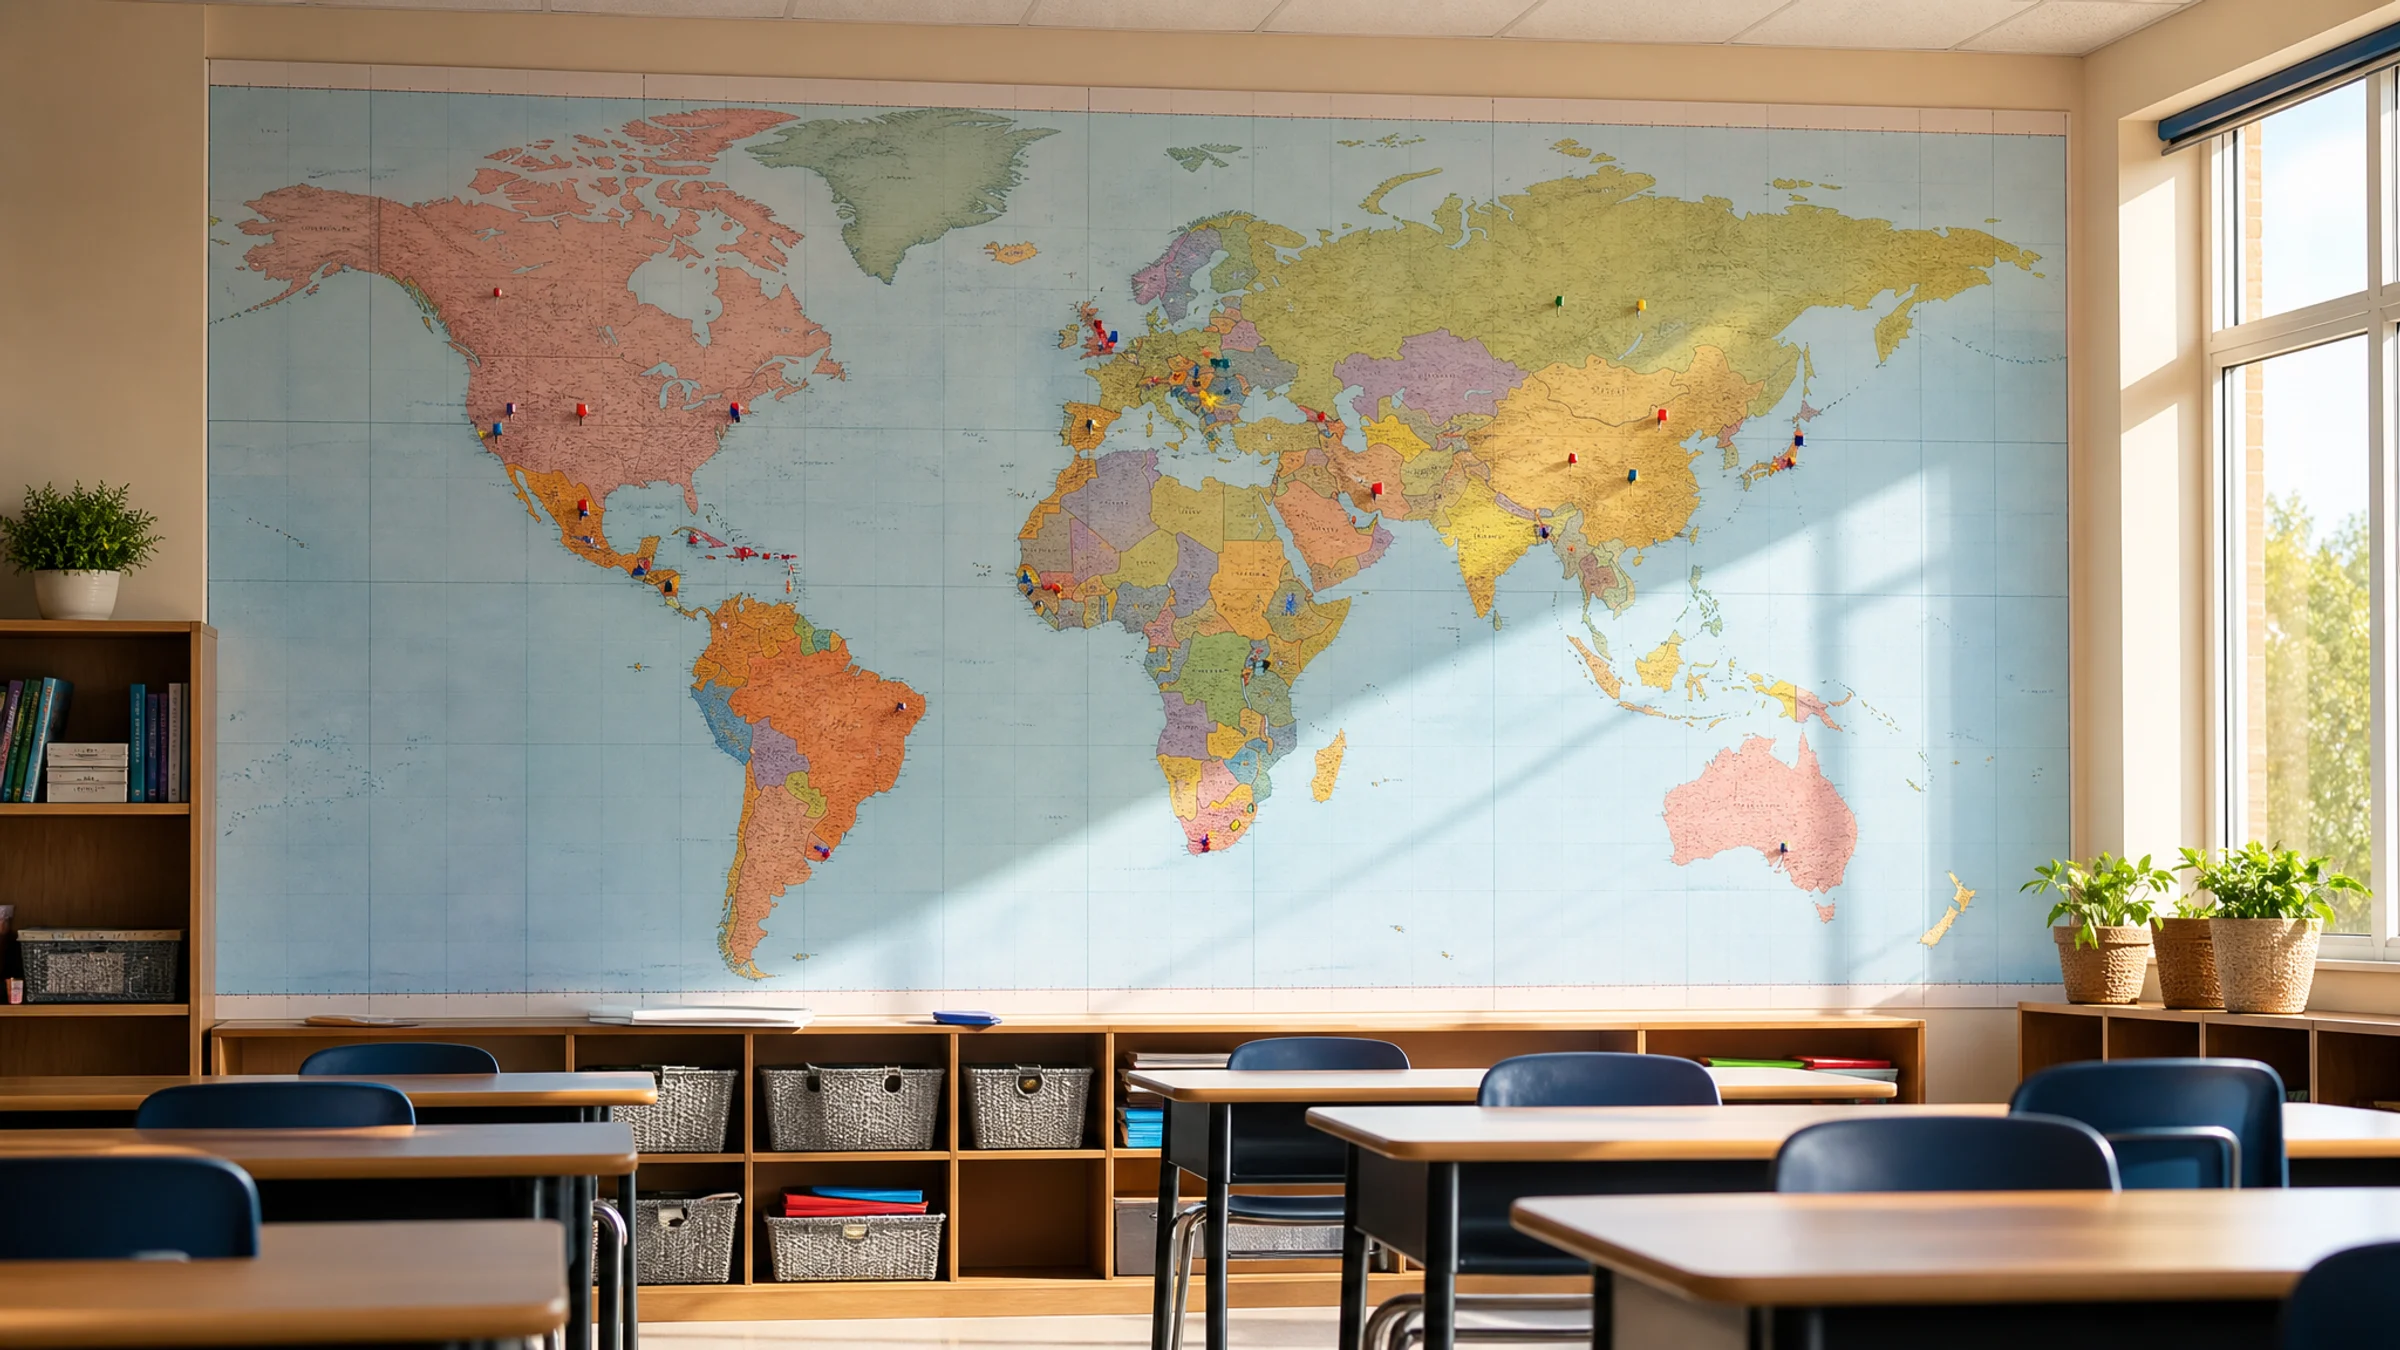
A map that looks detailed on a laptop screen has to do a different job once it goes on a classroom wall.
| Before: ordinary map image | After: classroom tiled poster |
|---|---|
| Looks good on a laptop | Readable from several feet away |
| Many small labels compete for attention | Important labels remain legible |
| One flat image size | Sized to fit a real wall space |
| No paper seams | Seams are planned and aligned cleanly |
| Temporary digital reference | Durable classroom display with tape reinforcement |
The best classroom map isn't always the most detailed—it's the one students can actually use from their desks.
10 classroom world map poster ideas
Choosing the right map image
For tiled poster printing, the source image matters. A large final poster will expose every weakness in the original file.
Look for:
High resolution
Clear labels
Strong contrast
Simple color palette
Minimal decorative clutter
Permission to print for your intended use
Avoid:
Small screenshots
Blurry map images
Maps with tiny labels
Heavy watermarking
Overly detailed maps for young students
Images that are not licensed for classroom printing
Practical rule: if you zoom in and the labels look fuzzy, they'll look fuzzy on the wall too.
How large should a classroom world map poster be?
The right size depends on your wall space, viewing distance, and how dense the labels are.
Note: most home and school printers cannot print to the paper edge and leave unprintable margins of 3-5 mm. Plan for this when sizing. Rasterbator.pics accounts for margins automatically, but you'll still trim one or two edges of many sheets during assembly.
A smaller classroom reference map might be 4 to 6 sheets wide. A main teaching display may need 8 to 12 sheets or more.
Suggested sizes for A4 or Letter tiled printing
| Use case | Suggested poster width | Approximate tiled layout |
|---|---|---|
| Desk-side study map | 60-90 cm / 24-35 in | 3-4 sheets wide |
| Small classroom wall | 100-140 cm / 39-55 in | 5-7 sheets wide |
| Main teaching display | 150-220 cm / 59-87 in | 8-11 sheets wide |
| Hallway or library feature | 220 cm+ / 87 in+ | 12+ sheets wide |
These are starting points. The best size is the smallest one where labels remain readable from the expected viewing distance.
Keeping labels readable
World maps become hard to use when they are too dense, too small, or printed with weak contrast.
Use these checks before printing the full poster:
View the map at the planned print size if possible.
Check the smallest country labels you expect students to read.
Avoid maps where every city label is tiny.
Prefer clear sans-serif or high-contrast labels.
Choose a simpler map for younger students.
Print one complete test tile that includes small labels.
Before printing the full poster, print one complete tile and hold it at arm's length from where students will sit or stand. If you cannot read the smallest country names or city labels from that distance, the full poster will disappoint. If the test tile passes, go ahead with confidence.

Rasterbator.pics settings and effect choices
Tiled poster printing offers two approaches: a clean, clear print or a stylized raster effect with visible dots or patterns. For a classroom world map, clarity usually matters more than visual drama.
For a clean classroom reference map
Use settings that preserve detail:
Keep the map as clear as possible.
Avoid very large dots or heavy stylization.
Use a moderate poster size rather than extreme enlargement.
Check that borders and labels survive the effect.
Prefer full-color or clean black-and-white output depending on your printer.
For decorative map wall art
A stylized raster effect can work if the map is decorative rather than instructional.
Good decorative uses include:
Dorm room map art
Reading corner display
Vintage-style classroom decor
Large feature wall
Abstract travel-themed poster
Avoid strong effects if students need to read country names, capitals, rivers, or time zones.
Poster printing at home: what to expect
Tiled printing divides a large poster into smaller pages. You print the pages, trim where needed, then assemble them into one display.
Common materials:
A4 or Letter printer paper
Scissors or a craft knife
Ruler or straightedge
Glue stick
Clear tape
Painter's tape or removable wall strips
Optional backing board or poster board
Most consumer printers have a 3-5 mm unprintable margin on all sides. You will likely need to trim these white edges from your sheets so your map's lines and labels align neatly where pages meet.
Crucial: always check your printer dialog for scaling. Set it to 100% or Actual Size. If your printer defaults to Fit to Page, Scale to Fit, or Shrink Oversized Pages, the tiled pages may not line up correctly.
Should you use Adobe Acrobat Reader Poster printing?
Adobe Acrobat Reader includes a Poster option for tiled printing PDFs. It can be useful when you already have a PDF and want basic tiling controls.
It may help with:
Printing a PDF across multiple sheets
Setting tile scale
Adding overlap
Managing simple tiled output
However, Acrobat Reader's Poster mode works best when you already have a PDF file. If you're starting with an image file such as JPG or PNG, Rasterbator.pics is the more direct choice because it is built specifically for converting images into tiled posters in your browser and generating a predictable PDF output for printing.
A practical workflow: prepare the poster layout first in Rasterbator.pics, export the PDF, then print that PDF at the correct scale using a reliable PDF viewer or printer dialog.
Whichever tool you use, the key print setting is the same: Actual Size or 100%. Do not use "Fit to page" because it may change the scale between tiles and cause misalignment.
Assembly method for a durable classroom display
A classroom poster needs to survive handling, cleaning, air movement, and repeated attention. Back-side tape reinforcement prevents seams from separating under classroom use.
Step 1: Sort the pages
Lay the sheets on the floor or a large table. Arrange them in order before trimming or gluing. Check that the image flows correctly from left to right and top to bottom.
Step 2: Trim only where needed
Because printers have 3-5 mm unprintable margins, some sheets will need trimming to remove white borders. Trim carefully with a ruler and craft knife, or use scissors if the design allows it.
Don't trim every edge automatically. Keep outside margins if they help the poster stay square.
Step 3: Dry-fit the full map
Before gluing, overlap or align the sheets and check:
Country borders match
Coastlines match
Labels are not broken awkwardly
Rows are straight
No page is upside down
No sheet is missing
Step 4: Use glue stick on overlaps
A glue stick is easier to control than liquid glue and causes less wrinkling on thin paper. Apply glue near the overlap or edge, align the image carefully, then press flat from the center outward.
For clean joins, glue stick is usually easier than front-side tape. If visible shine or seam glare matters, avoid taping across the front.
Step 5: Reinforce the back side with tape
Once the front is aligned, flip sections over and tape the back side along seams. This strengthens the poster without making the front look shiny or messy.
For a large classroom map, reinforce both horizontal and vertical seams.
Step 6: Mount without damaging walls
In classrooms, dorms, and rentals, avoid permanent adhesives unless you have permission.
Wall-safe options:
Painter's tape
Removable poster strips
Washi tape
Binder clips on a line
Foam board mounted with removable strips
Bulletin board pins if the board allows it
Avoid strong permanent tape on painted walls unless you have permission.
If the wall surface is delicate, test one small adhesive piece first.
Layout variations for classroom walls
You don't have to assemble every world map as a plain rectangle. Different layouts solve different wall problems.
| Layout | Best for | Notes |
|---|---|---|
| Single large rectangle | Main teaching wall | Most readable and traditional |
| Map centered above a shelf | Study corner | Good for homeschool and dorm rooms |
| Map with side labels | Classroom reference wall | Add vocabulary, compass rose, or key terms |
| Map plus student markers | Interactive lessons | Use removable dots instead of pins |
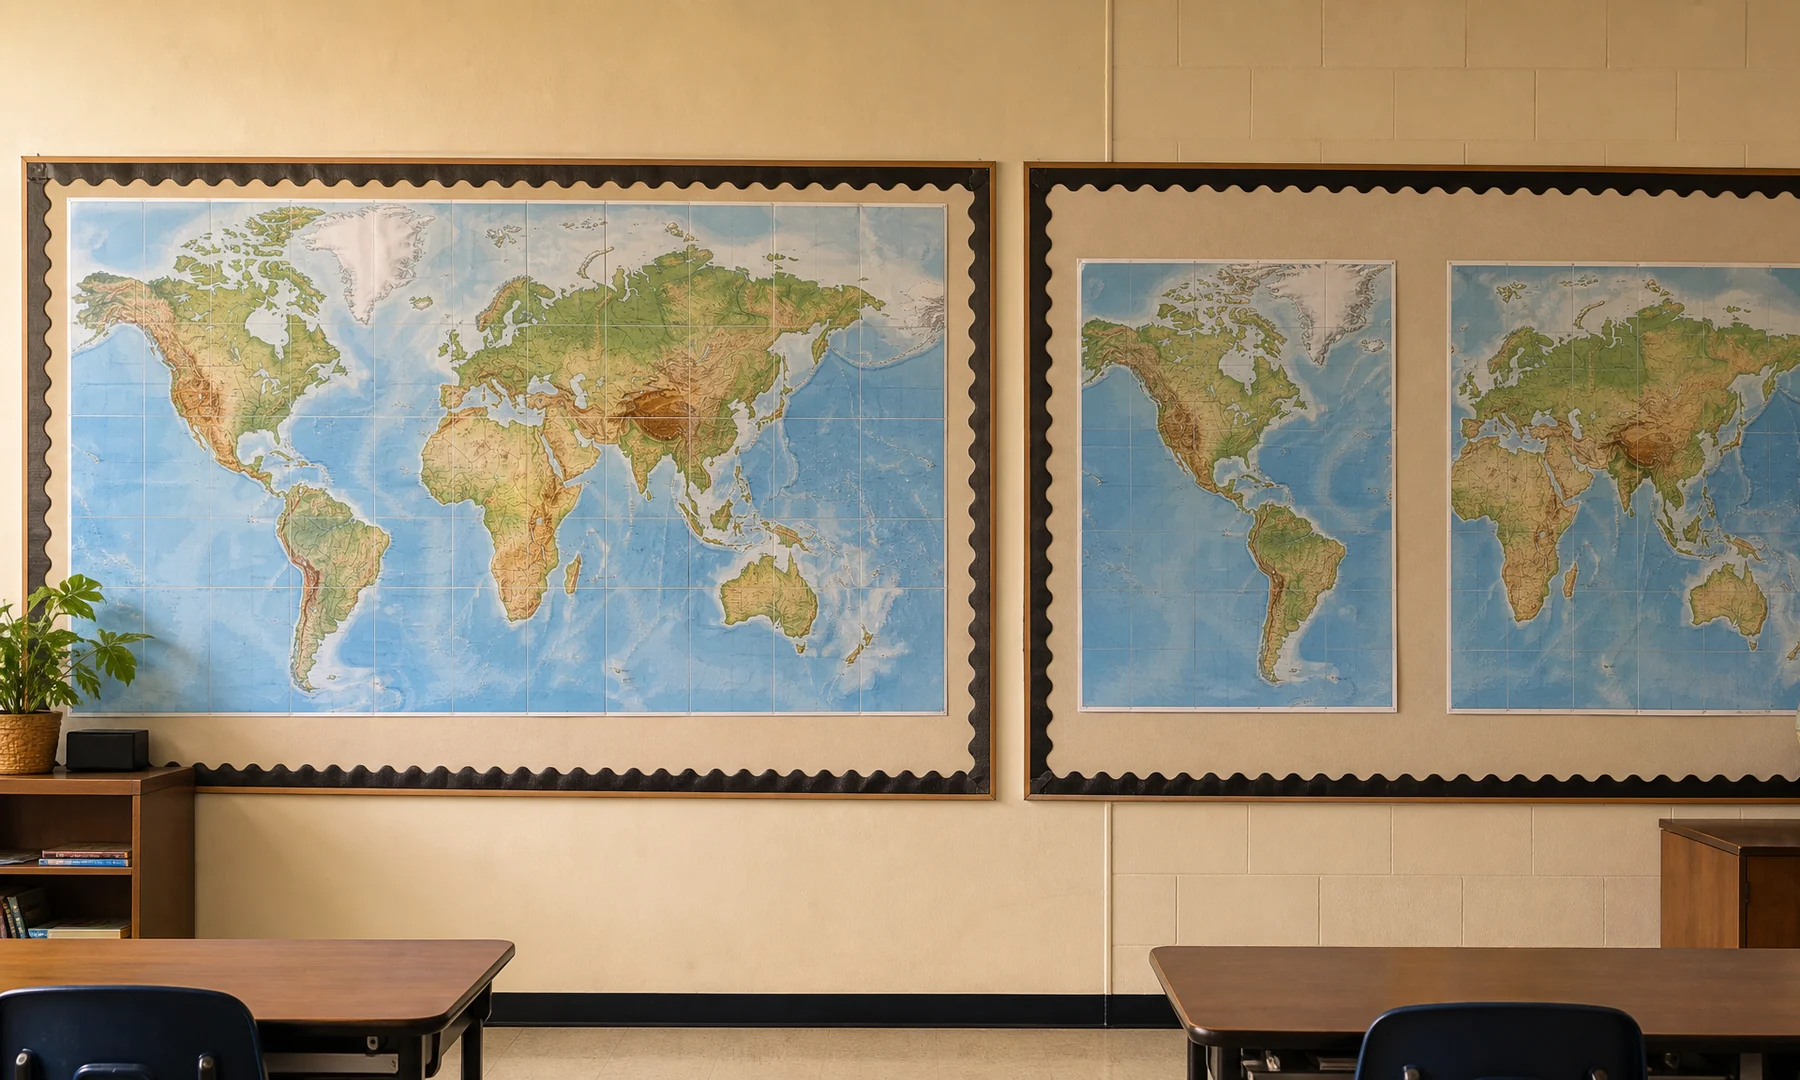
| Map split into panels | Large rental wall | Easier to move and replace |
| Map on foam board | Long-term display | More durable and flatter |
| Map with border frame | Finished decor look | Use colored paper strips or tape |
Practical classroom map ideas by subject
Geography
Use a political or physical map. Add removable labels for continents, oceans, mountain ranges, and rivers.
History
For historical lessons, use a map with fewer modern details. Add arrows for migration, trade routes, exploration, or conflict timelines.
Literature
Mark the settings of books and authors. Pair the map with book covers or student review cards.
Science
Use a physical map to discuss biomes, climate zones, tectonic plates, ocean currents, or natural resources.
Language learning
Mark countries where the target language is spoken. Add greetings, flags, or student research cards.
Checklist before you hit Print
Choose a high-resolution map with readable labels.
Confirm you have permission to print the image for your use.
Measure the wall space.
Pick a poster size that fits the room and viewing distance.
Print one complete test tile with small labels.
Hold that test tile at viewing distance and check the smallest labels.
Check colors and contrast on paper, not only on screen.
Plan for 3-5 mm unprintable printer margins.
Decide which edges need trimming.
Confirm printer scaling is set to Actual Size or 100%.
Make sure Fit to Page, Scale to Fit, or Shrink settings are off.
Prepare glue stick, ruler, scissors or craft knife, and tape.
Reinforce seams with tape on the back side.
Use wall-safe mounting supplies.
Common mistakes to avoid
Printing from a low-resolution screenshot
Choosing a map with labels too small for classroom viewing
Using a heavy artistic effect on a reference map
Forgetting that printers leave unprintable margins
Mixing Fit to Page and 100% scale settings between print attempts
Trimming too much before checking alignment
Using wet glue that wrinkles thin paper
Mounting directly with strong tape that damages paint
Assembling without back-side tape reinforcement
FAQ
Can I print a classroom world map on A4 sheets?
Yes. A4 sheets work well for tiled printing, and Letter-size sheets work well too. The key is choosing a poster size that fits your wall and printing every page at the same scale—preferably Actual Size or 100%.
How big should a classroom world map poster be?
For a small classroom wall, about 100-140 cm wide is often useful. For a main teaching display, 150-220 cm wide is usually easier to read. Always test one tile with small labels before printing the full set.
Will country names stay readable after tiling?
Yes, but only if the source image is sharp and the final poster is large enough. Tiling enlarges the image; it does not fix blurry labels. Use a high-resolution map and do a test print.
Do I need to trim the pages?
Usually yes, at least on some edges. Most printers have 3-5 mm unprintable margins. Trimming helps coastlines, borders, and labels line up neatly between sheets.
What is the best way to assemble the map?
Dry-fit the pages first, trim where needed, use a glue stick for overlaps, and reinforce the seams with tape on the back side. For a cleaner finish, avoid front-side tape when glare or visible seams matter.
Can I use Adobe Acrobat Reader for tiled printing?
Yes. Acrobat Reader's Poster print option is useful for PDFs. If you are starting with an image file, Rasterbator.pics is the more direct option because it turns images into tiled poster PDFs in your browser. In either case, print at Actual Size or 100% to avoid scale problems.
Is a raster effect good for a world map?
It depends on the purpose. A raster effect can look great for decorative wall art, dorm decor, or a reading corner. For a teaching map where labels matter, keep the effect subtle or use a clean tiled print.
How do I mount the poster without damaging walls?
Use painter's tape, removable poster strips, washi tape, binder clips, or a foam board backing. Test adhesives first and avoid strong permanent tape unless you have permission.
Final recommendation
For most classrooms, start with a clean political or continents-first map, size it wide enough for labels to be read from student desks, and print one test tile before printing the full poster. Keep the assembly simple: trim carefully, use a glue stick, reinforce with back-side tape, and mount with wall-safe materials.
If you want the display to last all term, mount the assembled poster to foam board or place it on a bulletin board rather than hanging loose paper directly on the wall.
Try Rasterbator.pics
Use Rasterbator.pics to test the article advice with your own image, page size, overlap, margins, and tiled PDF export.
Try Rasterbator.pics