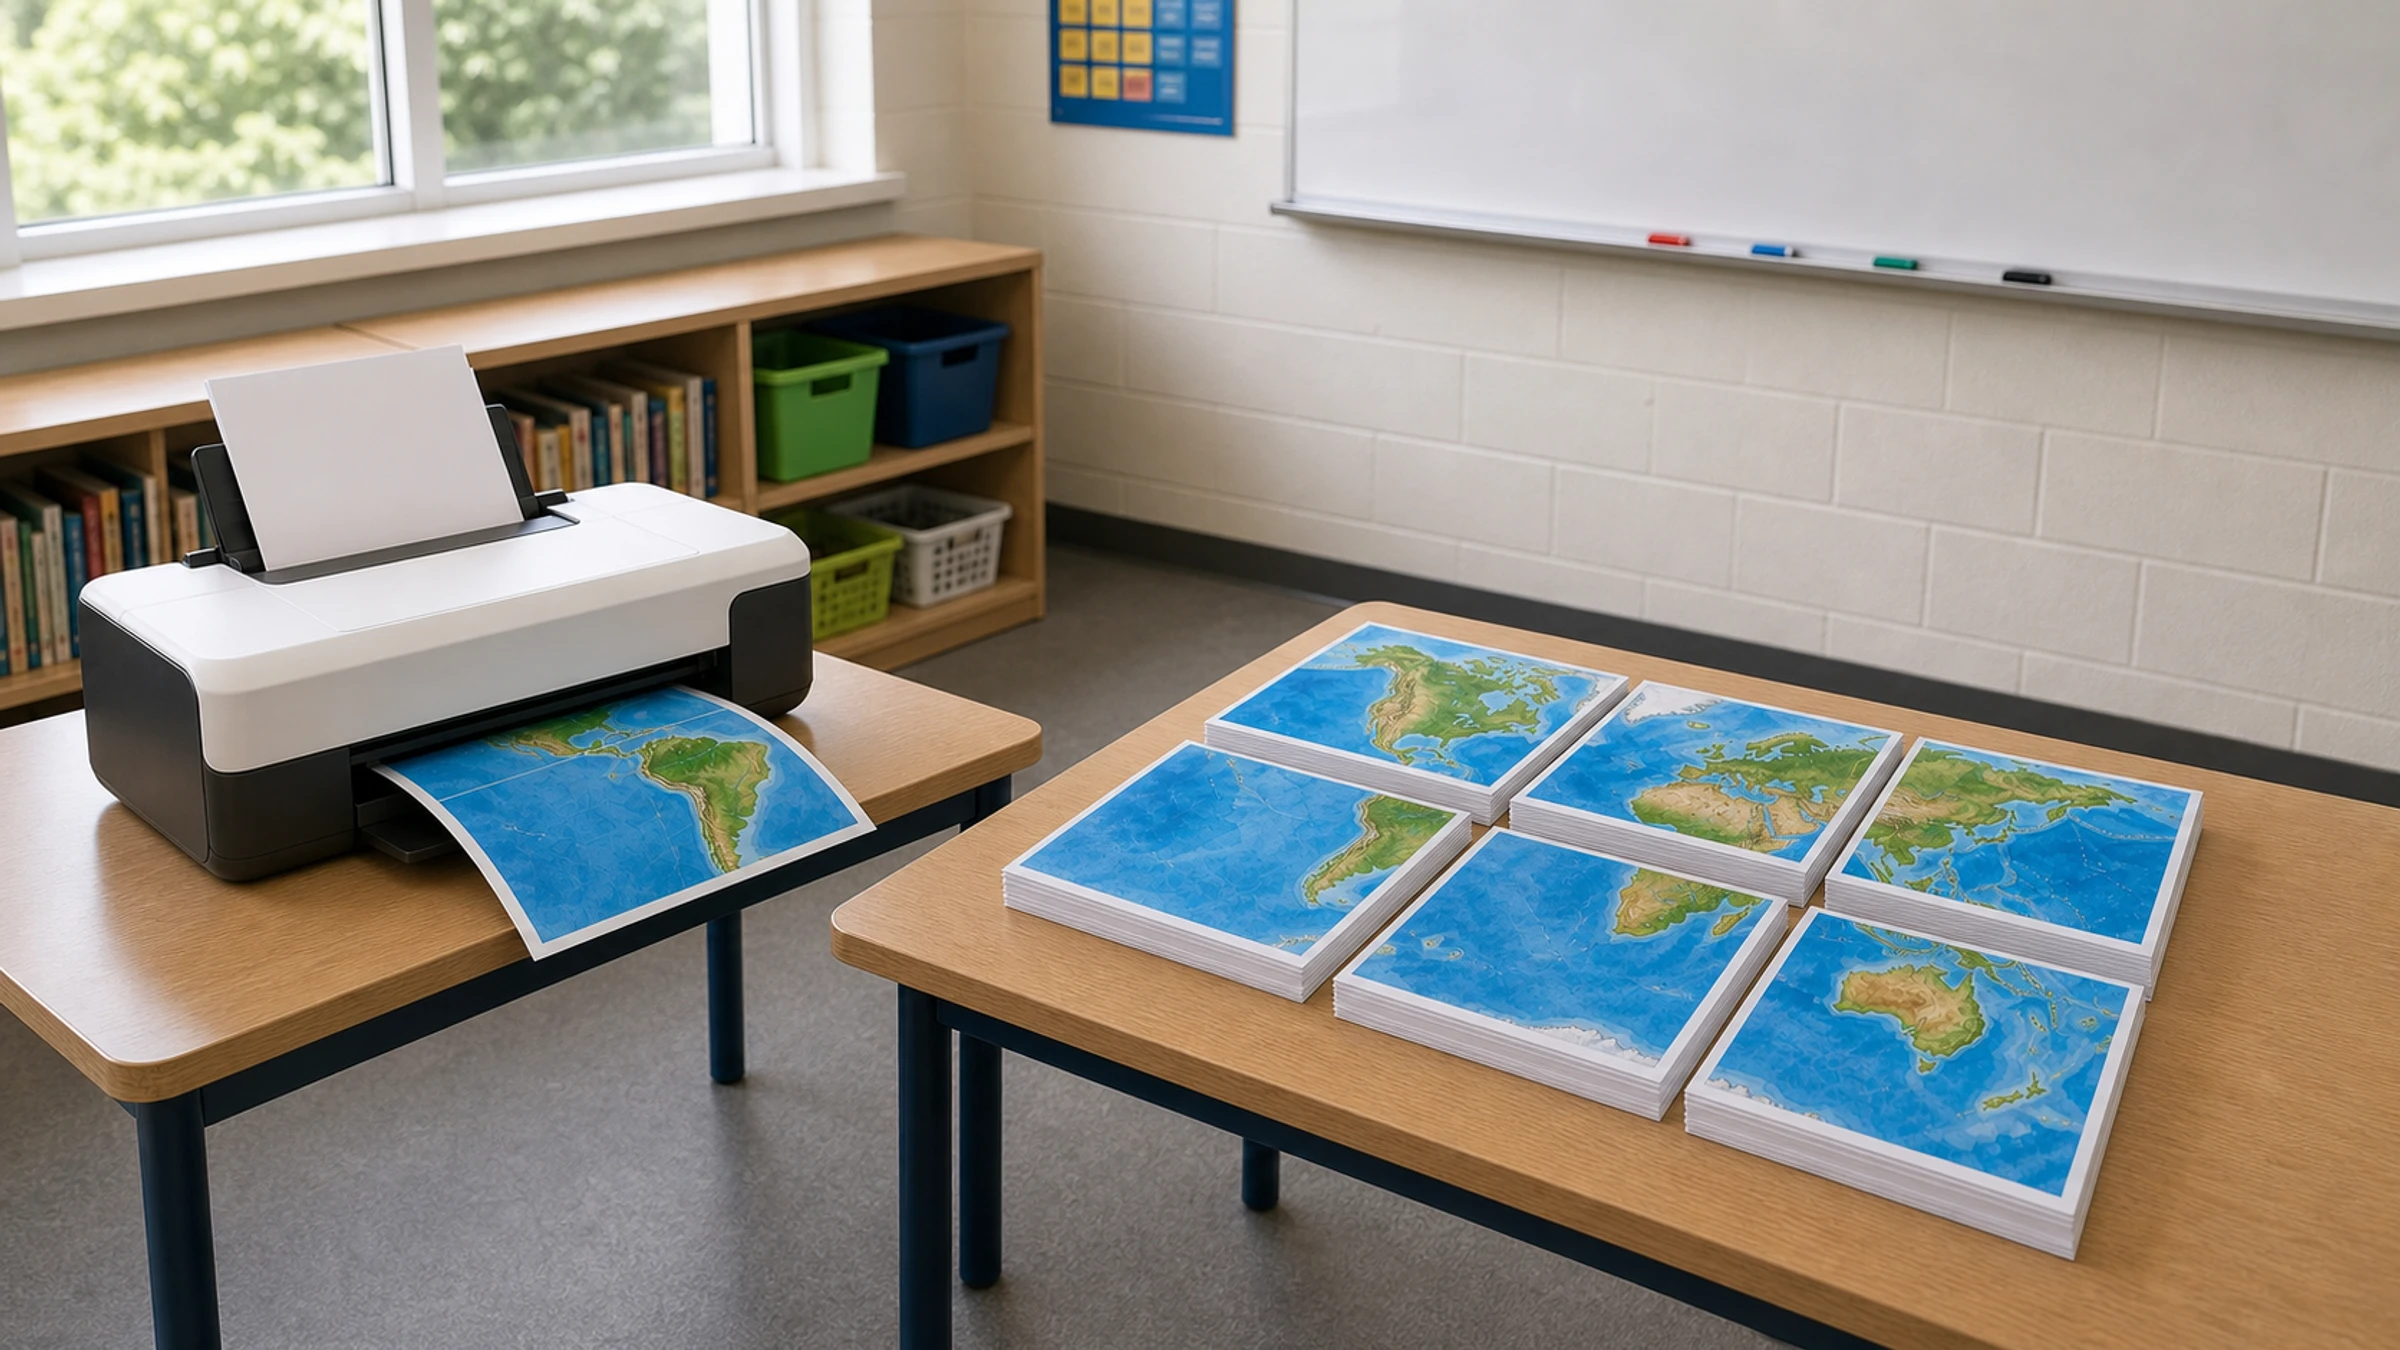
You don't need a print shop to create a large classroom world map. If you have a good map image or PDF, you can print it across multiple A4 or Letter sheets, trim the margins, and assemble it into a readable wall poster for geography, history, languages, current events, or classroom displays.
Most home and school printers cannot print to the very edge of the paper. They usually leave a 3-5 mm unprintable white border around each page. That is normal. For a clean tiled poster, you should plan to trim the white margins, overlap selected edges, or use alignment marks when joining the pages.
This guide covers the key steps: choosing a map, sizing it for your wall, printing on a school or home printer, and mounting it for classroom use.
Short version: use a clear map file, make the final poster large enough for place names to be readable, download the tiled PDF, print at Actual Size or 100%, trim the white margins, then assemble with a glue stick and tape on the back.
What you need
A world map image or PDF
A home or school printer
A4 or Letter paper
Scissors, a craft knife, or a paper trimmer
Glue stick
Clear tape or masking tape for the back side
A ruler or straight edge
Wall-safe tape, poster putty, magnets, or pins for display
If you want to make a tiled classroom poster from an image, you can use Rasterbator.pics. Images are processed locally in your browser, so your map is prepared on your device rather than uploaded for processing.
Step 1: Choose the right world map
For classroom use, the map must be clear before it is enlarged. A low-quality image will not become sharp just because you print it bigger.
Look for a map that has:
High resolution
Clear country borders
Readable country and ocean names
Enough contrast between land, water, and labels
A simple design without too much decoration
A layout that matches your teaching purpose
For younger students, a political world map with large country labels is often easiest to use. For older students, you may prefer a more detailed map with capitals, latitude and longitude lines, or physical geography.
Avoid screenshots from search results if possible. They are often too small and become blurry when enlarged.
Before you commit to printing, open the file and zoom in to 100%. Check that country names, city names, and other important labels still look sharp, not pixelated. If the text is already fuzzy on screen, it will usually look worse on a classroom wall.
Step 2: Decide how large the classroom map should be
A map that looks fine on a laptop screen may be unreadable from the back of a classroom. The goal is not only to fill the wall, but to make labels readable from a useful distance.
Use this table as a practical starting point.
| Classroom use | Approximate finished size | A4 sheet layout | Letter sheet layout | Notes |
|---|---|---|---|---|
| Small group table activity | 42 x 30 cm / 16.5 x 11.7 in | 2 x 2 | 2 x 2 | Good for close-up use |
| Small wall display | 60 x 42 cm / 23.4 x 16.5 in | 3 x 2 | 3 x 2 | Works near a reading corner |
| Standard classroom wall map | 84 x 60 cm / 33.1 x 23.4 in | 4 x 3 | 4 x 3 | Good balance of size and effort |
| Large bulletin board map | 120 x 84 cm / 46.8 x 33.1 in | 6 x 4 | 5 x 4 or 6 x 4 | Better for group lessons |
| Extra-large teaching backdrop | 150 x 100 cm / 59 x 39 in | 7 x 5 or larger | 7 x 5 or larger | Needs careful assembly |
For most classrooms, a finished map around 4 x 3 A4 sheets or 4 x 3 Letter sheets is a good starting point. It is large enough to be useful but still manageable to print, trim, and mount.
If the map will be viewed from desks across the room, choose a larger size. If students will stand near it for activities, a smaller wall display can work well.
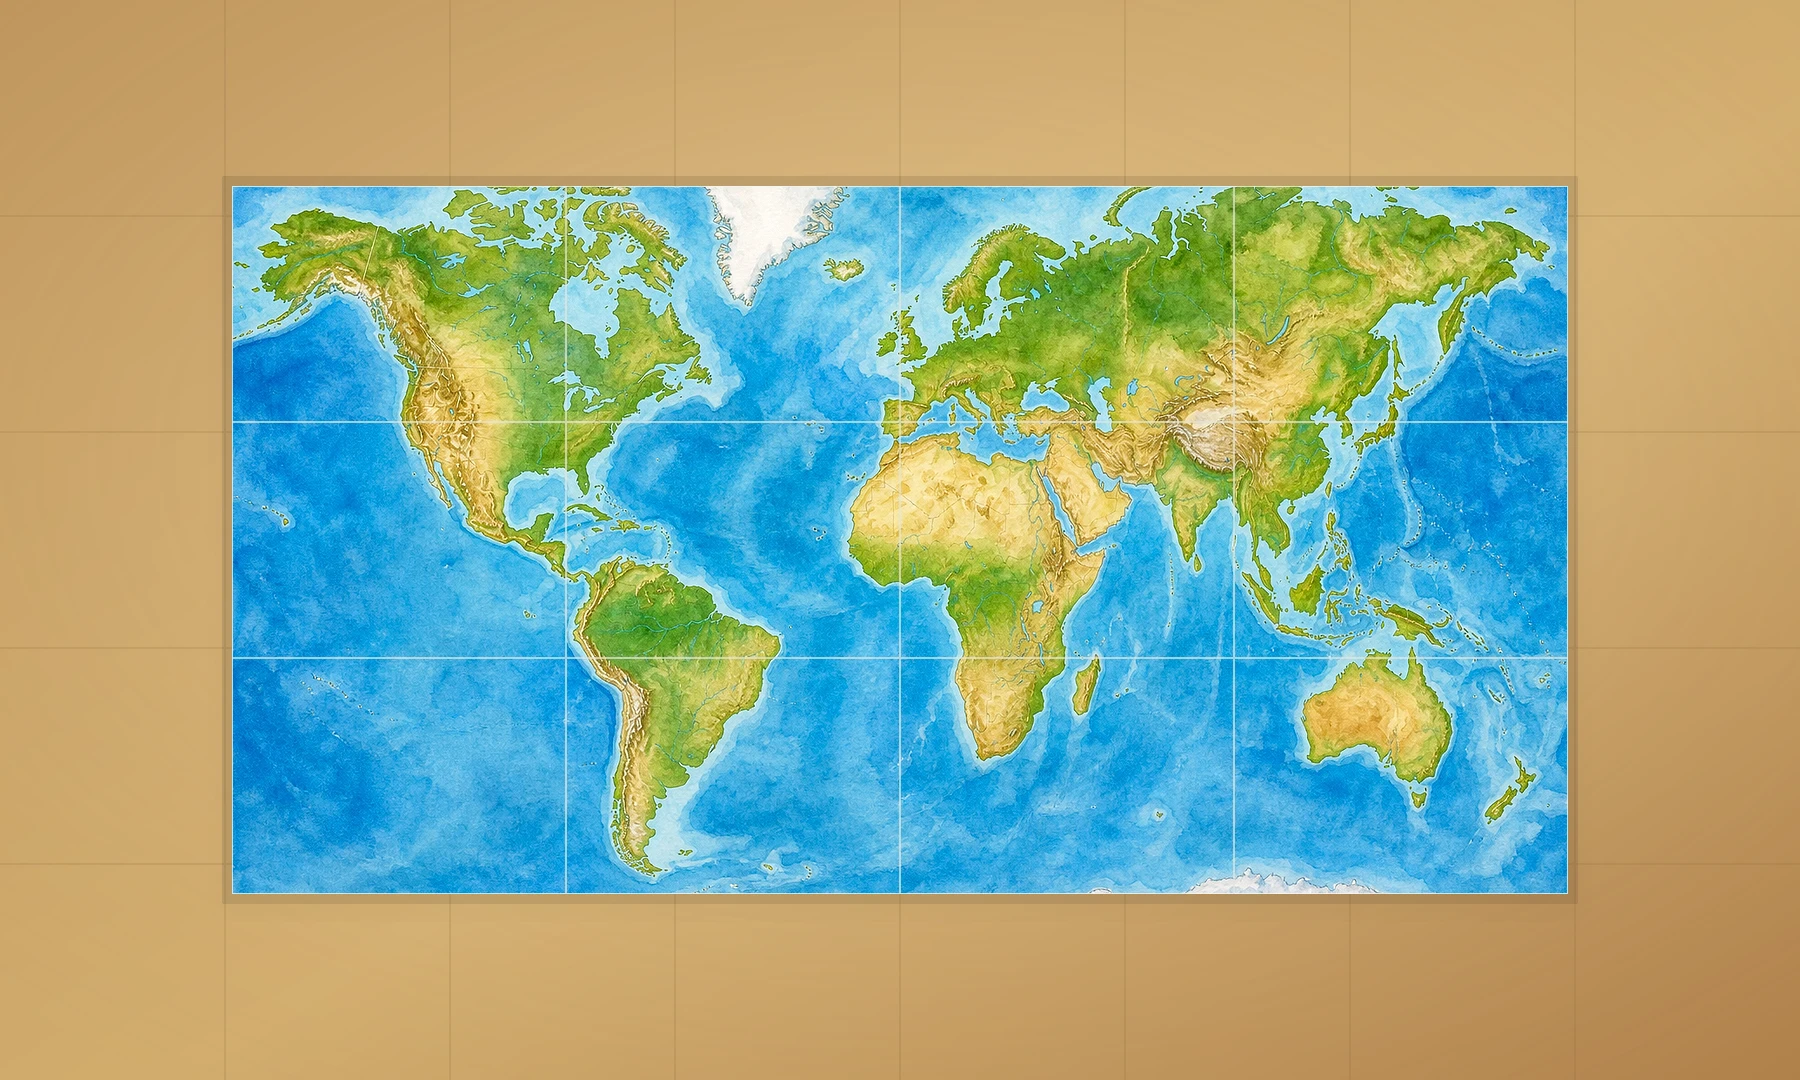
Step 3: Prepare the file for tiled printing
A tiled poster is made by splitting one large image across many normal printer pages. Each sheet contains one tile of the full map.
When preparing the file, check these settings:
Paper size: A4 or Letter, depending on your printer and region
Orientation: Landscape is usually better for a world map
Final size: Choose the full wall size, not the size of one sheet
Overlap or margins: Allow for trimming and alignment
Color mode: Color is best for a classroom map, but black and white can work for simple outline maps
Resolution: Start with the highest-quality map file you can find
Because printers leave unprintable margins, tiled pages often need trimming. This is not a mistake in your setup. It is a normal part of making a clean multi-page poster on a standard printer.
Step 4: Create the tiled PDF with Rasterbator.pics
To create a tiled poster file from your world map image, use Rasterbator.pics:
Open Rasterbator.pics and select your world map image.
Choose A4 or Letter paper size.
Set the final poster width and height, or choose the number of tiles.
Preview the tiled layout.
Download the multi-page PDF.
Open the PDF in a viewer such as Adobe Acrobat Reader.
Print the PDF at Actual Size or 100% using your home or school printer.
Rasterbator.pics processes images locally in your browser. This is ideal for school use because the poster file is prepared on your own device, and the generated PDF gives you a predictable file to print, save, or reprint later.
If you are making other teaching materials too, see more classroom poster ideas.
Step 5: Print on a home or school printer
Before printing the whole map, print one test page. This saves paper and helps catch scaling problems early.
Crucially, never select "Fit to Page" or "Shrink to Fit" in your print dialog. These settings can change the tile size and make assembly difficult or impossible.
In the print dialog:
Choose the correct printer.
Choose the correct paper size: A4 or Letter.
Set scale to Actual Size, 100%, or No scaling.
Make sure Fit to Page, Shrink to Fit, or automatic scaling is turned off.
Use the orientation expected by the PDF, often landscape for a world map.
Choose normal or high quality.
Use color if the map depends on color coding.
If the first page comes out slightly smaller than expected, check the scale setting again. Even a small scaling change can create visible alignment problems across a large map.
Adobe Acrobat Reader as an alternative
If your world map is already a PDF, Adobe Acrobat Reader's Poster print option can tile it across multiple pages without extra software:
Open the PDF in Acrobat Reader.
Go to File > Print.
Under Print Scaling, select Poster.
Set the tile scale and overlap.
Print at 100%.
This works well for PDF maps. For image files such as JPG or PNG, or if you want a visual preview before printing, Rasterbator.pics is simpler.
Whichever method you use, the key print rule is the same: choose the final poster size first, then print at Actual Size or 100%.
Step 6: Trim the pages
Because most printers cannot print to the edge of the paper, they leave a 3-5 mm white border. To get a seamless look, trim these white margins away.
Use a paper trimmer if available. A craft knife with a metal ruler also works well. If you use scissors, mark light guide lines with a pencil and ruler first.
You have three practical options:
Trim all white margins for the cleanest poster.
Trim only the joining edges to save time.
Overlap pages slightly if your tiled file includes overlap.
For a classroom map, trimming only the joining edges is usually enough. If your printout includes alignment marks, keep them visible until you understand where each page joins. Trim to the edge of the map content without cutting into the map itself.
Keep the pages in order while trimming. It helps to lay them out on the floor or a large table before gluing.
Step 7: Assemble the world map
Work from one corner and build the poster row by row.
Pro tip: Before gluing, lay all trimmed sheets out on a flat floor or large table. Overlap the edges until coastlines, borders, grid lines, and labels match correctly. Only start applying adhesive once the full grid is aligned.
Lay the first row face up.
Align coastlines, borders, grid lines, and labels.
Use a glue stick along the front overlap or seam area.
Press flat from the center outward to avoid wrinkles.
Continue across the row.
Add the next row underneath.
When the front is aligned, turn the poster over carefully.
Reinforce seams with tape on the back side.
A glue stick is usually cleaner than liquid glue because it adds less moisture and causes less paper curling.
Avoid using glossy transparent tape on the front seams. It catches light, creates shiny lines, and can make joins look uneven. If you need extra strength, use tape on the back side instead.
Back-side tape gives the finished map extra strength without making the front look messy.
For a sturdier classroom version, mount the assembled map onto:
Poster board
Foam board
Cardboard
A bulletin board backing sheet
Large kraft paper
If the map will be handled by students, consider laminating it or covering it with clear adhesive film after assembly.
Step 8: Put the map on the classroom wall
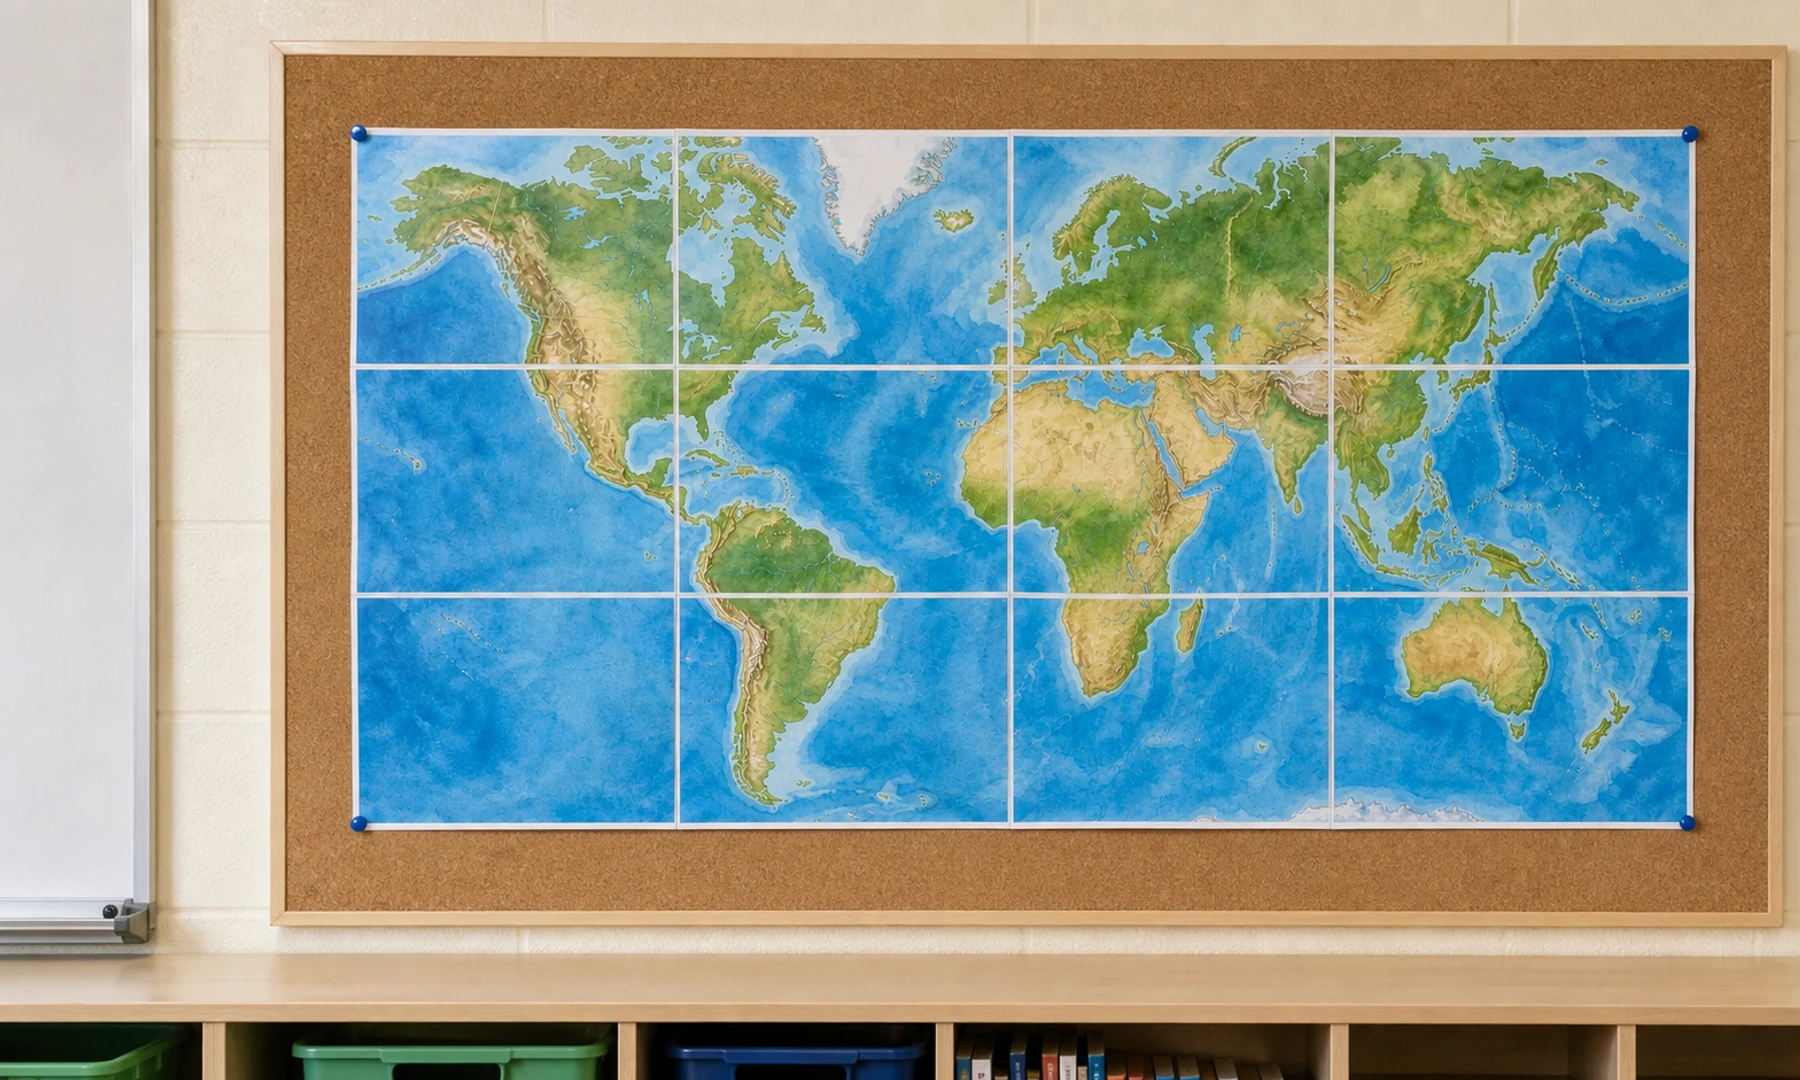
Before attaching the finished map, check the wall surface and school rules. Some classrooms allow pins or staples; others require removable adhesive.
Good mounting options include:
Poster putty for painted walls
Magnets for whiteboards or metal boards
Binder clips on a string line
Push pins for cork boards
Masking tape for temporary displays
Staples for bulletin board backing
If the map is large, support it in several places along the top edge, not just the corners. Paper posters may sag over time, particularly in humid classrooms.
Checklist before you hit Print
The world map file is high enough quality.
You zoomed in to 100% and checked that important labels look sharp.
Country names, oceans, and borders are readable in the preview.
The final poster size fits your wall or bulletin board.
Paper size is set to A4 or Letter correctly.
The paper size in the poster setup matches the printer dialog.
Orientation is correct, usually landscape for a world map.
Print scale is set to Actual Size or 100%.
Fit to Page and Shrink to Fit are turned off.
You printed one test page first.
You know your printer leaves 3-5 mm unprintable margins and have a trim or overlap plan.
You have scissors or a trimmer, glue stick, and back-side tape ready.
Troubleshooting
| Problem | Likely cause | Fix |
|---|---|---|
| The pages do not line up | Printer scaling changed the tile size | Reprint at Actual Size or 100% |
| Borders or labels are cut off | The printer's unprintable margins affected the page edges | This is expected due to printer margins. Trim the white edges or use a poster tool that adds overlap between tiles |
| The map looks blurry | Original image was too low resolution | Use a higher-quality source map and check labels at 100% before printing |
| Colors look dull | Printer quality or paper setting is low | Try higher quality, better paper, or color mode |
| The poster curls | Too much wet glue or thin paper | Use glue stick, press flat, and reinforce from the back |
| The finished map is too small to read | Final wall size was too small | Increase the number of pages and reprint |
| The seams look shiny | Tape was used on the front | Use glue stick on visible joins and tape only on the back side |
Classroom ideas for using the finished map
Once the map is on the wall, you can make it interactive:
Add removable labels for countries, capitals, oceans, and continents.
Use colored stickers for current events.
Mark trade routes, migration routes, or historical journeys.
Add string lines from the map to student research cards.
Use sticky notes for "country of the week" activities.
Print a blank outline version for quizzes and review.
Add small flags or name tags for student heritage projects.
Use yarn to connect books, authors, or historical events to locations.
For repeated classroom use, keep a digital copy of the exact poster PDF. If one tile is damaged, you can reprint only that page instead of making the entire map again.
FAQ
Can I print a world map across multiple A4 sheets?
Yes. Choose a high-quality map image or PDF, set the finished poster size, split it into tiles, and print on A4 paper at Actual Size or 100%. A 4 x 3 A4 layout is a practical size for many classrooms.
Can I use Letter paper instead of A4?
Yes. Use Letter paper if that is what your printer uses. Just make sure the paper size in the poster tool and the printer dialog match. Letter paper is slightly smaller than A4, so you may need one extra row or column to reach the same wall size. Mixing A4 and Letter settings can cause alignment problems.
Why does my printer leave white borders?
Most home and school printers cannot print edge to edge. They normally leave about 3-5 mm of unprintable margin on each side. To eliminate white gaps, trim the joining edges or use overlap when assembling the map.
How large should a classroom world map be?
For a standard classroom wall, aim for about 80-120 cm wide, depending on viewing distance and label size. If students need to read country names from their seats, choose a larger tiled layout.
Should I print in color or black and white?
Color is usually better for a world map because oceans, borders, and regions are easier to distinguish. Black and white can work for blank outline maps, quizzes, or labeling activities.
Is Adobe Acrobat Reader good for tiled map printing?
It can be. Acrobat Reader's Poster print option is useful for PDF maps and lets you tile pages with overlap. For image-based maps or a more guided visual setup, Rasterbator.pics is usually easier.
Why should I download the PDF before printing?
Downloading the generated PDF gives you a stable file to open, check, save, and reprint. It also makes it easier to print at Actual Size or 100% from a PDF viewer, which helps keep all tiles consistent.
How do I keep the map from falling apart?
Use glue stick to join visible seams neatly, then reinforce the back side with tape. For longer classroom use, mount the assembled map on poster board, foam board, or a bulletin board backing sheet.
Can students help assemble the map?
Yes, but assign roles. One student can trim, another can sort pages, and others can align rows. An adult should check the first row carefully because small alignment errors grow across a large poster.
Try Rasterbator.pics
Use Rasterbator.pics to test the article advice with your own image, page size, overlap, margins, and tiled PDF export.
Try Rasterbator.pics