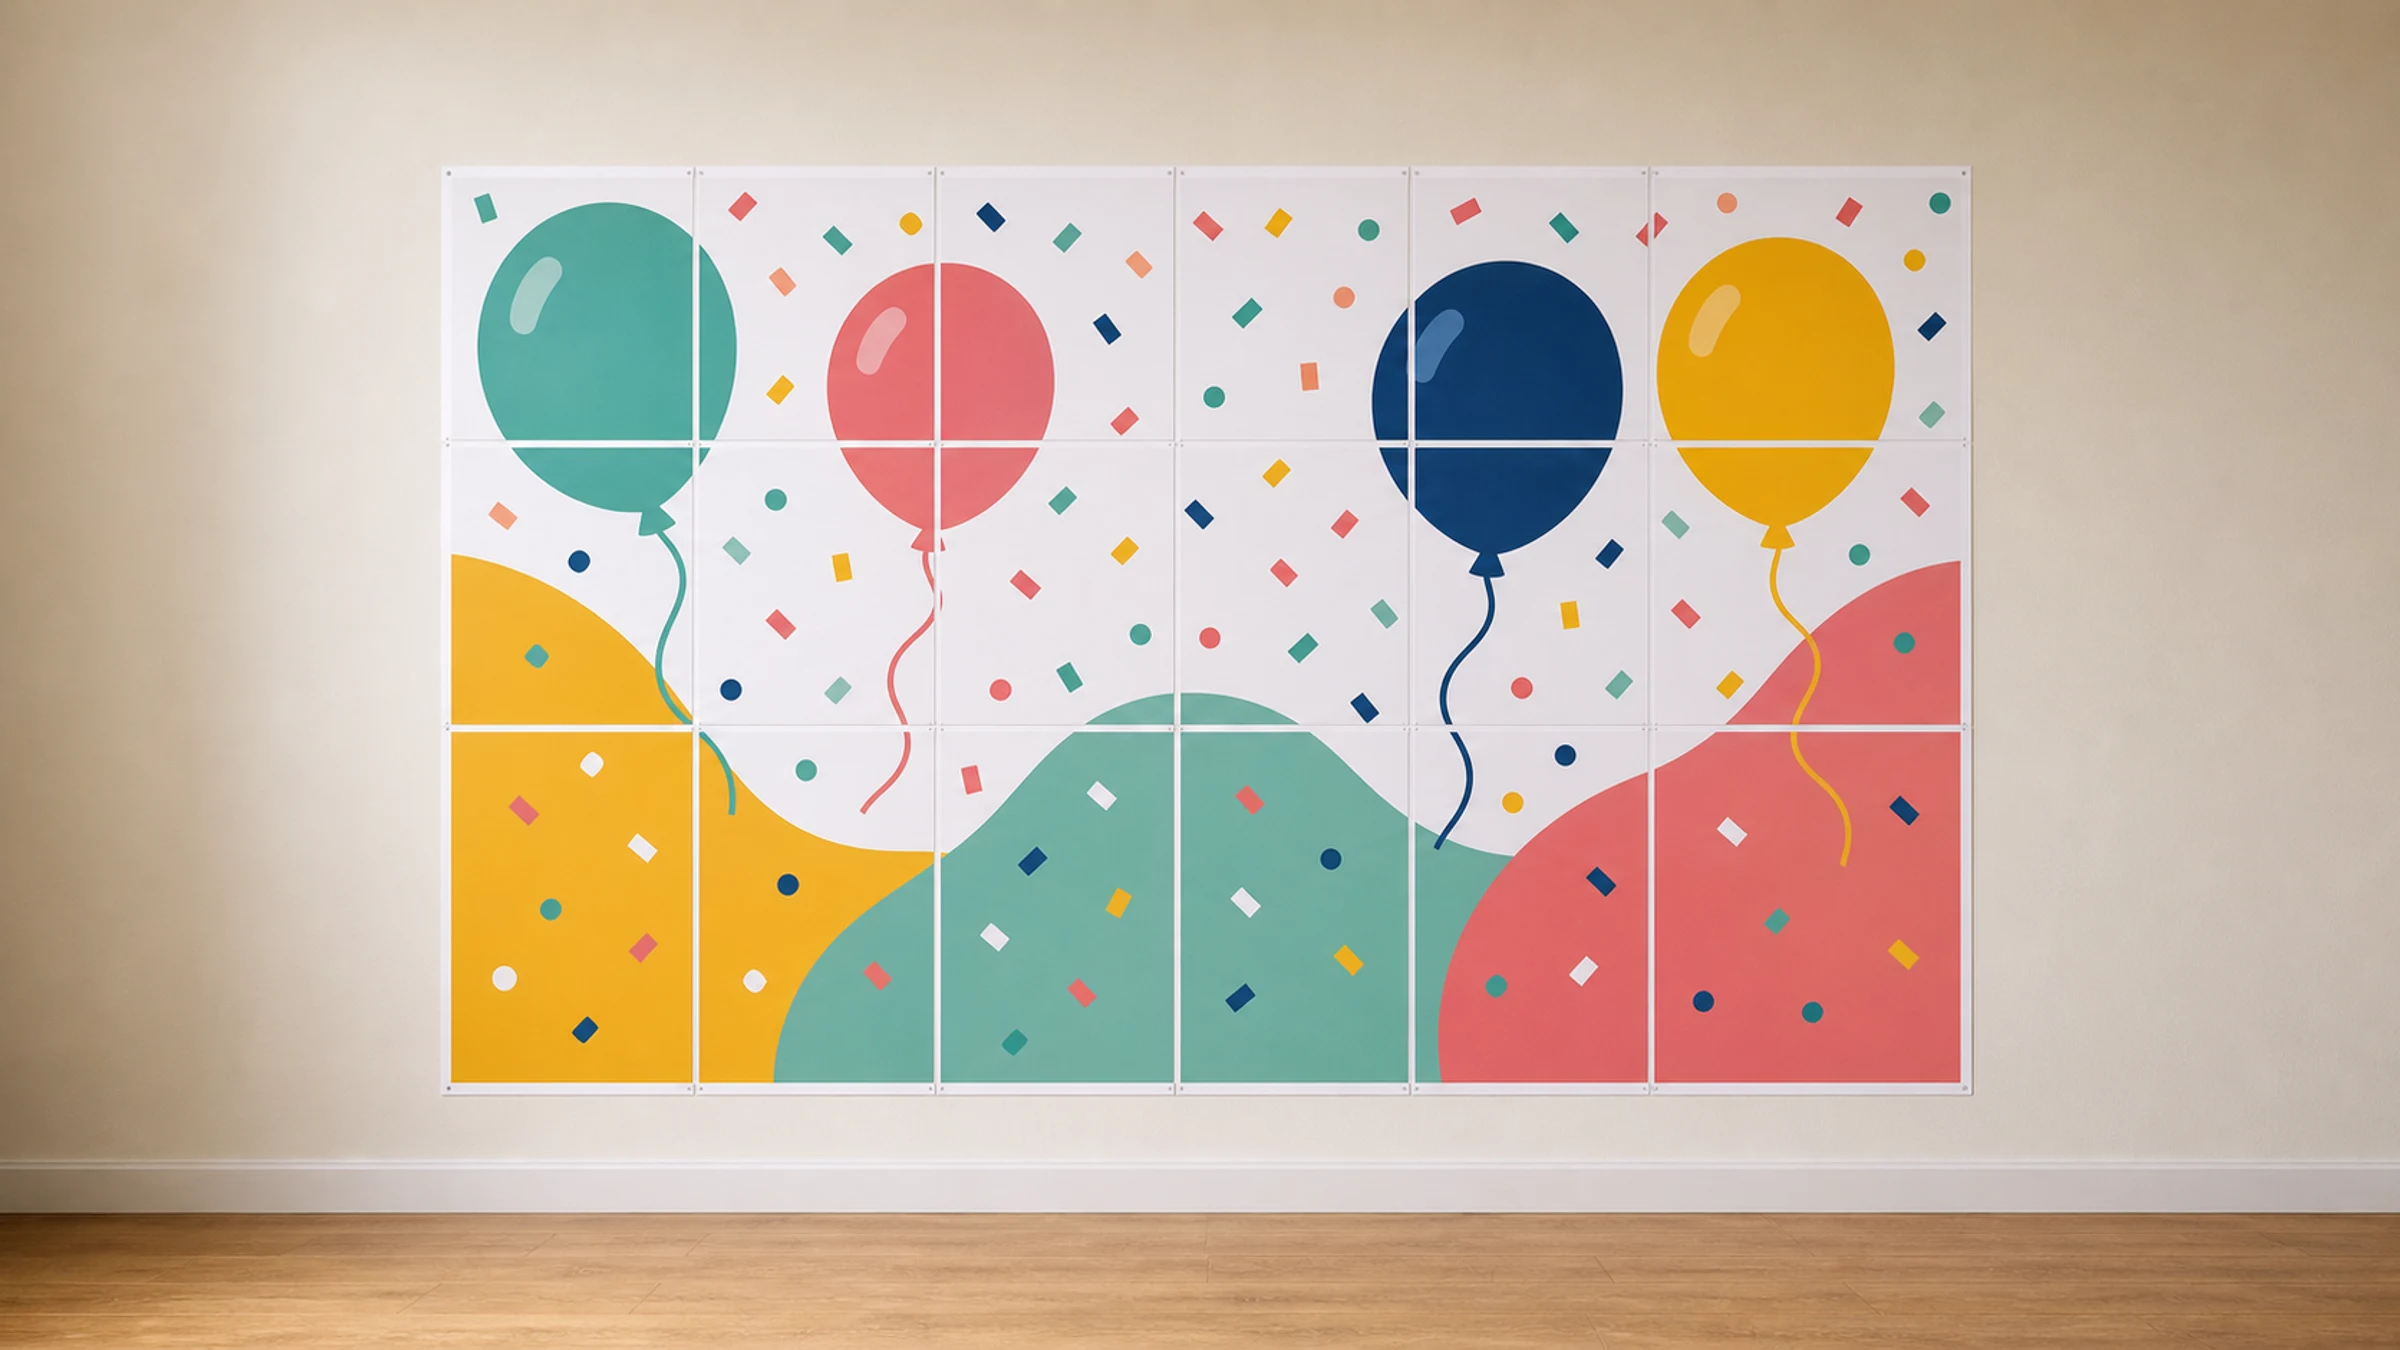
You do not need a wide-format printer to make a party backdrop. With a bold design, a home printer, A4 paper, and careful assembly, you can build a large wall backdrop for birthdays, school events, small business pop-ups, fundraisers, community meetings, photo corners, and campaign tables.
The basic idea is simple:
Choose artwork that reads from a few meters away.
Enlarge it into a tiled poster made from A4 pages.
Print the pages at Actual Size or 100%.
Trim and join the sheets into one large backdrop.
Mount it safely on a wall, board, or temporary event surface.
Rasterbator.pics creates the tiled poster locally in your browser, so the image is handled on your device during poster preparation.
What works well as an A4 party backdrop
A tiled A4 backdrop works best when the design is bold, simple, and forgiving. The final backdrop is made from many separate sheets, so avoid designs that rely on tiny details lining up perfectly.
Good choices include:
A large birthday name or age
A simple themed pattern
A logo wall for a small business event
A short campaign or community message
A photo corner background
Oversized numbers, initials, or shapes
A table sign or booth backdrop
Avoid:
Very small text
Thin borders that must align across many pages
QR codes spread over sheet joins
Detailed faces split across many seams
Fine patterns where tiny alignment differences will stand out
For a party backdrop, impact matters more than perfection. Big shapes, large text, and strong contrast look better in photos than tiny decorative details.
Plan viewing distance first
Before choosing page count, decide how people will see the backdrop.
Ask:
Will it sit behind a cake table?
Will guests stand in front of it for photos?
Will it be read from across a room?
Will it sit behind a speaker, booth, or registration desk?
Is it mainly decoration, or does it need to communicate a message?
Rough guide:
| Use case | Typical viewing distance | Best design style |
|---|---|---|
| Cake table backdrop | 1-3 m | Big name, age, and theme shapes |
| Photo corner wall | 1-4 m | Large pattern or short phrase |
| Small business pop-up | 2-5 m | Logo plus one simple message |
| Community event | 3-8 m | High-contrast slogan |
| Directional sign | 5 m or more | Very large text and arrows |
If the words matter, make them larger than you think. Test readability by zooming out on your screen or printing one A4 test tile.
Useful A4 backdrop sizes
A4 paper is 210 x 297 mm. Most home printers cannot print to the exact edge, so every page usually has a 3-5 mm unprintable margin. Your final result may need overlap, trimming, or visible seams.
Practical sizes:
| Backdrop size | Approximate size | A4 grid | Good for |
|---|---|---|---|
| Small | 84 x 59 cm | 4 x 2 pages | Table sign or small wall decoration |
| Medium | 126 x 89 cm | 6 x 3 pages | Cake table or small photo corner |
| Large | 168 x 119 cm | 8 x 4 pages | Party wall or event backdrop |
| Extra large | 210 x 148 cm | 10 x 5 pages | Photo area or booth background |
These are approximate paper-grid sizes. Printable area, overlap, trimming, and orientation change the finished dimensions.
A good home-printed party backdrop is often around 120-170 cm wide. It is large enough for photos but still manageable to assemble on a table or clean floor.
Choose portrait or landscape pages
Both can work.
Use portrait A4 pages when:
You want a tall backdrop.
Your printer feeds portrait pages more reliably.
The design is a photo wall, sign, or vertical panel.
Use landscape A4 pages when:
The design is wide and short.
You are making a banner above a table.
You want fewer horizontal joins.
The final backdrop can still be landscape even if individual sheets feed through the printer in portrait orientation. What matters is that the tiled PDF matches your chosen paper and is printed consistently.
Create the tiled backdrop file
Open Rasterbator.pics and upload your artwork.
Choose:
Paper size: A4
Poster width or page grid
Orientation that fits the design
Overlap if you want easier alignment
Crop marks if you plan to trim
Page numbers for medium and large backdrops
Check the preview before downloading. Make sure important text, faces, logos, and central shapes are not split in awkward places.
Leave room for printer margins
Most home printers have unprintable edges. Even if the PDF page is full A4, the printer may leave a white border.
You have three practical choices:
Accept the page grid. This can look intentional for collage, scrapbook, pop-art, or classroom-style designs.
Use overlap and trim. Print with overlap, trim one side of each join, and glue the trimmed page over the neighboring page.
Trim all borders carefully. This gives the cleanest look but takes the most time.
For a one-evening party backdrop, overlap and selective trimming usually gives the best balance of speed and appearance.
Print one test page
Before printing 20, 30, or 50 pages, print one tile with important content.
Check:
Text is sharp enough.
Color looks acceptable on your paper.
The page is not scaled down.
Margins are not larger than expected.
No important detail is cut off.
The paper is thick enough for the ink coverage.
If the test page looks wrong, fix the file or print settings before printing the full backdrop.
Print settings
The most important setting is scale.
Use:
Actual Size
100%
No scaling
Avoid:
Fit
Fit to page
Shrink oversized pages
Scale to printable area
Recommended settings:
| Setting | Recommendation |
|---|---|
| Paper size | A4 |
| Scale | Actual Size or 100% |
| Orientation | As set in the PDF |
| Quality | Standard or high |
| Two-sided printing | Off |
| Paper | 80-120 gsm for most backdrops |
Turn off duplex printing. Each tile should be printed on one side only.
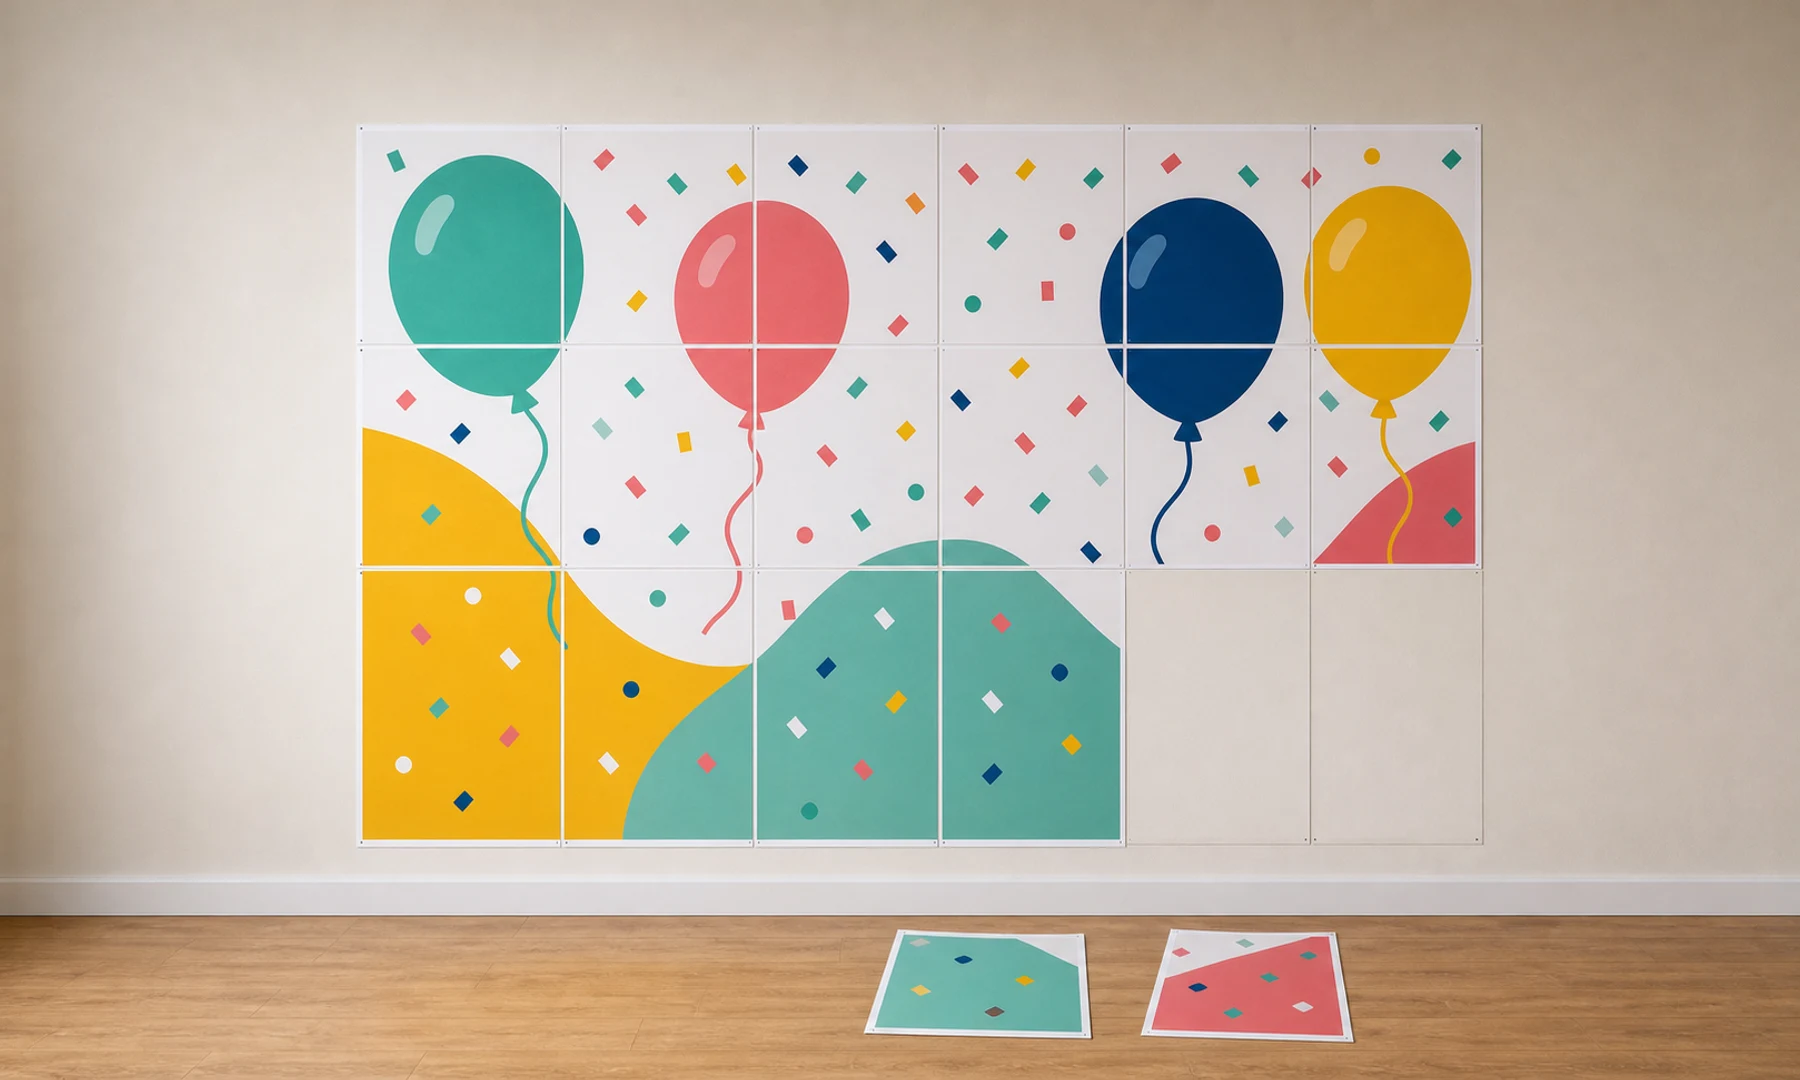
Assemble the backdrop
You will need:
Printed A4 sheets
Scissors, craft knife, or paper trimmer
Ruler or cutting mat
Glue stick
Clear tape or masking tape
Optional backing paper, cardboard, or foam board
Optional painter's tape for wall mounting
A glue stick is usually better than liquid glue because it wrinkles paper less. Tape is best used on the back side for strength.
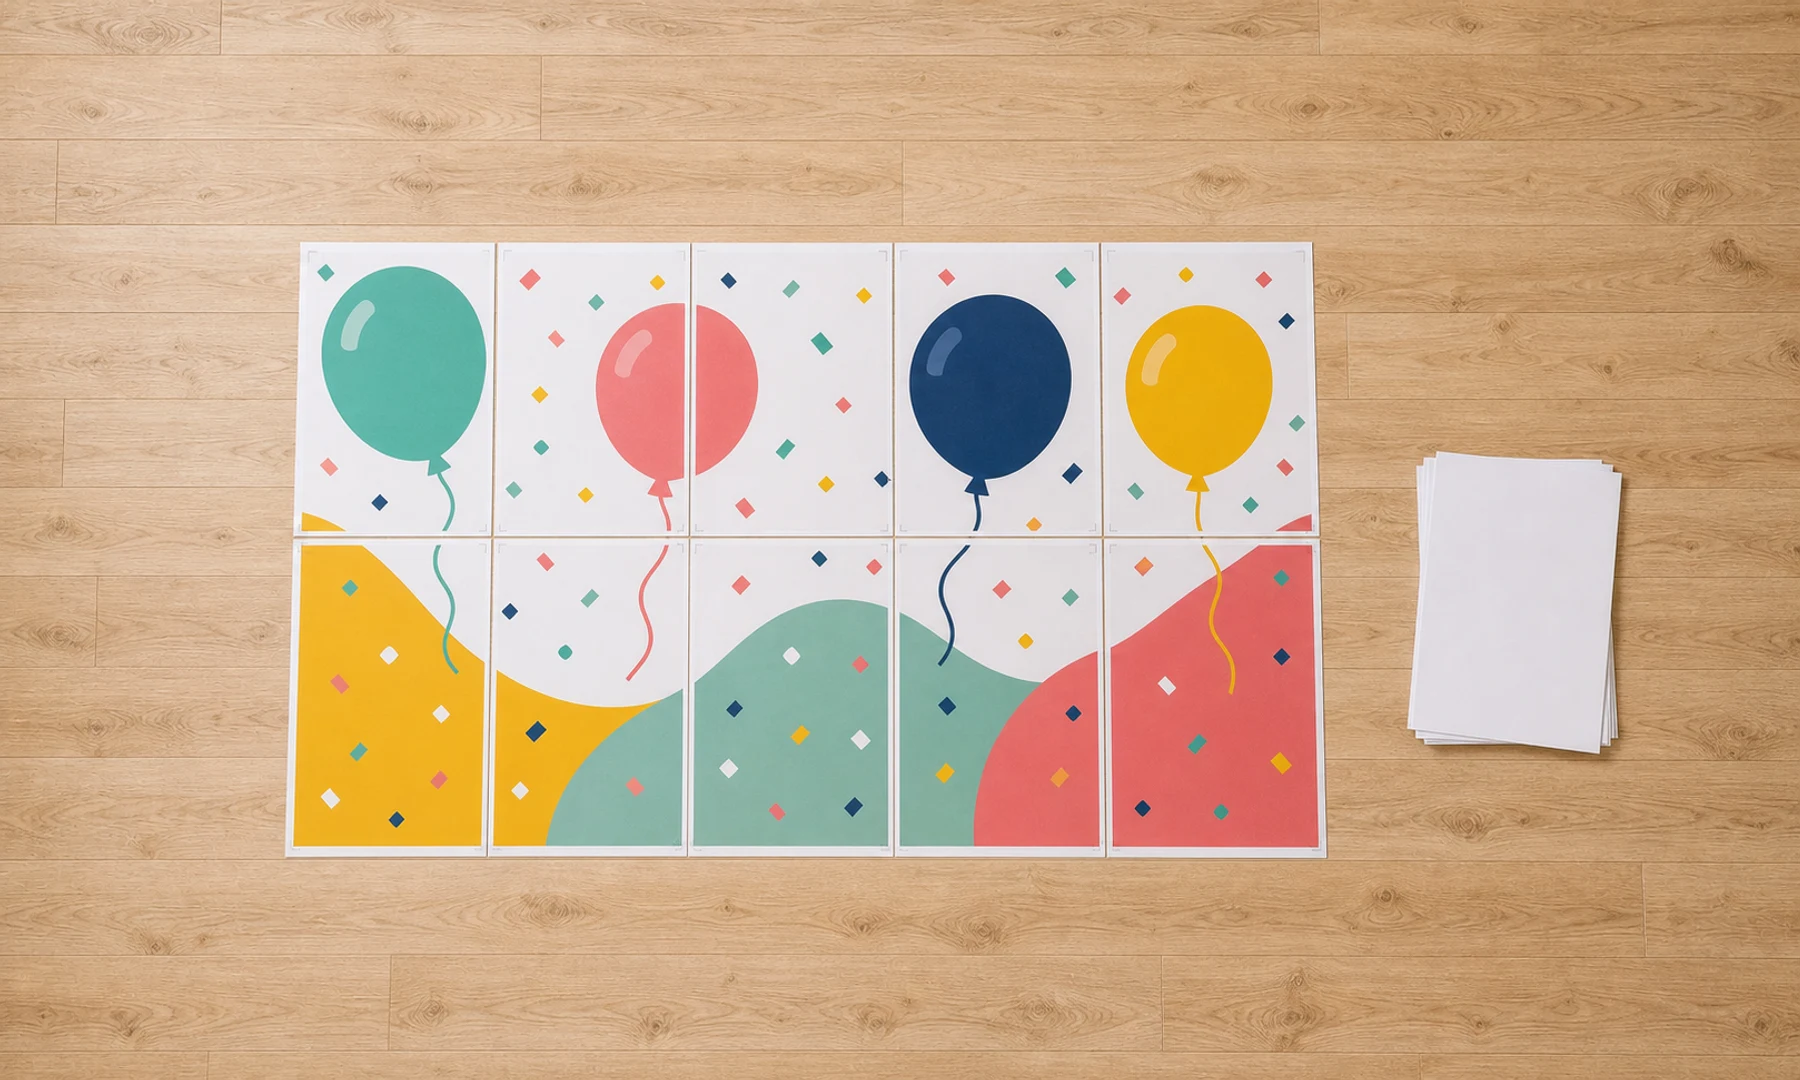
Step 1: Sort the pages
Lay every sheet on the floor or a large table. Use page numbers, crop marks, or the preview grid to place them in order.
Check:
All pages printed.
No page is upside down.
Rows and columns are complete.
The design looks right from a distance.
Step 2: Trim only what you need
If the pages have overlap, do not trim every side immediately. A faster method is:
Keep the leftmost sheet in a row untrimmed.
Trim the left edge of the next sheet.
Glue that sheet over the overlap area.
Continue across the row.
Join rows after each row is aligned.
This is faster than trimming all four sides of every page.
Step 3: Add backing if the event will be busy
For a temporary wall display, painter's tape may be enough. For a backdrop that people will stand near, consider a backing surface:
Kraft paper
Cardboard
Foam board
Presentation board
Lightweight fabric panel
Backing helps the sheets stay flat and makes transport easier.
Checklist before the event
The design is readable at the viewing distance.
Text is large and high contrast.
The A4 grid fits the wall or backdrop stand.
The tiled PDF is printed at Actual Size or 100%.
One test page has been checked.
All pages are sorted before trimming.
You have glue stick, ruler, knife or scissors, and back-side tape.
The mounting method is safe for the wall or surface.
The finished backdrop is viewed from a distance before guests arrive.
Should you use Acrobat Reader Poster printing?
Adobe Acrobat Reader has a Poster option that can tile one large PDF page across multiple sheets. It is useful if you already have a large single-page PDF.
For an image-based party backdrop, a dedicated tiled poster workflow is usually simpler because you choose the image, final size, paper, overlap, and preview before printing.
Use either method, but keep the same rule: print the final tiled pages at Actual Size, 100%, or No scaling.
FAQ
How many A4 pages do I need for a party backdrop?
A small table backdrop can use 4 x 2 pages, while a larger photo backdrop often uses 6 x 3, 8 x 4, or more. Choose the grid after deciding the wall size and viewing distance.
Should I trim every page?
Not always. If you use overlap, trim only the edges needed for clean seams. For a fast event backdrop, a visible page grid can also look intentional when the design is bold.
What print setting matters most?
Print the tiled PDF at Actual Size, 100%, or No scaling. Fit-to-page and shrink settings can make the backdrop smaller and harder to align.
Try Rasterbator.pics
Use Rasterbator.pics to test the article advice with your own image, page size, overlap, margins, and tiled PDF export.
Try Rasterbator.pics