
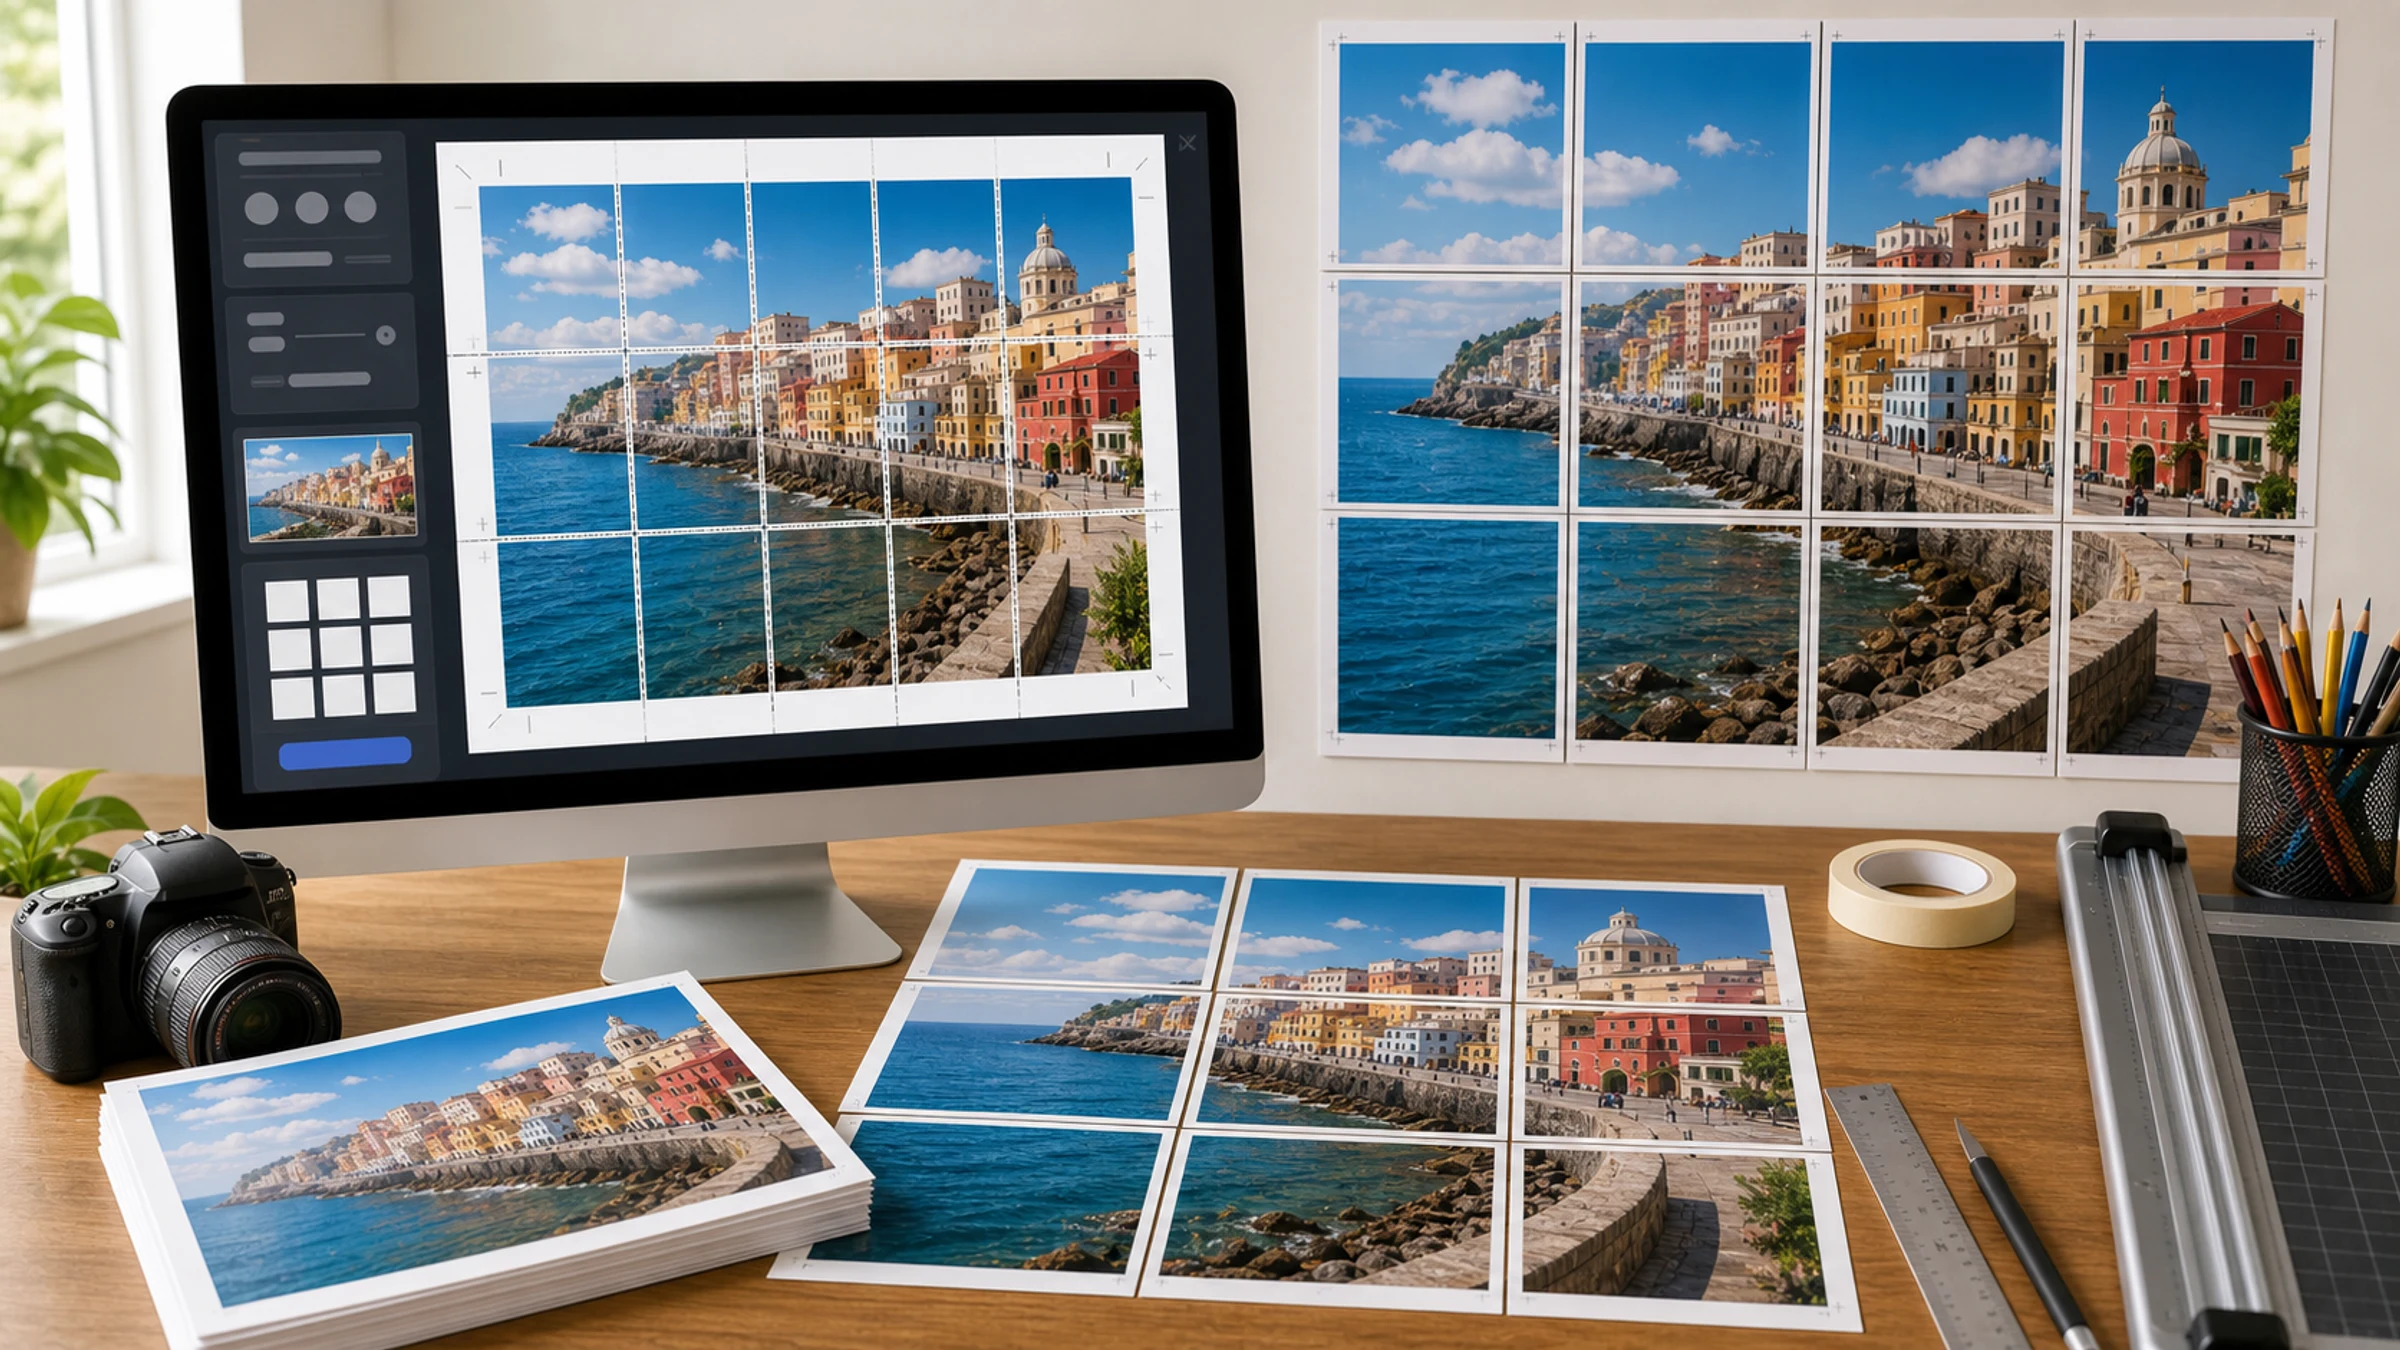
JPG is one of the most common image formats people load into an online poster maker. It is easy to find, easy to share, and usually small enough to open quickly in a browser.
JPG can also fail quietly. A file that looks fine on a phone can look soft, blocky, or smeared when enlarged across many A4 or Letter sheets. If you plan to print a wall poster, check the source image before you commit paper and ink.
Rasterbator.pics processes images locally in your browser, so your JPG stays on your device while you choose poster size, paper layout, and tiled PDF export.
Short answer
Use JPG for photos, scanned artwork, realistic illustrations, and images with many colors or gradients.
Use PNG or a clean PDF source for logos, small text, screenshots, diagrams, QR codes, and flat-color graphics with sharp edges.
For home poster printing, the format matters less than the source quality. A clean high-resolution JPG is better than a tiny PNG. A heavily compressed JPG is worse than almost any clean source file.
When JPG works well
JPG is designed for photographic images. It handles smooth gradients, natural texture, skin tones, skies, landscapes, rooms, and scanned artwork efficiently.
JPG is usually a good choice for:
personal photos
travel images
portraits
scanned paintings
realistic digital art
event photos
classroom display images
decorative wall posters
The more photographic the image is, the more forgiving JPG tends to be.
JPG is less ideal for:
small text
logos
line art
maps with fine labels
screenshots
QR codes
diagrams
sharp black-and-white graphics
Those images often need crisp edges. JPG compression can add fuzzy borders, ringing, and small blocks around details.
Check the JPG before you tile it
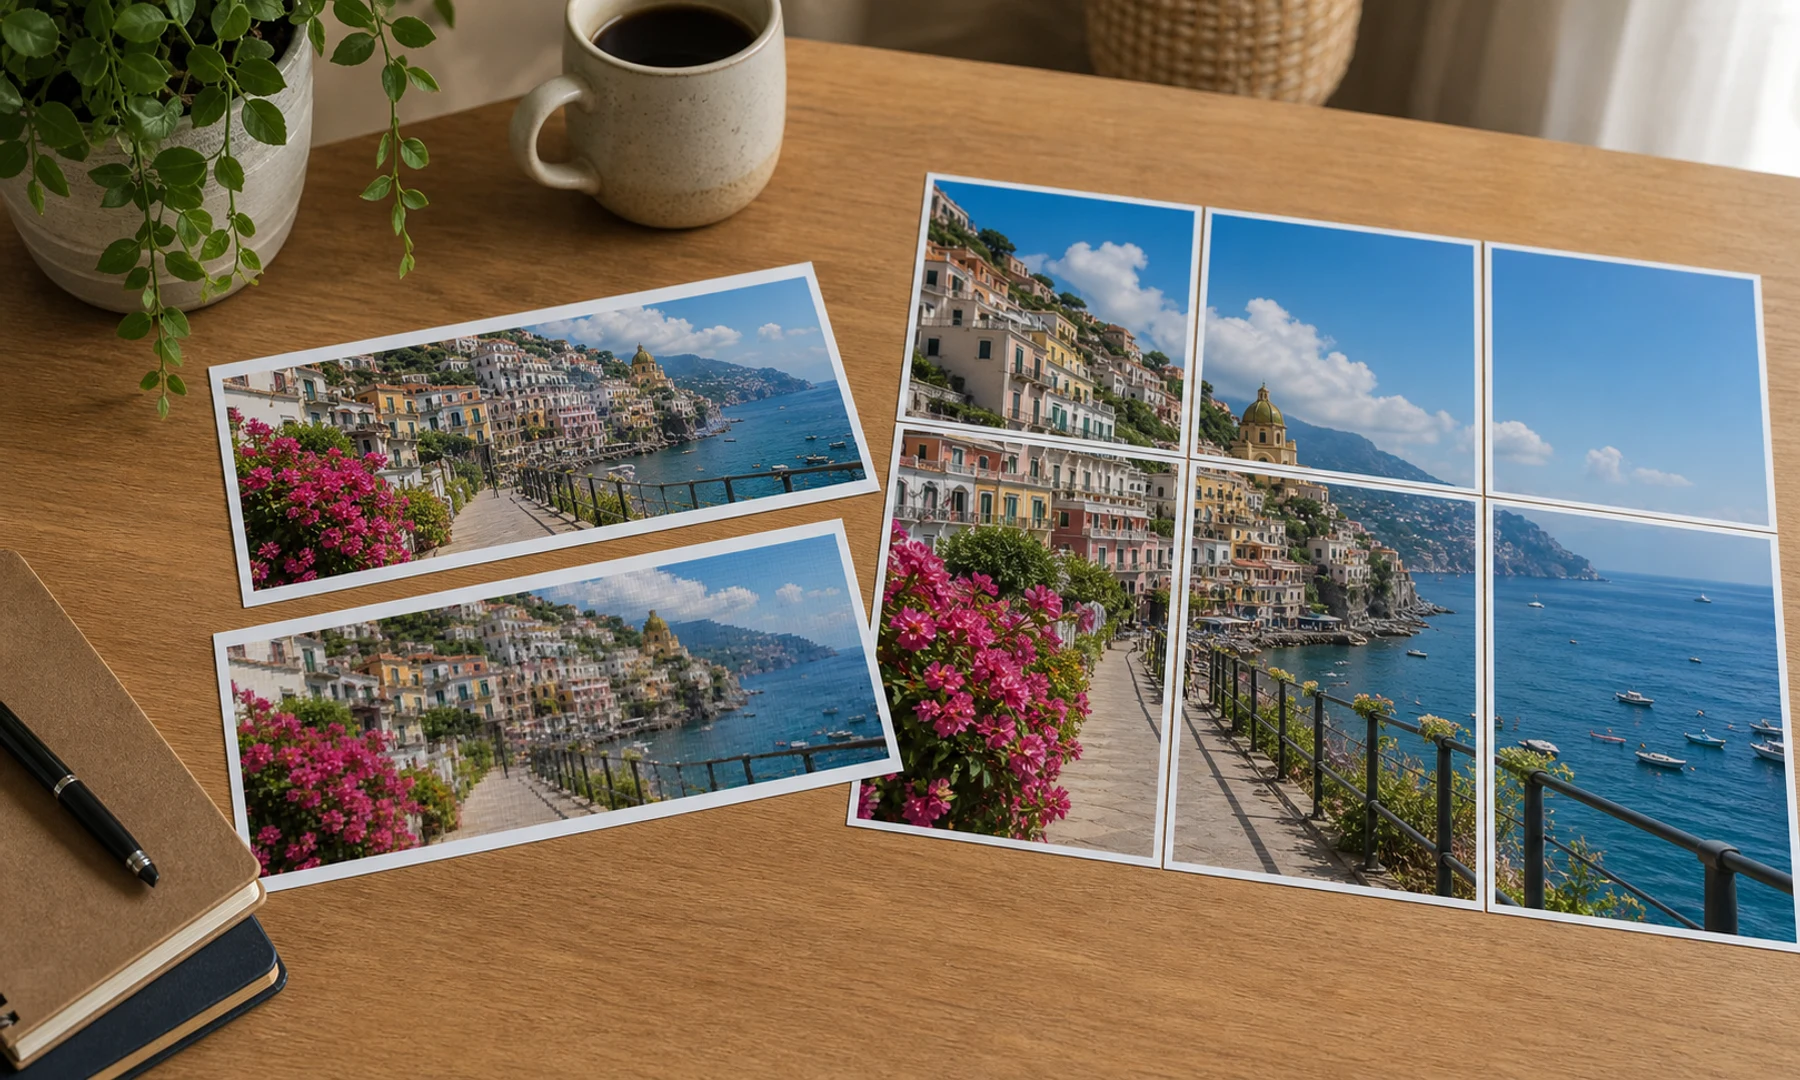
Before using a JPG in a poster maker, do this quick check:
Open the image on your device.
View it at 100% zoom.
Look at the most important area: face, title, product, map detail, or artwork edge.
Check for blocky squares, smeared texture, jagged edges, or halo artifacts.
Confirm the file is not a small thumbnail or social media preview.
If the image has text, make sure it is readable before enlargement.
If the image looks bad at 100% zoom, a poster maker cannot create missing detail. It can scale the image, but it cannot recover pixels that were never there.
Pixel dimensions matter more than file size
A large file is not automatically good, and a small file is not automatically bad.
For posters, pixel dimensions are usually more important than megabytes:
| Source image | Poster expectation |
|---|---|
| 800 x 600 px | Small poster only; large tiling will look soft |
| 1600 x 1200 px | Usable for modest posters viewed from a distance |
| 3000 x 2000 px | Good starting point for many home wall posters |
| 6000 x 4000 px | Strong source for larger posters if your device handles it |
File size depends on compression, image detail, and camera settings. A 12 MB JPG can still be blurry if it came from a bad source. A 4 MB JPG can print well if it has enough clean pixels.
Viewing distance changes the answer
A poster viewed from across a room does not need the same pixel density as a photo print viewed in your hand.
Decorative photos can often be printed larger because viewers stand back. Maps, diagrams, signs, and text-heavy posters need more resolution because people read them up close.
Use a stricter quality bar for:
classroom maps
instruction posters
safety signs
event schedules
menus
technical diagrams
QR codes
posters with small captions
Use a more forgiving bar for:
photo backdrops
bedroom wall art
party decorations
large mood images
halftone or dot-style posters
Common JPG mistakes
Using a preview instead of the original
Images from chat apps, social feeds, thumbnails, and preview pages are often resized and recompressed. They may look fine on screen, then fall apart when printed large.
Use the original camera export, design export, or largest available download.
Saving the same JPG again and again
Every low-quality JPG re-save can add compression damage. This is especially visible around text, edges, and flat color areas.
If you need to edit the image, work from the highest-quality original and export once at the end.
Enlarging small text
Small text inside a JPG is risky. Compression softens letter edges, and enlargement makes the damage more obvious.
If the poster needs readable text, create the design at the final size in a layout tool, or use a cleaner source format.
Ignoring printer margins
Most home and office printers leave a 3-5 mm unprintable white border around each sheet. This is normal. For a clean tiled poster, plan to trim the joining edges or use overlap.
JPG, PNG, PDF, WebP, or ZIP
| Format | Best use | Watch out for |
|---|---|---|
| JPG | Photos and realistic images | Compression artifacts and repeated re-saving |
| PNG | Logos, text, screenshots, line art | Large files for photos |
| WebP | Web images and mixed photo graphics | Make sure your workflow supports it |
| Printing tiled pages | Must print at Actual Size or 100% | |
| ZIP | Separate tile files | Each page must print at the same scale |
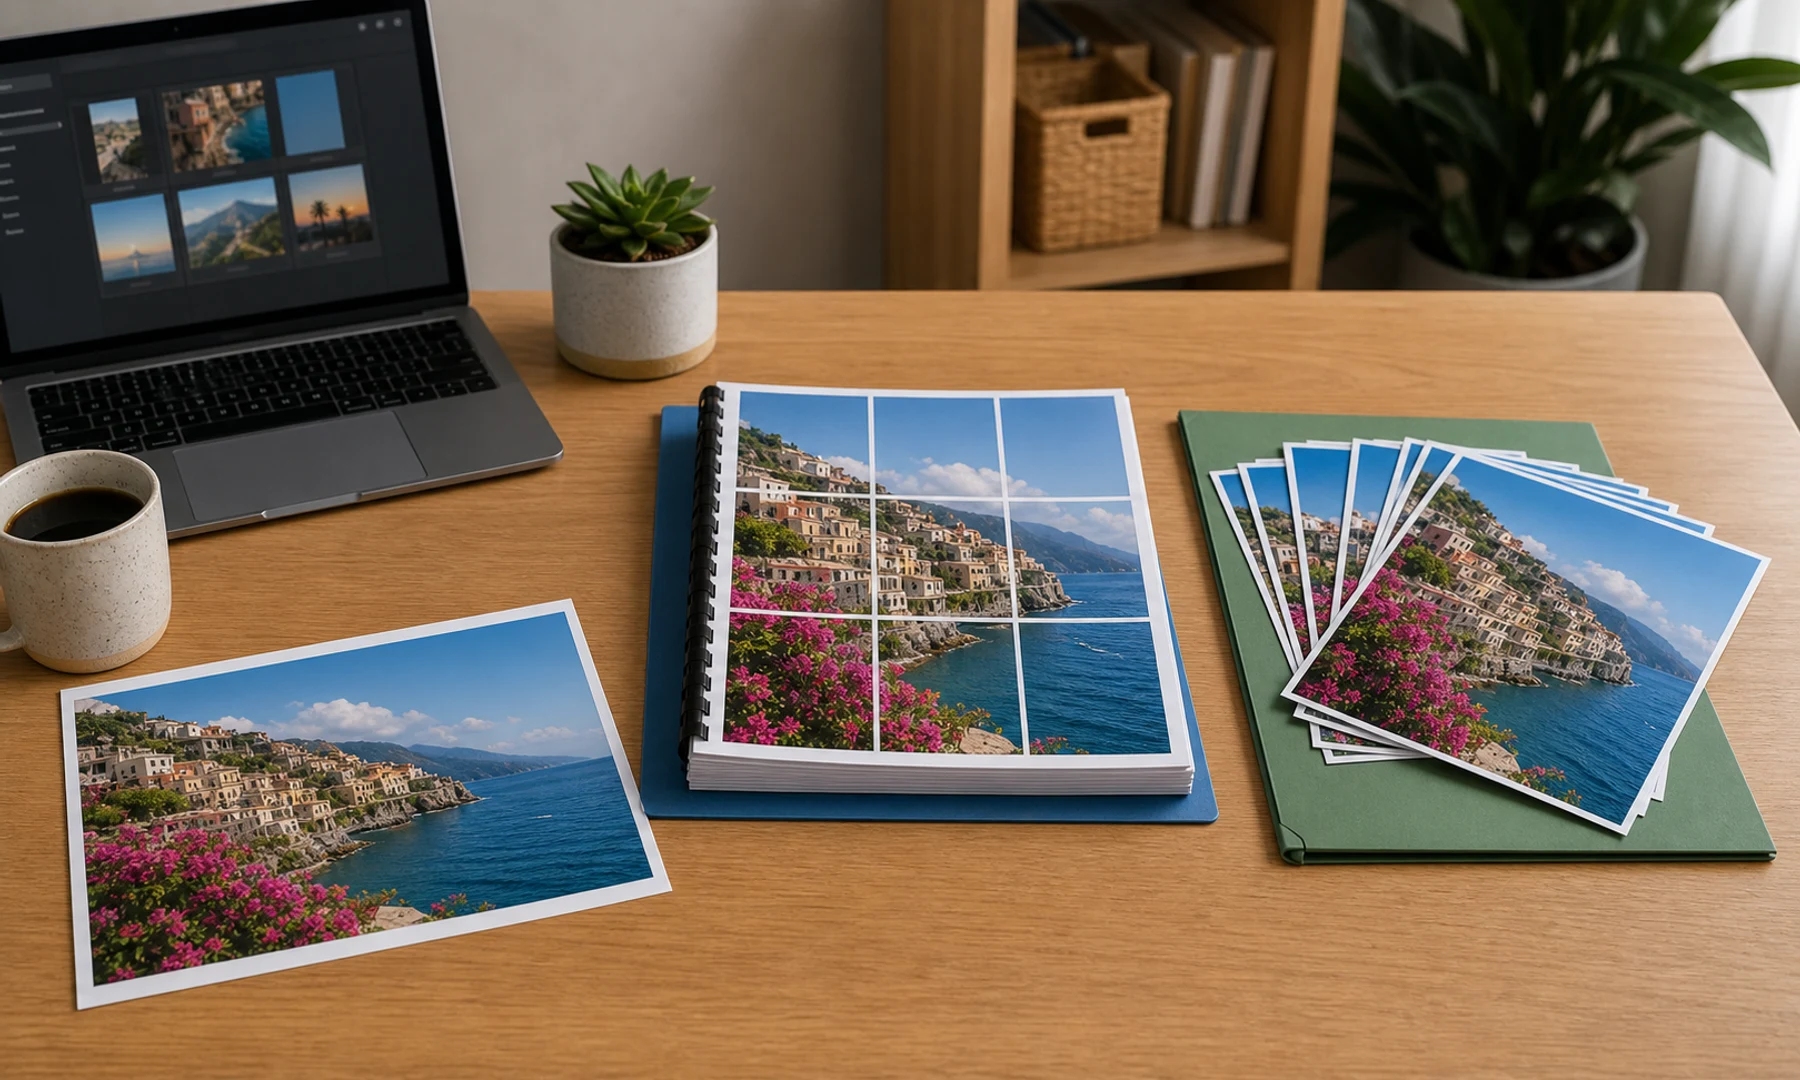
For most JPG poster projects, the simplest path is:
Load the JPG.
Choose poster size and page layout.
Export a tiled PDF.
Print the PDF at Actual Size or 100%.
Use ZIP when you want individual tile files, need to inspect one page at a time, or may need to reprint a damaged sheet.
Large JPG files and browser performance
Rasterbator.pics processes the image locally in your browser. That is good for privacy, but it also means your device does the work.
Very large JPG files can use a lot of memory when converted into a large poster. If the browser slows down:
close other tabs
use a desktop or laptop instead of an older phone
start with a slightly smaller high-quality copy
avoid making the poster larger than needed
preview before exporting
Do not shrink the image aggressively. The goal is to keep enough detail while making the file manageable.
How to print a JPG across pages
Use this workflow:
Start with the cleanest JPG available.
Check important details at 100% zoom.
Open Rasterbator.pics.
Load the JPG.
Choose the final poster size.
Select the paper size, such as A4 or Letter.
Use overlap if clean seams matter.
Export a tiled PDF.
Open the PDF in a reliable viewer.
Print at Actual Size or 100%.
Print one test page first.
Trim and assemble the pages.
For a first project, keep the page count manageable. A 2 x 2 or 3 x 3 poster teaches you how your printer handles margins before you attempt a much larger wall display.
Checklist before you hit Print
You are using the original JPG, not a thumbnail.
The image looks acceptable at 100% zoom.
Important details are sharp enough for the final size.
Text, maps, logos, and QR codes are not damaged by JPG compression.
The poster size is realistic for the source pixels.
The paper size matches the printer tray.
Overlap is enabled if clean seams matter.
The export is a tiled PDF unless you need separate files.
Print scale is set to Actual Size or 100%.
Fit to Page and automatic shrinking are disabled.
One test page has been printed and checked.
You have a ruler, trimmer or scissors, glue stick, and back-side tape.
Assembly tips for tiled JPG posters
Printing is only half the job. Assembly determines how clean the poster looks on the wall.
Lay out all pages before trimming. Check page order, image continuity, and orientation. Trim only the joining edges you need, then align pages row by row.
Use glue stick on overlap areas because it is easier to control than wet glue. After alignment, add tape to the back side of seams for strength. Avoid glossy tape on the front because it reflects light and makes seams more visible.
For large posters, assemble smaller sections first, then join the sections together.
Recommendation
Use JPG in a poster maker when the source is a clean high-resolution photo or realistic artwork. Avoid low-quality previews, repeated re-saves, and extreme enlargement.
Use PNG or PDF for graphics with small text, sharp symbols, diagrams, or QR codes.
For normal home printing, export a tiled PDF and print it at Actual Size or 100%. Plan for printer margins, use overlap when seams matter, and test one page before printing the full poster.
FAQ
Can I use a JPG in a poster maker?
Yes. JPG is a common and useful input format for photos and realistic images, as long as the file has enough clean pixels for the poster size.
Is JPG good enough for a wall poster?
Often, yes. A high-resolution JPG can print well as a wall poster, especially when it is viewed from a normal distance. A small or heavily compressed JPG may look blurry or blocky.
Does Rasterbator.pics upload my JPG?
Rasterbator.pics processes the image locally in your browser, so the poster-making work happens on your device.
Why does my JPG poster look pixelated?
The source image may be too small, too compressed, or enlarged beyond the detail it contains. Use a larger original or reduce the final poster size.
Should I use PNG instead of JPG?
Use PNG for text, logos, screenshots, diagrams, QR codes, and line art. Use JPG for photos and natural images.
What is the best export format for home printing?
A tiled PDF is usually easiest because it keeps all pages in one file. Print it at Actual Size or 100% to avoid alignment problems.
Why are there white borders on my printed pages?
Most home printers leave a 3-5 mm unprintable margin. Use overlap and trim the joining edges if you want cleaner seams.
Try Rasterbator.pics
Use Rasterbator.pics to test the article advice with your own image, page size, overlap, margins, and tiled PDF export.
Try Rasterbator.pics