
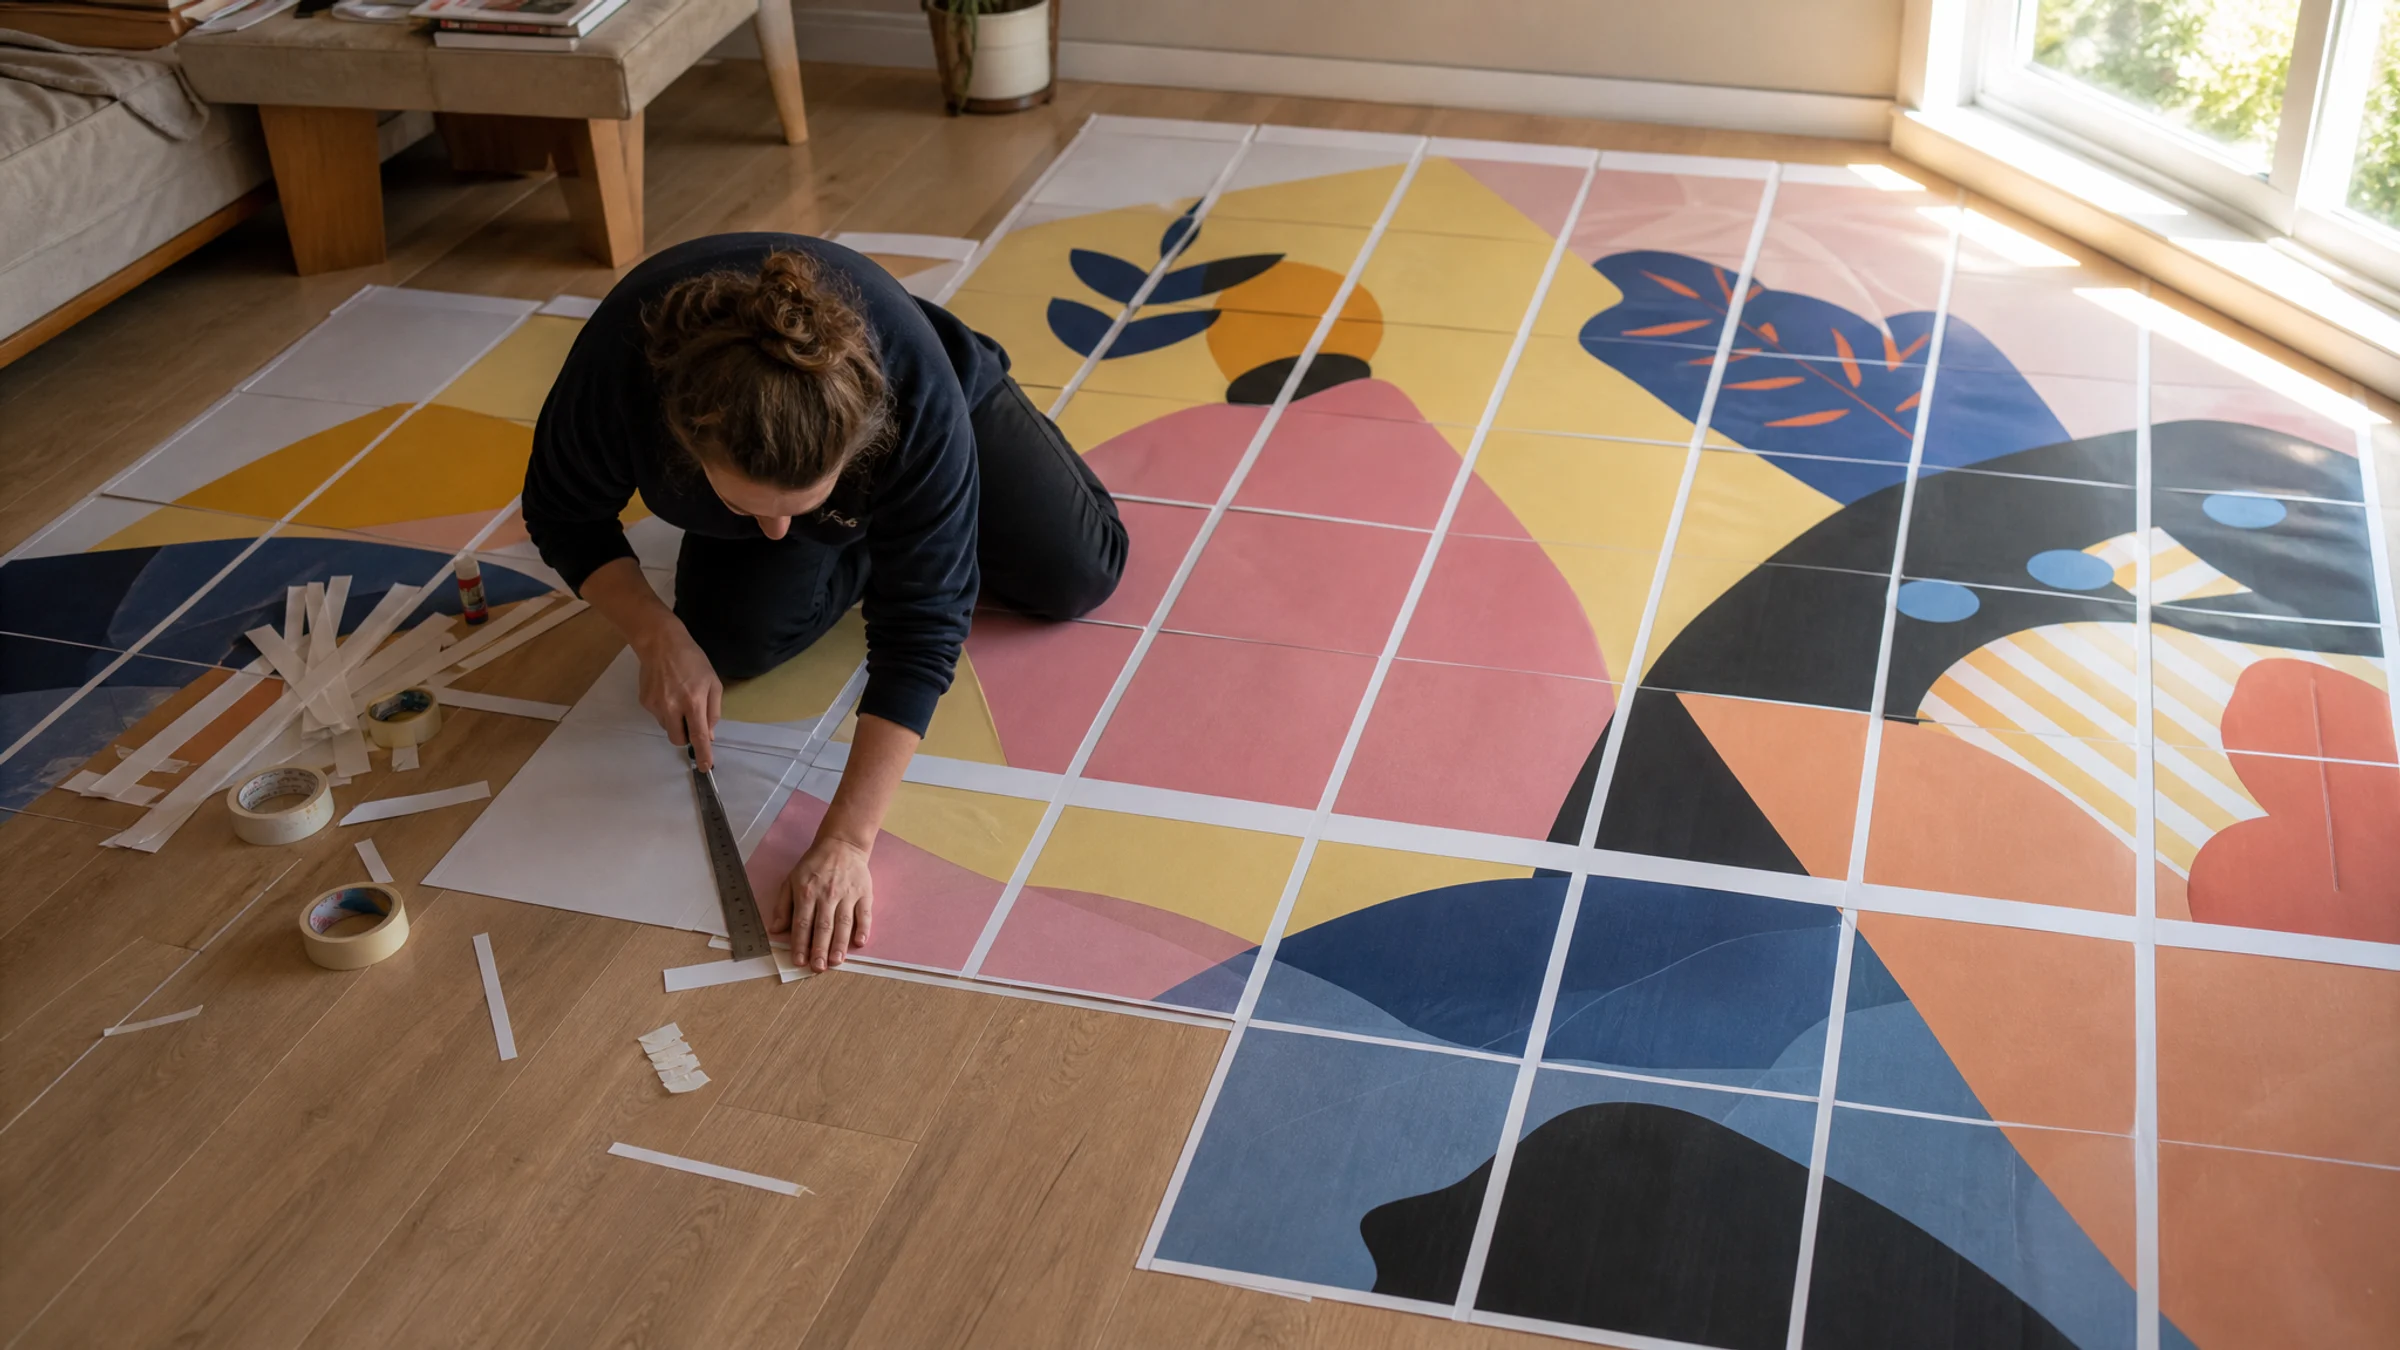
Printing a large poster on tiled A4 sheets is easy. Assembling it cleanly is what separates a finished poster from a stack of office paper.
Most home printers leave a 3–5 mm unprintable white border on each side. That is normal, and it means trimming is usually part of the job. For a clean result, plan to trim joining edges and overlap the sheets slightly instead of trying to print edge to edge.
This guide shows a practical home method: lay the pages out in order, trim the joining edges, align the image, glue lightly, tape from the back, and mount the finished poster if you want a flatter result. It works for tiled PDFs from Rasterbator.pics, for Acrobat-based tiled prints, and for similar poster workflows.
Rasterbator.pics processes your image locally in your browser, then generates the tiled PDF for printing.
What you need
Printed A4 poster pages
A large clean table or floor area
Metal ruler
Sharp craft knife or paper cutter
Cutting mat or thick scrap cardboard
Glue stick
Low-tack tape or masking tape for temporary positioning
Clear tape, paper tape, or painter’s tape for the back side
Pencil
Optional: bone folder, plastic card, or clean cloth for smoothing
Optional: foam board, cardboard, plywood panel, or wall-safe mounting strips
A sharp blade matters. A dull one tears paper fibers and makes seams more noticeable.
Before assembly: make sure the print scale is correct
The most common problem is not bad trimming. It is printing at the wrong scale.
When printing a tiled poster PDF, choose:
Actual Size
100%
No scaling
Do not use Fit to page
Do not use Shrink oversized pages
If the poster contains text or a shape with a known size, print one test page first and measure it. A small scaling error across many sheets becomes obvious once the full poster is assembled.
Understand trimming, overlap, and clean joins
A tiled poster is just one image split across separate A4 pages. The goal is to hide the page borders as much as possible.
| Method | What it means | Best for |
|---|---|---|
| Butt join | Two trimmed edges meet exactly | Precise cutting with a paper cutter and rigid backing |
| Overlap join | One page overlaps the next slightly | Home assembly with a craft knife |
| Back-side tape join | Pages are joined from the back after alignment | Clean front surface without visible tape |
For most home posters, the easiest and cleanest method is:
Trim the edge of the sheet that will sit on top.
Overlap the next page slightly.
Align the printed image, not the paper edge.
Use a little glue stick in the overlap zone.
Reinforce the seam from the back.
Glue stick or back-side tape gives a cleaner finish than front-side tape. If glare or visible seams matter, avoid taping across the front.
Checklist before you hit Print
Before printing all pages, check this list:
The file is set to A4
Print scale is Actual Size or 100%
Fit to page is off
Shrink oversized pages is off
Page orientation matches the PDF
You understand that your printer will likely leave a 3–5 mm white border
You have enough ink or toner
You have spare paper for a test print
You have a ruler, blade, cutting mat, glue stick, and back-side tape ready
You know the page order before starting assembly
If you want a shorter reference while you work, keep the poster assembly guide open in another tab.
Step 1: Let the pages dry and flatten
Fresh ink can smear, especially on inkjet prints.
Before cutting or gluing:
Let the pages dry fully.
Stack them in order.
Put them under a few books for 15–30 minutes if they curl.
Keep food, drinks, and damp hands away from the printed surface.
If a sheet edge is curled upward, press it flat and let it rest before trimming. Do not trim a curled edge, because the cut can follow the curl instead of the printed boundary.
Step 2: Sort the A4 sheets into a grid
Lay all pages on a clean floor or table in poster order.
For example, a 3 × 3 poster would look like this:
| Row | Column 1 | Column 2 | Column 3 |
|---|---|---|---|
| 1 | Page 1 | Page 2 | Page 3 |
| 2 | Page 4 | Page 5 | Page 6 |
| 3 | Page 7 | Page 8 | Page 9 |
If your PDF has page numbers, crop marks, or tile labels, use them to verify order. If not, use the image itself: follow faces, text, horizon lines, borders, and strong color changes.
Make sure every page is in the right spot before you start cutting.
Before applying any glue, dry-fit the full grid once on the floor or table. It is much easier to correct order or orientation before any seam is fixed.
Step 3: Decide which edges to trim
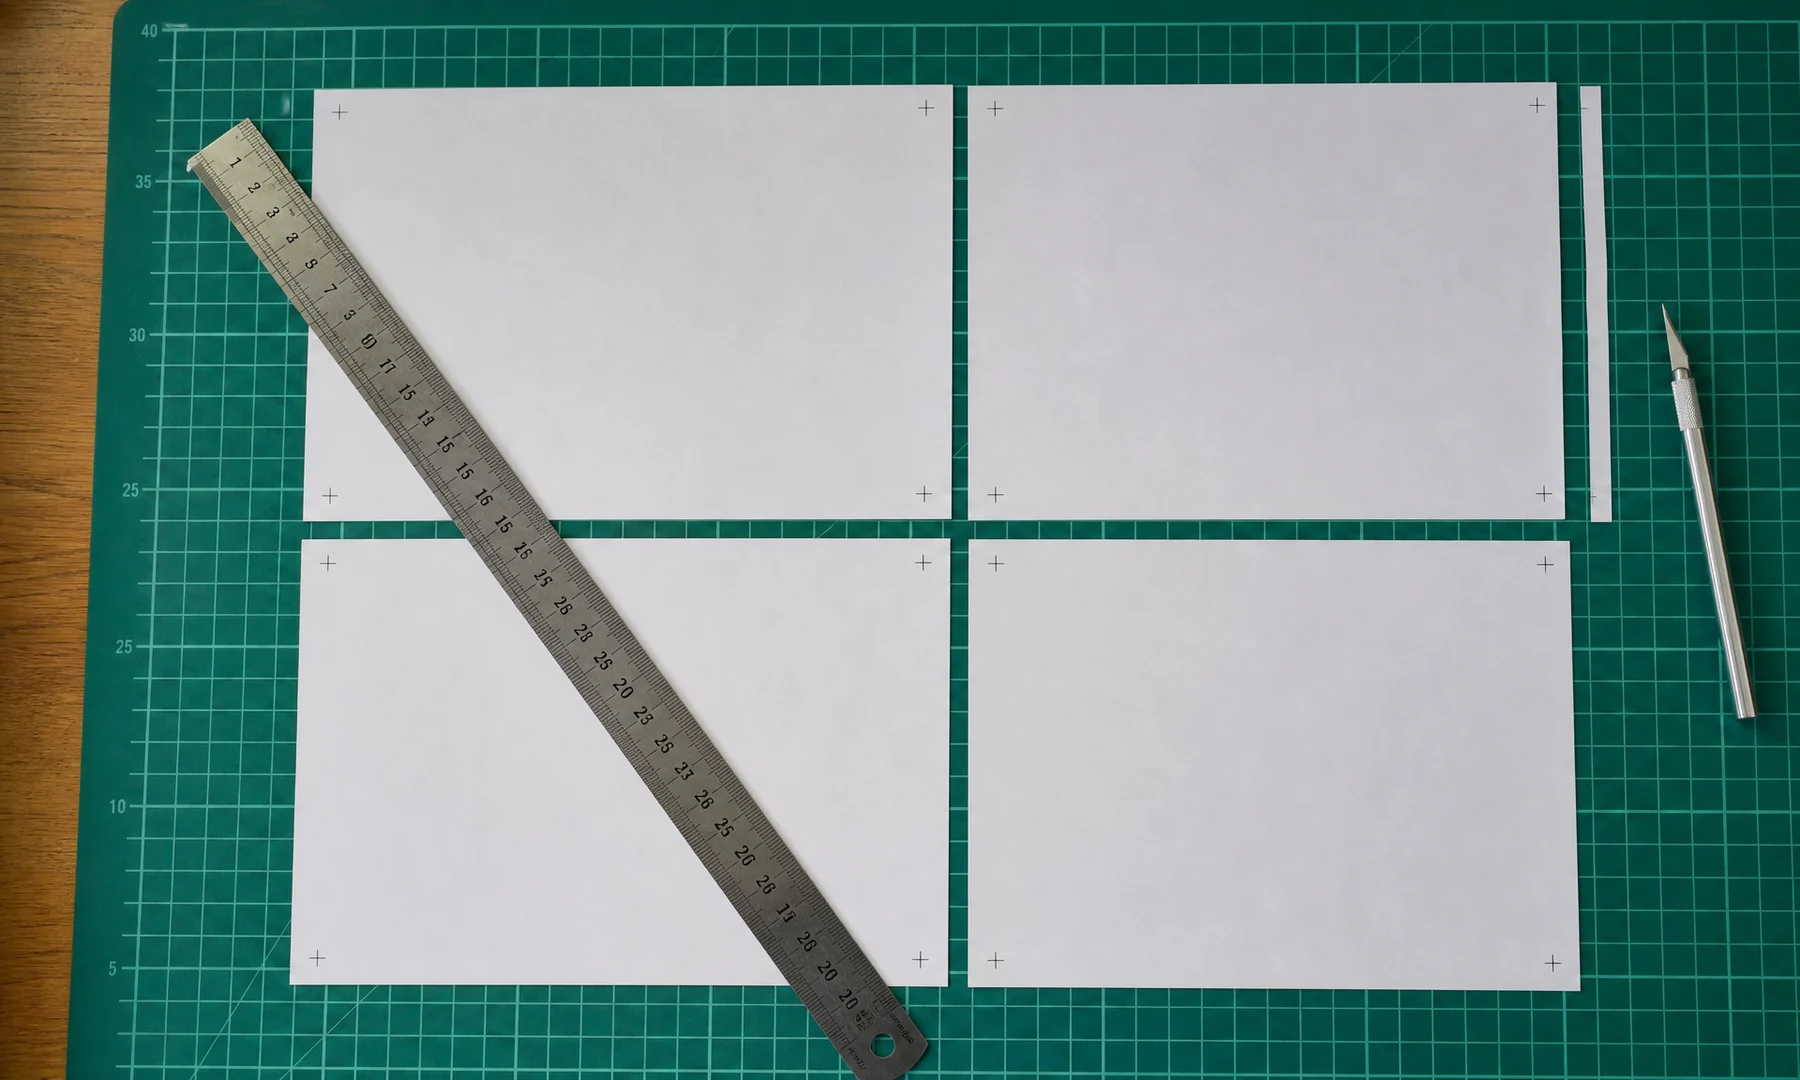
A simple home-friendly trimming plan is:
Keep the top row’s top edges untrimmed unless you want a clean outer border immediately.
Keep the left column’s left edges untrimmed unless you want a clean outer border immediately.
Trim the left edge of every other page so it can overlap the page to its left.
Trim the top edge of every other page so it can overlap the page above.
Trim the final outside edges only after the full poster is assembled.
This gives you a consistent overlap pattern and helps hide those normal printer margins.
Another approach is to trim the right edge of the left sheet instead. That also works. The important part is consistency across the full poster.
Step 4: Trim using crop marks or printed image boundaries
If your PDF includes crop marks, place the ruler through the marks and cut in steady, controlled passes.
If there are no crop marks:
Find where the printed image continues on the next sheet.
Place the ruler just inside the unprinted joining margin.
Trim away the white margin from the edge that will overlap.
Cut straight, not fast.
Test the join before gluing.
Several light passes are usually safer than one heavy pass.
Step 5: Assemble one row at a time
Start with the top row.
Place the first sheet face up.
Place the second sheet over it, slightly overlapping.
Aim for 2–3 mm of overlap. Too little and the seam may open; too much and you will see a ridge.
Align the printed image across the seam.
Use tiny pieces of low-tack tape to hold the position temporarily.
Repeat until the row is complete.
Look at the image content, not the paper size. Home printers can shift paper slightly during feeding, so image alignment matters more than matching paper corners.
Before gluing, step back and view the row from arm’s length. Misalignment is often easier to spot from a short distance than up close.
When the row looks right, lift the top sheet slightly and apply glue stick in a thin zigzag pattern along the overlap zone, not in a heavy solid stripe. Press it down and smooth from the seam outward.
Use only enough glue to hold the paper. Too much glue can wrinkle thin paper.
Step 6: Join the rows
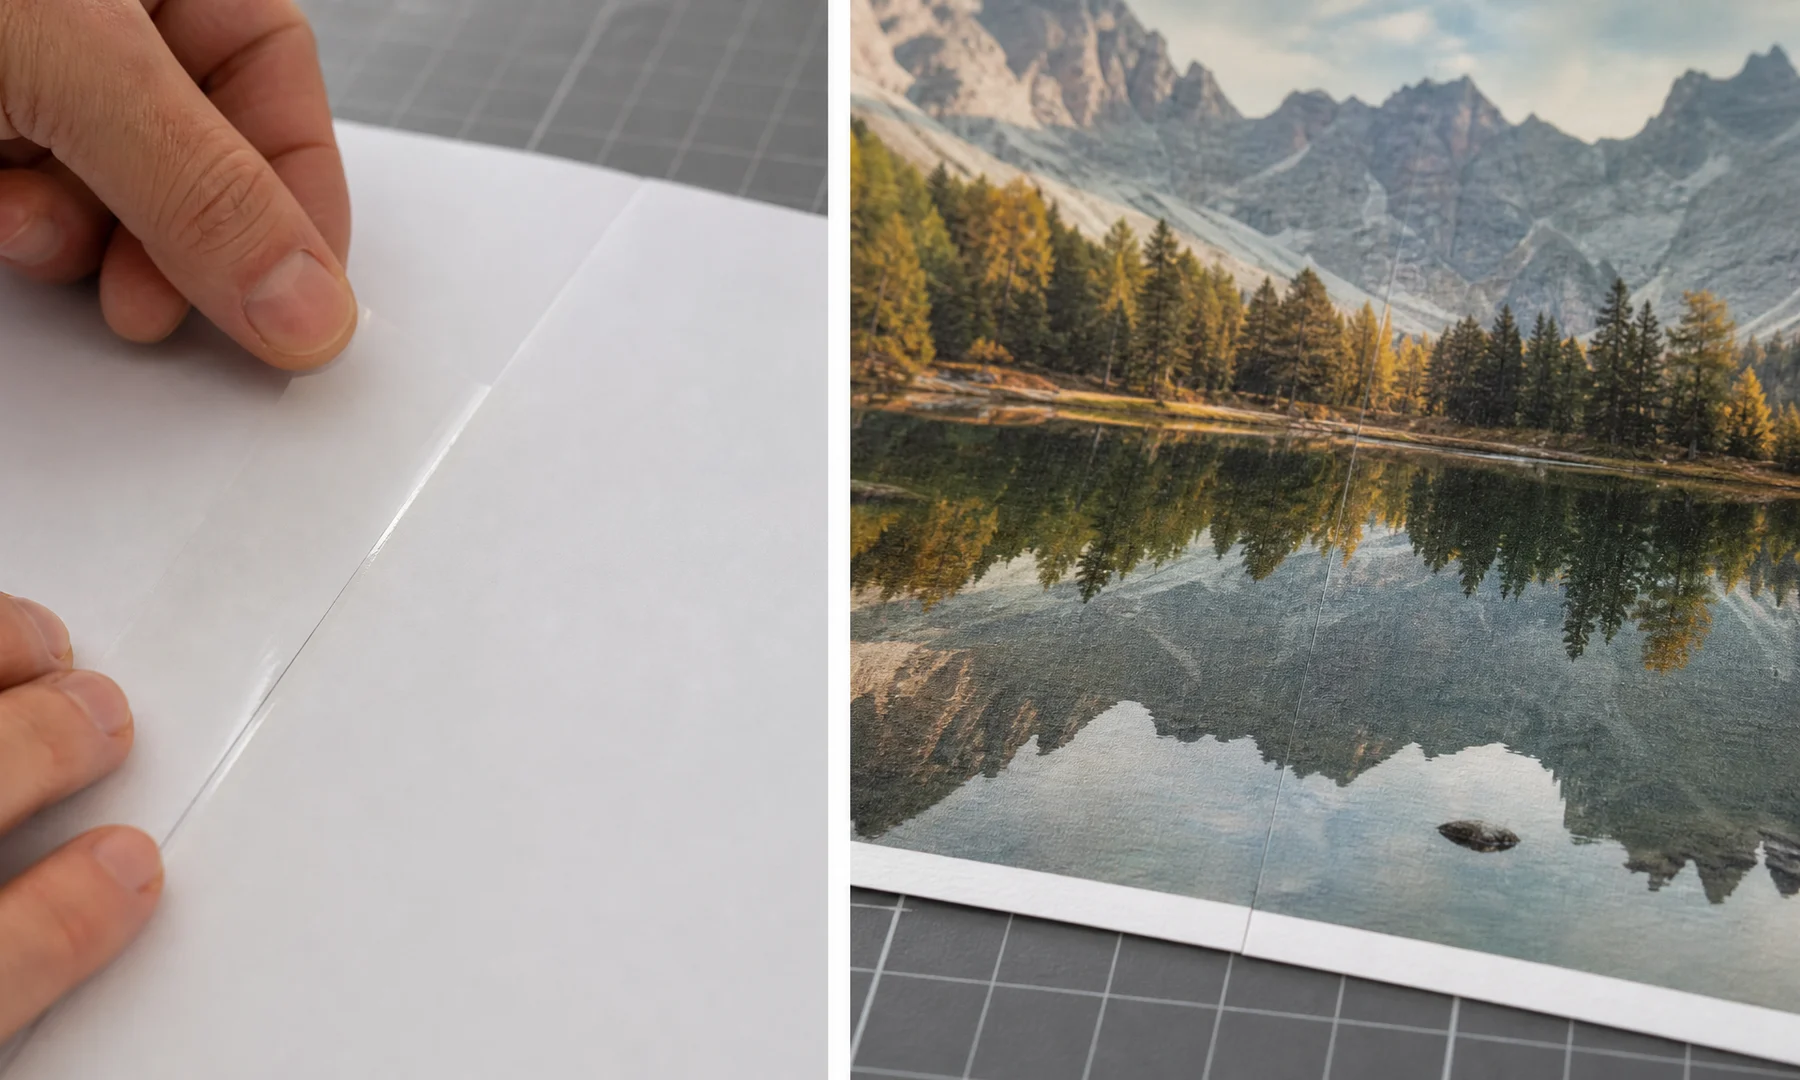
Once each row is assembled, join the rows together.
Place the top row face up.
Bring the next row underneath it.
Align strong vertical details first: text, faces, edges, building lines, borders, or other obvious features.
Check the left, center, and right sides before fixing the seam.
Use temporary tape if needed.
Lift the top row slightly and apply glue stick in a thin zigzag pattern along the overlap zone.
Press and smooth gently.
Large posters often drift slightly during assembly. Prioritize the most visible image details over perfect paper-corner alignment.
Let the glue set for 2–3 minutes before flipping or moving the poster much. That helps prevent the overlap from shifting.
Step 7: Reinforce joins from the back
Once the front looks aligned, reinforce the poster from the back.
Before flipping, slide a rigid board such as cardboard or foam board under the assembled poster if it is large. Flip the support and the poster together instead of lifting the paper alone. That helps prevent a crease forming along a seam.
On the back side:
Add tape along the seams.
Use several shorter strips instead of one very long strip on larger posters.
Avoid stretching the tape as you apply it.
Press the tape flat.
Do not wrap tape around to the front.
Back-side tape matters because glue stick alone may loosen over time, especially on curled paper or in dry rooms.
For a cleaner finish, tape vertical seams first, then horizontal seams.
Step 8: Trim the outside border
After the poster is assembled and reinforced, trim the outer edges.
Place the poster face up on a cutting mat.
Use a long ruler if possible.
Trim one side at a time.
Cut slightly outside the image if you want a narrow white border.
Cut to the image edge if you want a full-bleed look.
If you plan to mount the poster on foam board or cardboard, you can leave a small extra border and trim everything flush after mounting.
Step 9: Mount or hang the poster
You can hang the assembled poster directly, but mounting usually makes it flatter and more finished.
Good mounting options include:
Foam board
Thick cardboard
Poster board
Thin plywood
Magnetic poster hangers
Wall-safe mounting strips
For foam board or cardboard:
Place the poster on the board and check alignment.
Lightly mark the corners with pencil.
Apply glue stick or spray adhesive according to the product instructions.
Lay the poster down gradually from one side to the other.
Smooth with a clean cloth, plastic card, or bone folder.
Trim the board edge after the adhesive sets.
If you use spray adhesive, test first and work in a ventilated area.
Should you use Adobe Acrobat Reader Poster printing?
If you already have a large single-page PDF that was not made as a tiled poster, Adobe Acrobat Reader’s Poster mode can split it across multiple pages.
It is useful when:
You already have one large PDF page
You want Acrobat to handle the tiling
You need cut marks, labels, or overlap controls
You are comfortable checking print settings carefully
However, if you are using a PDF from Rasterbator.pics, simply print it normally at Actual Size or 100%. The tiling is already built in, and that usually makes poster setup clearer and the final PDF output more predictable.
Example: assembling a 3 × 3 A4 poster
A practical sequence looks like this:
Lay out pages 1 to 9 in a 3 × 3 grid.
Assemble pages 1, 2, and 3 into the top row.
Assemble pages 4, 5, and 6 into the middle row.
Assemble pages 7, 8, and 9 into the bottom row.
Join the top row to the middle row.
Join that larger section to the bottom row.
Reinforce all seams from the back.
Trim the outside border.
Mount or hang the finished poster.
This row-by-row approach is usually easier than trying to build the whole poster in a random sequence.
How to avoid visible seams
Some seams are normal with home tile printing, but you can make them much less noticeable.
Use these habits:
Trim with a sharp blade on a cutting mat
Align the printed image, not the paper edge
Use a small overlap instead of relying only on butt joins
Keep glue light
Smooth from the seam outward
Reinforce from the back
Mount the poster on a flat backing if possible
Avoid front-side tape when glare or visible joins matter
If possible, place seams through low-detail areas of the image
Skies, gradients, faces, and text show seams more easily. Busy illustrations, maps, and textured artwork are usually more forgiving.
Common mistakes and quick fixes
| Problem | Likely cause | Fix |
|---|---|---|
| Poster is the wrong size | Printed with scaling or Fit to page | Reprint at Actual Size or 100% |
| White lines between pages | Unprintable margins were not trimmed | Trim joining edges and overlap them |
| Image does not align | Pages are out of order or paper shifted in the printer | Recheck the grid and align image details first |
| Paper wrinkles | Too much glue or heavy adhesive | Use less glue and smooth gently |
| Seams open later | Glue only, no reinforcement | Add tape on the back |
| Outer border looks uneven | Outside edges trimmed too early | Trim the full poster only after assembly |
| Front looks shiny at seams | Tape applied on the front | Use glue stick and back-side tape instead |
FAQ
How do I glue a poster made from A4 sheets?
Lay the pages in order, trim the joining margins, overlap neighboring sheets slightly, align the printed image, apply glue stick in a light zigzag pattern inside the overlap, then reinforce the seams with tape on the back.
How much overlap should I use?
A good target is 2–3 mm. That is usually enough to hide the white printer margin without creating a bulky ridge.
Should I tape the front or the back?
Use tape on the back whenever possible. Front-side tape catches light, creates shiny seams, and makes joins more visible.
Do I need to trim every edge?
No. In most cases, trim only the edges that need to overlap. Trim the outside border after the full poster is assembled.
Why are there white borders on my A4 pages?
Most home printers have a physical limitation that prevents ink from reaching the edge of the paper. A 3–5 mm unprintable margin is normal. The usual fix is trimming and overlap, not changing the print scale.
What print setting should I use?
Use Actual Size, 100%, or No scaling. Avoid Fit to page and Shrink oversized pages unless you intentionally want a smaller poster.
Can I use regular office paper?
Yes. Standard 80 gsm paper works, but slightly heavier paper often assembles more neatly if your printer supports it.
Is glue stick better than liquid glue?
Usually yes. Glue stick is easier to control and less likely to wrinkle the paper.
Can I assemble the poster without overlap?
Yes, but butt joins need very accurate trimming and usually look best on a rigid backing board. Overlap is more forgiving for home assembly.
What if one page is slightly shifted?
Small printer feed shifts are common. Align the most important image details first. If the shift is obvious, reprint that page and check that scaling is still set to 100%.
Try Rasterbator.pics
Use Rasterbator.pics to test the article advice with your own image, page size, overlap, margins, and tiled PDF export.
Try Rasterbator.pics