
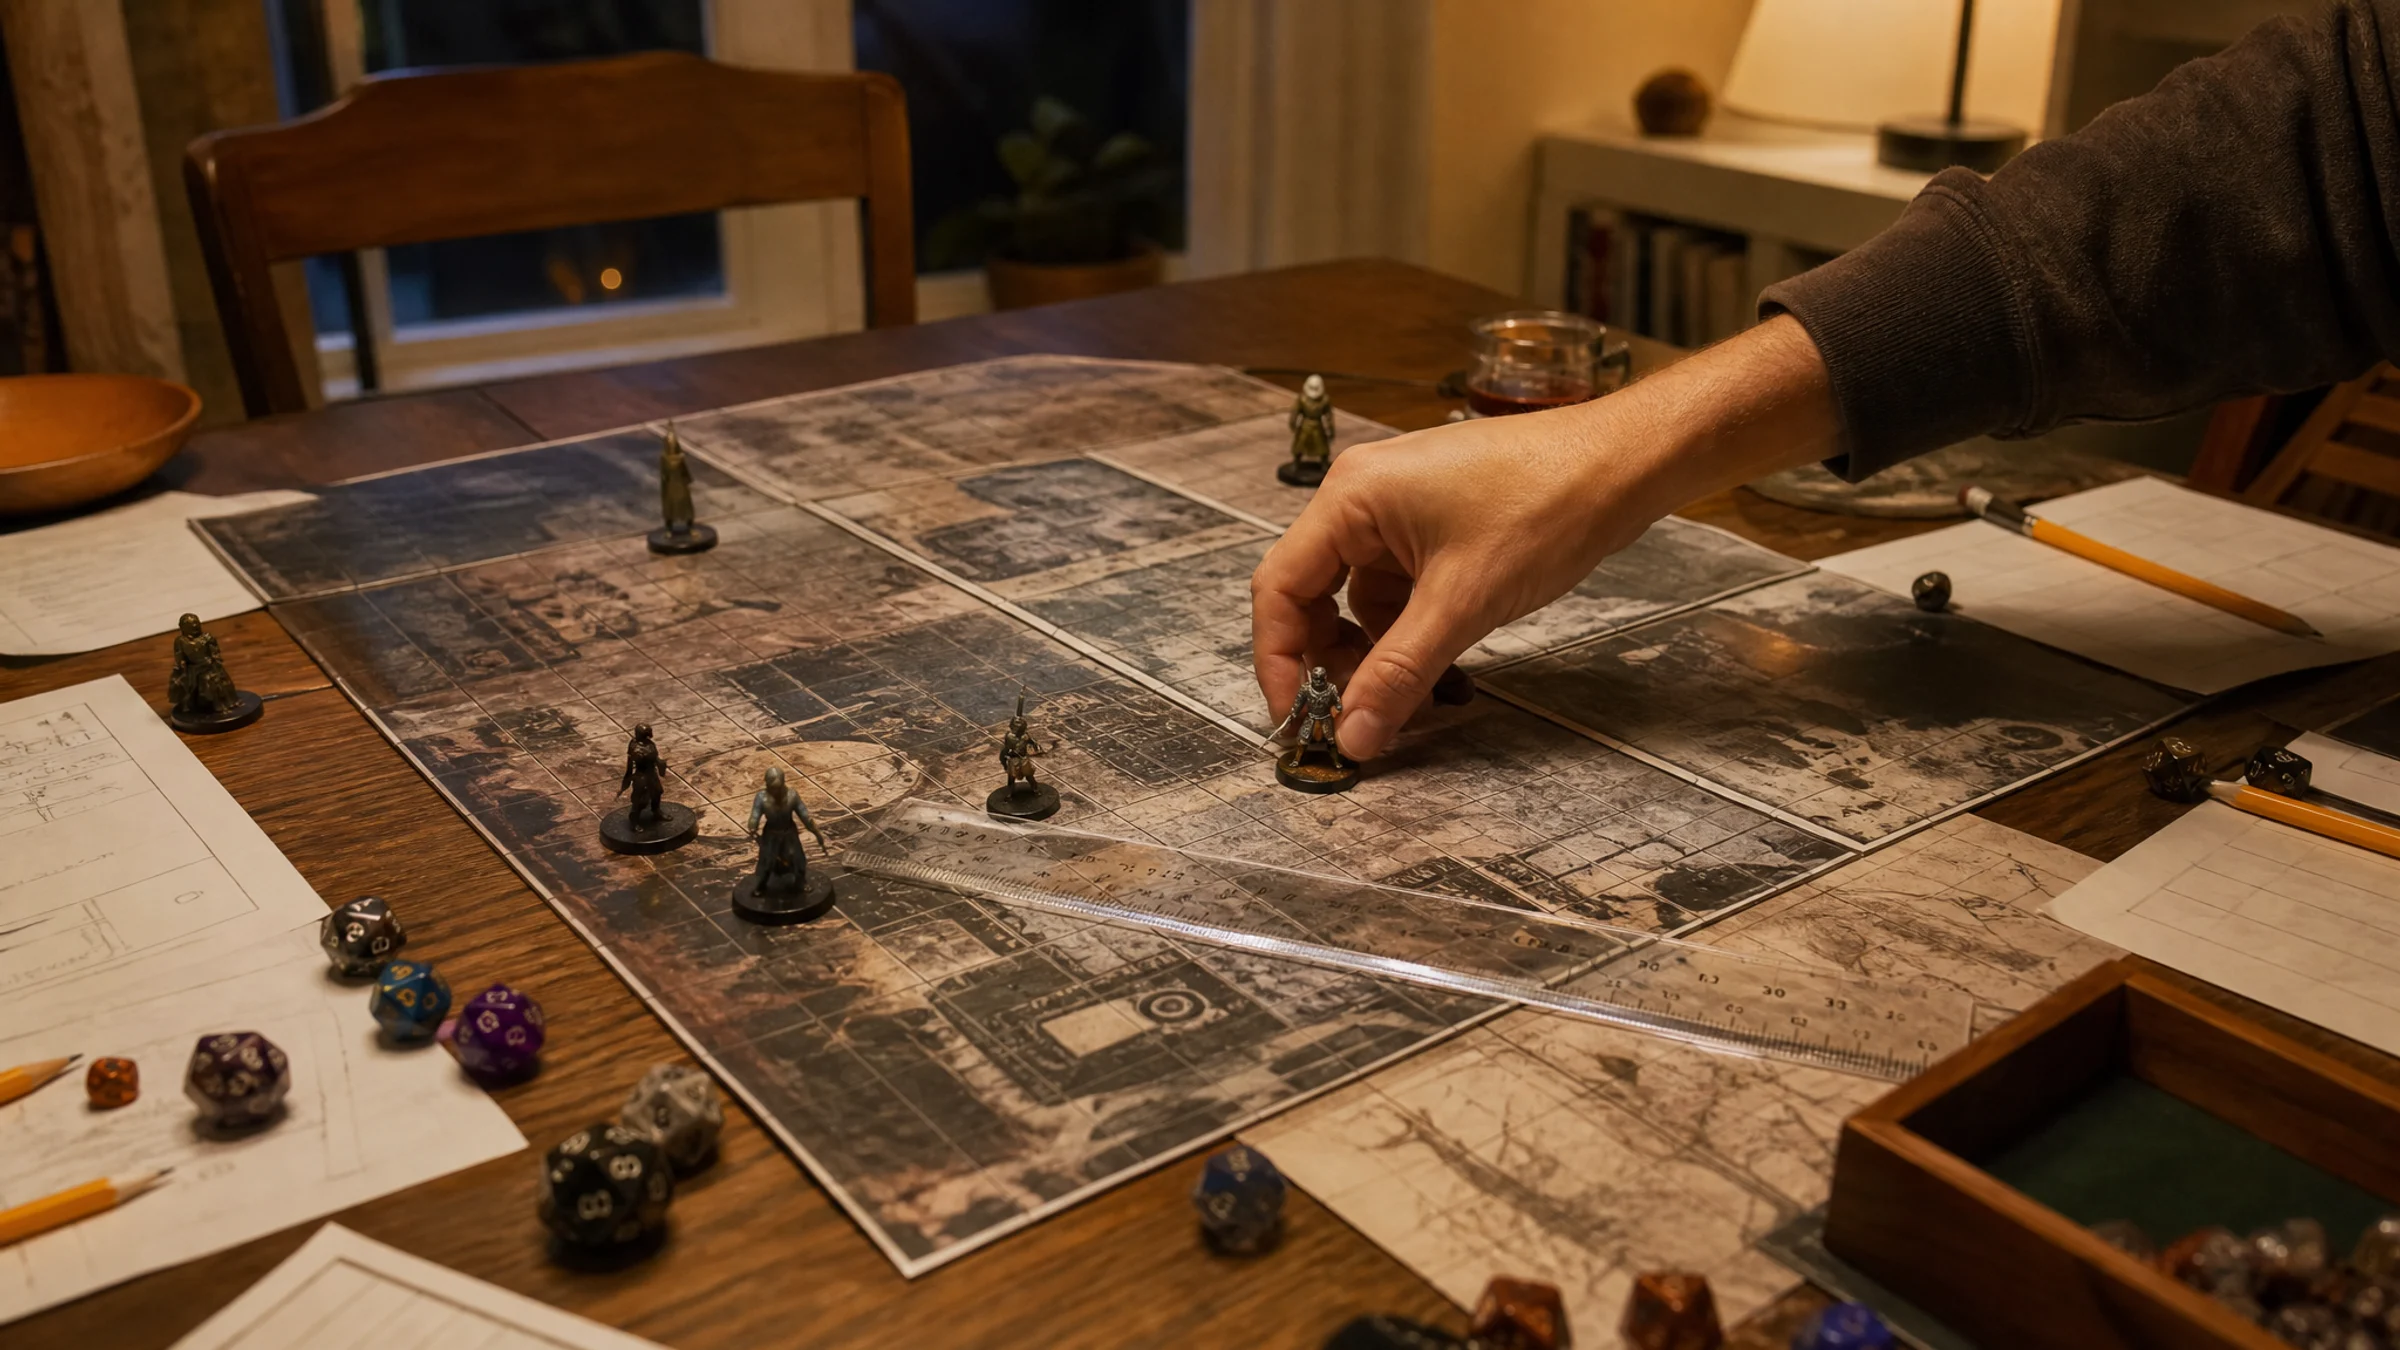
A Dungeons & Dragons battle map only works properly at the table if the grid prints at the right size. For most tabletop RPG use, that means one grid square equals exactly 1 inch.
If you assembled the map from A4, Letter, or other home-printer sheets, check the scale before game night—don't wait to discover your miniatures no longer fit the grid. Also keep in mind that most home printers leave a 3-5 mm unprintable white border around each page. That is normal, and trimming is usually part of clean tiled map assembly, not a sign that anything went wrong.
For detailed guidance on print settings that preserve exact dimensions, see our exact-size printing guide.
Rasterbator.pics can split a large battle map into printable tiled pages, with processing happening locally in your browser. That makes it easier to set a clear final poster size and generate a predictable PDF for printing.
The target: one inch per grid square
Most D&D and fantasy RPG battle maps use a 1-inch grid because standard miniatures are usually based around that size. Before checking the assembled map, confirm the scale you meant to print.
| Intended use | Common printed grid size | Notes |
|---|---|---|
| D&D 5e combat map | 1 inch per square | Standard for most 25-28 mm miniatures |
| Pathfinder or similar grid RPG map | 1 inch per square | Usually compatible with D&D minis |
| Smaller travel map | 0.75 inch per square | Saves paper, but miniatures may feel crowded |
| Display poster map | Any size | Decorative scale may matter more than play scale |
| Virtual tabletop screenshot | Must be converted carefully | Screen pixels do not automatically match print size |
For a playable D&D battle map, the main check is simple:
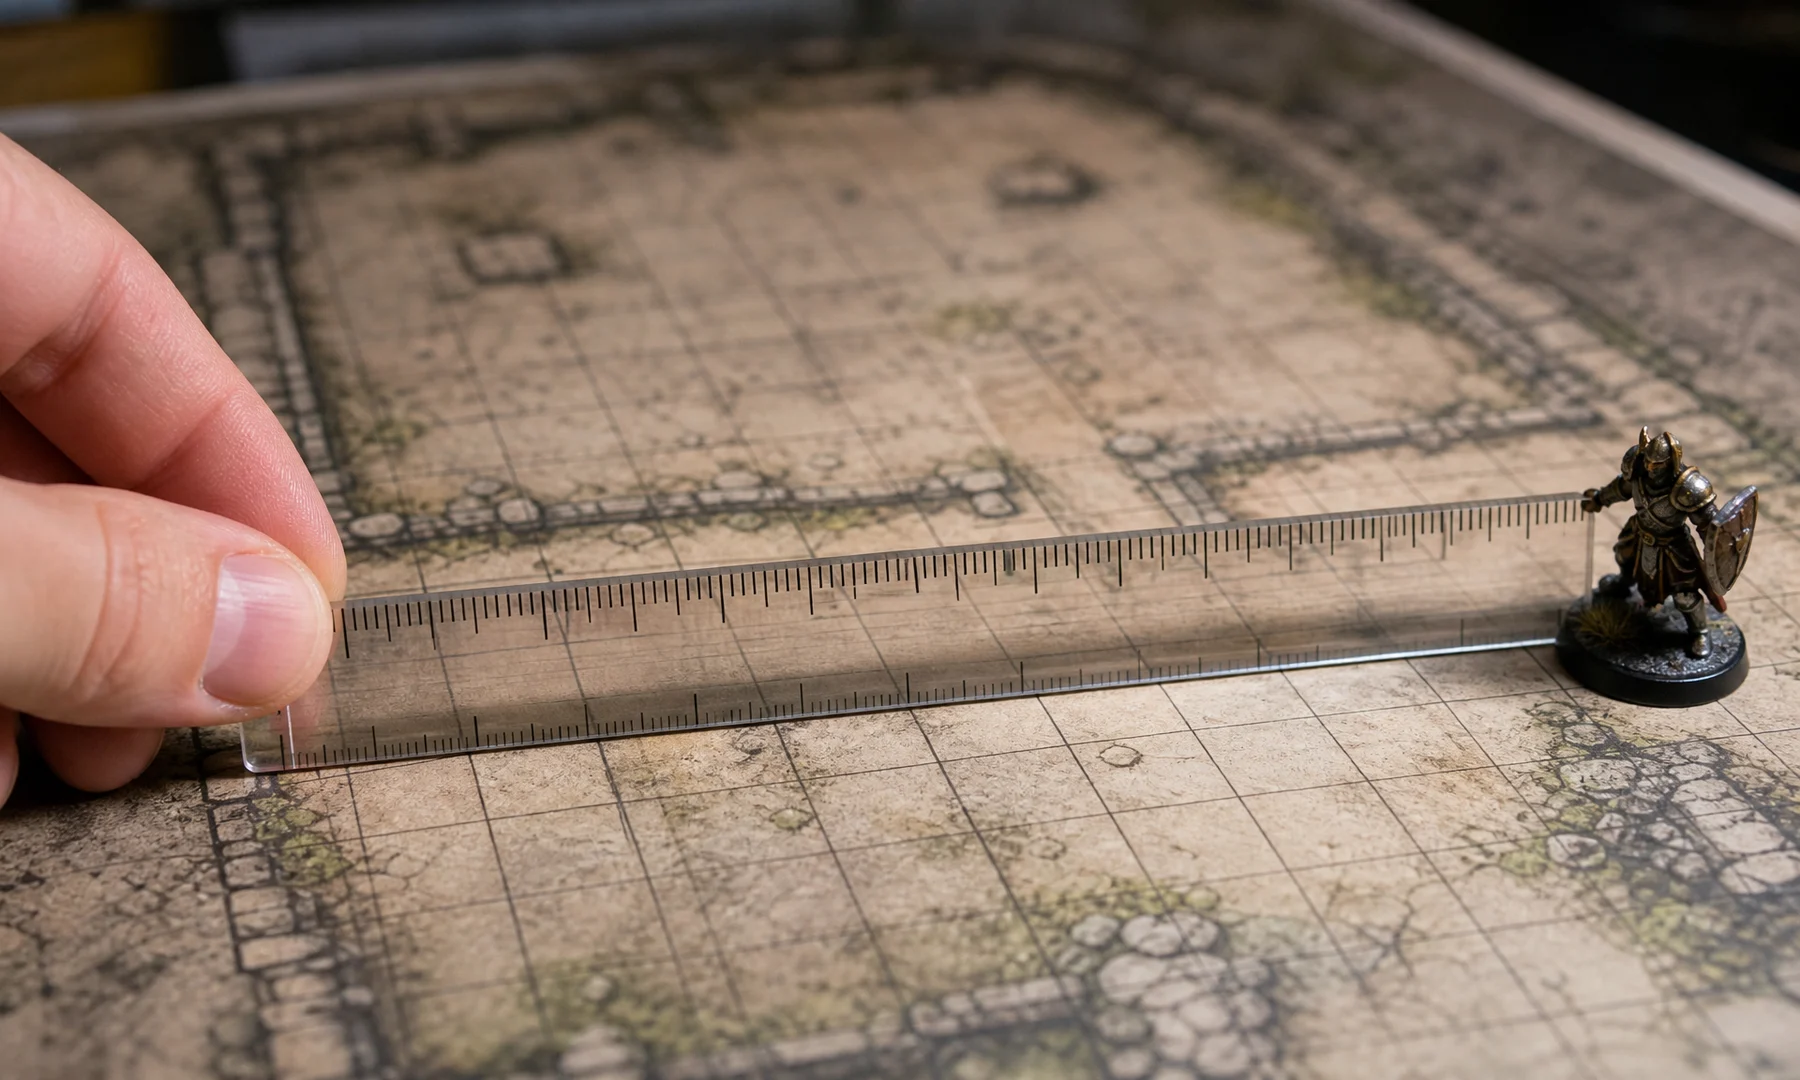
A ruler placed across 10 grid squares should read exactly 10 inches.
Checking 10 squares is more reliable than checking a single square because small ruler placement errors are easier to spot over a longer distance.
Required tools
You do not need special equipment. Gather:
The assembled tiled battle map
A ruler, tape measure, or cutting mat with inch markings
A pencil or removable sticky note
A few miniatures or 1-inch bases
Spare paper for a quick test reprint
A glue stick for reassembly if needed
Tape for the back side if you need to reinforce corrected seams
If your ruler has both metric and imperial markings, use inches for the final D&D grid check.
Step 1: Flatten the assembled map before measuring
Before you measure anything, make sure the map is lying as flat as possible.
If you used a glue stick, let it dry for a few minutes. If the map has curled edges or raised seams, place a few clean books on top for a short time. Raised seams can distort measurements, so flatten the map first.
Also check that overlapping sheets were not pulled out of square during assembly. A page can print correctly and still end up misaligned when glued.
Step 2: Measure 10 grid squares horizontally and vertically
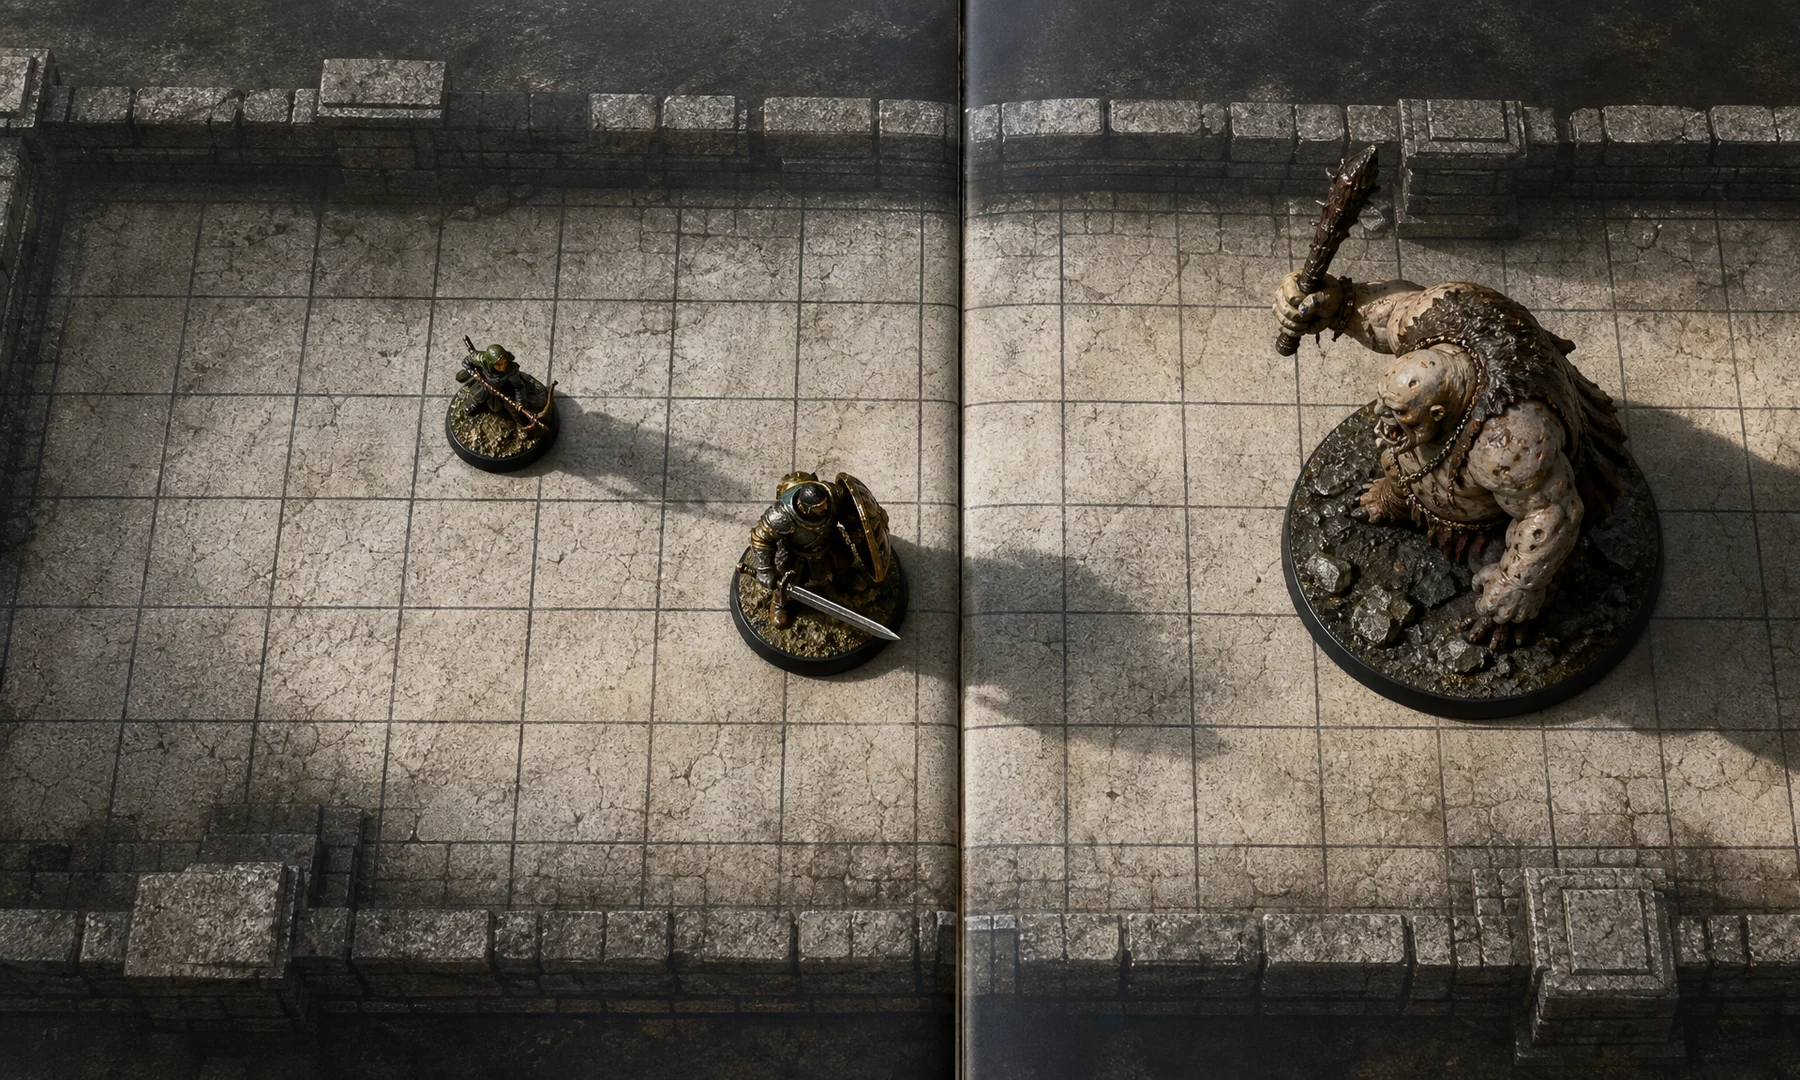
Pick a clear area near the center of the map. Use the printed grid lines rather than the paper edges.
Look for the lines that divide the map into squares, then count 10 squares in a straight line.
Measure:
10 squares from left to right
10 squares from top to bottom
If possible, another 10-square section near a corner
For a one-inch grid, the measurements should be:
| Number of grid squares | Correct measurement |
|---|---|
| 1 square | 1 inch |
| 2 squares | 2 inches |
| 5 squares | 5 inches |
| 10 squares | 10 inches |
| 20 squares | 20 inches |
A 1 mm error over 10 inches is usually paper movement or ruler placement, not a scaling problem. If the difference is several millimeters, check your print settings.
Step 3: Confirm the result with miniatures
After the ruler check, place a few bases on the map.
This is less precise than measuring, but it is the quickest practical test for table use.
Check:
One miniature on one square
Two miniatures side by side
A larger creature base across a 2-by-2 area
A short line of miniatures across a corridor or doorway
If the ruler says the map is correct but the minis still feel wrong, check the base diameter. Common D&D miniatures often use 25 mm or 28 mm bases, and they should fit comfortably inside a 1-inch square.
Step 4: Diagnose the type of scaling error
Use this table to work out what happened.
| Symptom | Likely cause | What to do |
|---|---|---|
| Every square is too small | Print dialog used Fit to page or a similar scaling option | Reprint at Actual Size or 100% |
| Every square is too large | Print dialog enlarged the image | Reprint at 100% |
| Center measures correctly but edges drift | Assembly error or paper skew | Reassemble the affected row or column |
| One page is wrong but others are right | That page printed with different settings | Reprint only that page |
| Horizontal scale differs from vertical | Printer driver scaling or image distortion during export | Export again and print with uniform scale |
| Grid is correct but map edges are clipped | Printer margins cut off content | Use overlap and allow for unprintable margins |
| Grid lines do not match across seams | Seams were trimmed unevenly or pages shifted during assembly | Retrim and align by the grid, not by the paper edge |
Most scaling problems come from one setting: Fit to printable area. It shrinks the map to fit inside the printer's margins. Use Actual Size, 100%, or an equivalent no-scaling option instead.
For more detail, see our exact-size printing guide.
Step 5: Account for normal printer margins and trimming
Most home printers cannot print all the way to the edge of the paper. A typical unprintable margin is about 3-5 mm on each side.
That matters because a battle map tile can appear to have missing content even when the scale is correct. Often the issue is not the map size. It is the printer's printable area.
Practical rules:
Expect a white border on most pages
Expect trimming to be part of assembly
Trim along grid lines or crop marks, not along the raw paper edge
Use overlap if you want easier joining and cleaner alignment
Do not judge scale from the outer paper edge alone
Avoid Borderless mode if possible. Many consumer printers make borderless output by slightly enlarging the image to bleed off the edges, which can break exact one-inch grid scale. Standard Actual Size printing is usually safer.
Step 6: Check seams and page alignment
Once the overall measurements look right, inspect the joins.
Look for:
Grid lines that jump at the seam
Corridors that get wider or narrower between pages
Walls or diagonals that break across a join
Repeated strips caused by too much overlap
Missing strips caused by over-trimming
Pages placed in the wrong order
If one page overlaps another, trim the overlapping edge cleanly before joining.
For stronger maps, use a glue stick on overlapping edges, then reinforce seams with small pieces of tape on the back side. Avoid tape on the front—it creates visible, glossy joins.
Step 7: Reprint only the pages that need correction
You usually do not need to start over.
Mark the problem area lightly with pencil or a sticky note. Then identify which printed page created that section of the map.
If you used Rasterbator.pics, match the problem area to the page number in the generated PDF, then reprint that page at 100%.
Reprint a page when:
Its grid squares are smaller or larger than neighboring pages
Its seam still fails to align after trimming
It printed in the wrong orientation
The printer clipped important content
It was glued on crooked and cannot be corrected in place
If the bad page is already attached, carefully lift one edge with a flat tool and peel it away slowly. Then use a glue stick to attach the corrected page, align the grid lines first, and trim the seam if needed.
Before replacing several pages, print a single corner tile or a small 2-by-2 section at Actual Size / 100% and measure it. That uses less paper and confirms the fix before you commit to a full reprint.
Checklist before you hit Print
Use this quick checklist before printing replacement pages or a full corrected map:
The target grid is confirmed as 1 inch per square
Printer scaling is set to Actual Size or 100%
Fit to page, Shrink oversized pages, and similar scaling options are off
Borderless enlargement is off unless you have tested and measured it
Paper size matches the tiled PDF, such as A4 or Letter
Orientation is correct
You understand that most pages will have a 3-5 mm unprintable border
Overlap is enabled if you want easier trimming and assembly
A test tile has been printed and measured
10 grid squares measure 10 inches on the test print
A glue stick, trimming tool, and back-side tape are ready
Scale correction formula for a full-map error
If the whole map printed at the wrong size, calculate the correction with this formula: Correct print scale = (intended measurement ÷ actual measurement) × 100
Examples:
| Intended 10-square size | Actual measured size | Correction |
|---|---|---|
| 10 inches | 9.75 inches | 102.6% |
| 10 inches | 9.5 inches | 105.3% |
| 10 inches | 10.25 inches | 97.6% |
| 10 inches | 10.5 inches | 95.2% |
In most cases, though, the better fix is simpler: turn off scaling options and print at 100%. Manual percentage correction is mainly useful when the source file itself was set up at the wrong size.
Prepare the next battle map more reliably
If you are making or exporting your own map, a few habits will save time later.
A practical workflow:
Confirm that the map grid is clearly visible
Set the intended printed grid to 1 inch per square
Export at a resolution that stays sharp when printed
Open the map in your tiling tool
Set the final physical poster size carefully
Print one test tile at 100%
Measure the grid before printing the full set
Rasterbator.pics is especially useful here because it processes images locally in your browser, lets you set up the poster size clearly, and produces a predictable tiled PDF for printing.
Desktop tools such as Adobe Acrobat Reader's Poster mode can also tile PDFs, though Rasterbator.pics handles the setup in the browser without requiring image uploads.
Create a reusable grid template
A simple one-inch grid template is handy for repeated battle map printing.
Print the template at Actual Size / 100%, measure it once, and keep it near your printer. Then use it to:
Compare against a new battle map
Check whether the printer is quietly scaling pages
Confirm miniature base sizes
Test A4 or Letter output before printing a full map
Catch print-setting mistakes early
If the template prints wrong, fix the printer settings before printing the map.
FAQ
How do I check if my assembled battle map is the right scale?
Measure 10 grid squares with a ruler. On a standard D&D map, 10 squares should measure exactly 10 inches. Check both horizontally and vertically, and test another area near a corner if you want to confirm the result.
What size should a D&D battle map grid be?
For most Dungeons & Dragons table play, one grid square should be 1 inch by 1 inch.
Why did my battle map print too small?
The usual cause is a print setting such as Fit to page, Shrink to printable area, or a similar automatic scaling option. Reprint at Actual Size or 100%.
Can I reprint only one bad page?
Yes. If the rest of the tiled map is correct, reprint only the page with the wrong scale, clipping, or alignment. Match the affected area to the page number in your tiled PDF and print that page again at 100%.
Should I trim the white margins before assembling the map?
Usually, yes. Most printers leave an unprintable white border of about 3-5 mm, so trimming is a normal part of clean tiled poster assembly. Align by the grid or crop marks, not by the paper edge alone.
Is borderless printing good for battle maps?
Usually not for exact grid work. Borderless printing can enlarge the image slightly to compensate for edge clipping, which breaks one-inch grid accuracy. Test and measure before relying on it.
Can I use A4 sheets for a D&D battle map?
Yes. A4 works well for print-at-home tiled maps. Just remember that the printable area is smaller than the full sheet, so overlap and trimming are often necessary.
Does Rasterbator.pics upload my battle map?
No. Rasterbator.pics processes images locally in your browser, so your battle map file stays on your device. The tiling and PDF generation happen without uploading your image to a server.
Final advice
Do not judge a battle map by how good it looks from across the room. Measure it.
For a playable D&D grid, the final test is simple: 10 squares should equal 10 inches. Once that checks out, your miniatures should fit, movement will feel natural, and any reprint work can stay limited to the pages that actually need fixing.
Try Rasterbator.pics
Use Rasterbator.pics to test the article advice with your own image, page size, overlap, margins, and tiled PDF export.
Try Rasterbator.pics