
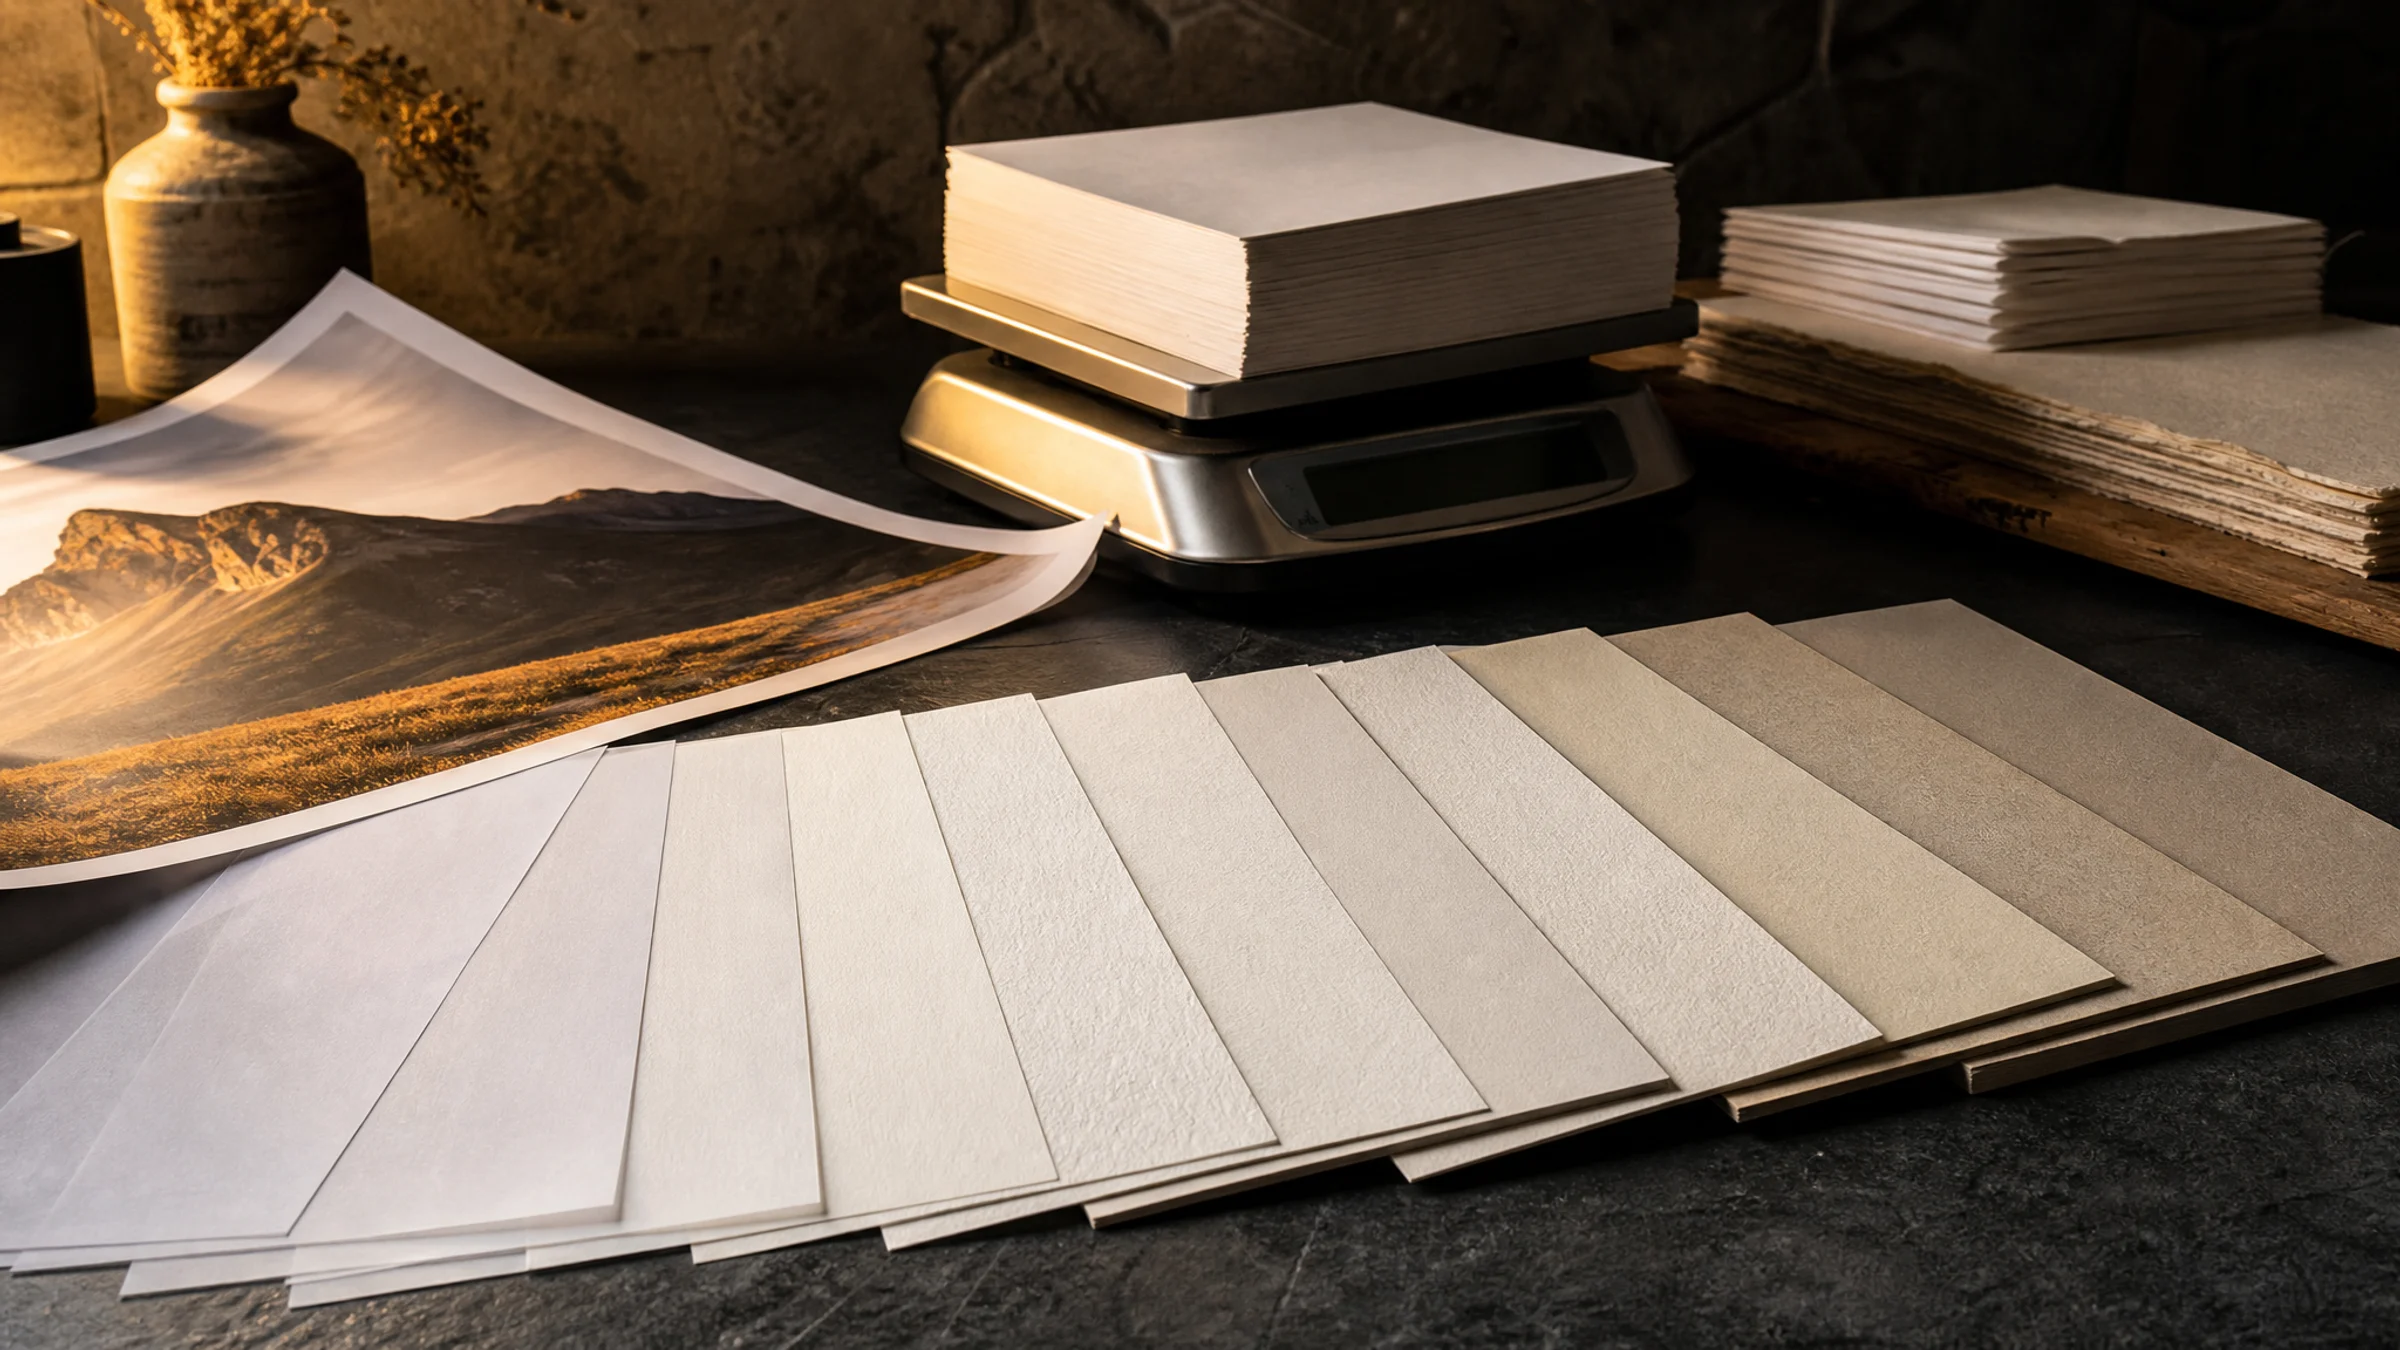
Yes, 80 gsm paper can work for home poster printing, especially for a temporary tiled poster made from A4 or Letter sheets. It is cheap, easy to find, and works in almost every home printer.
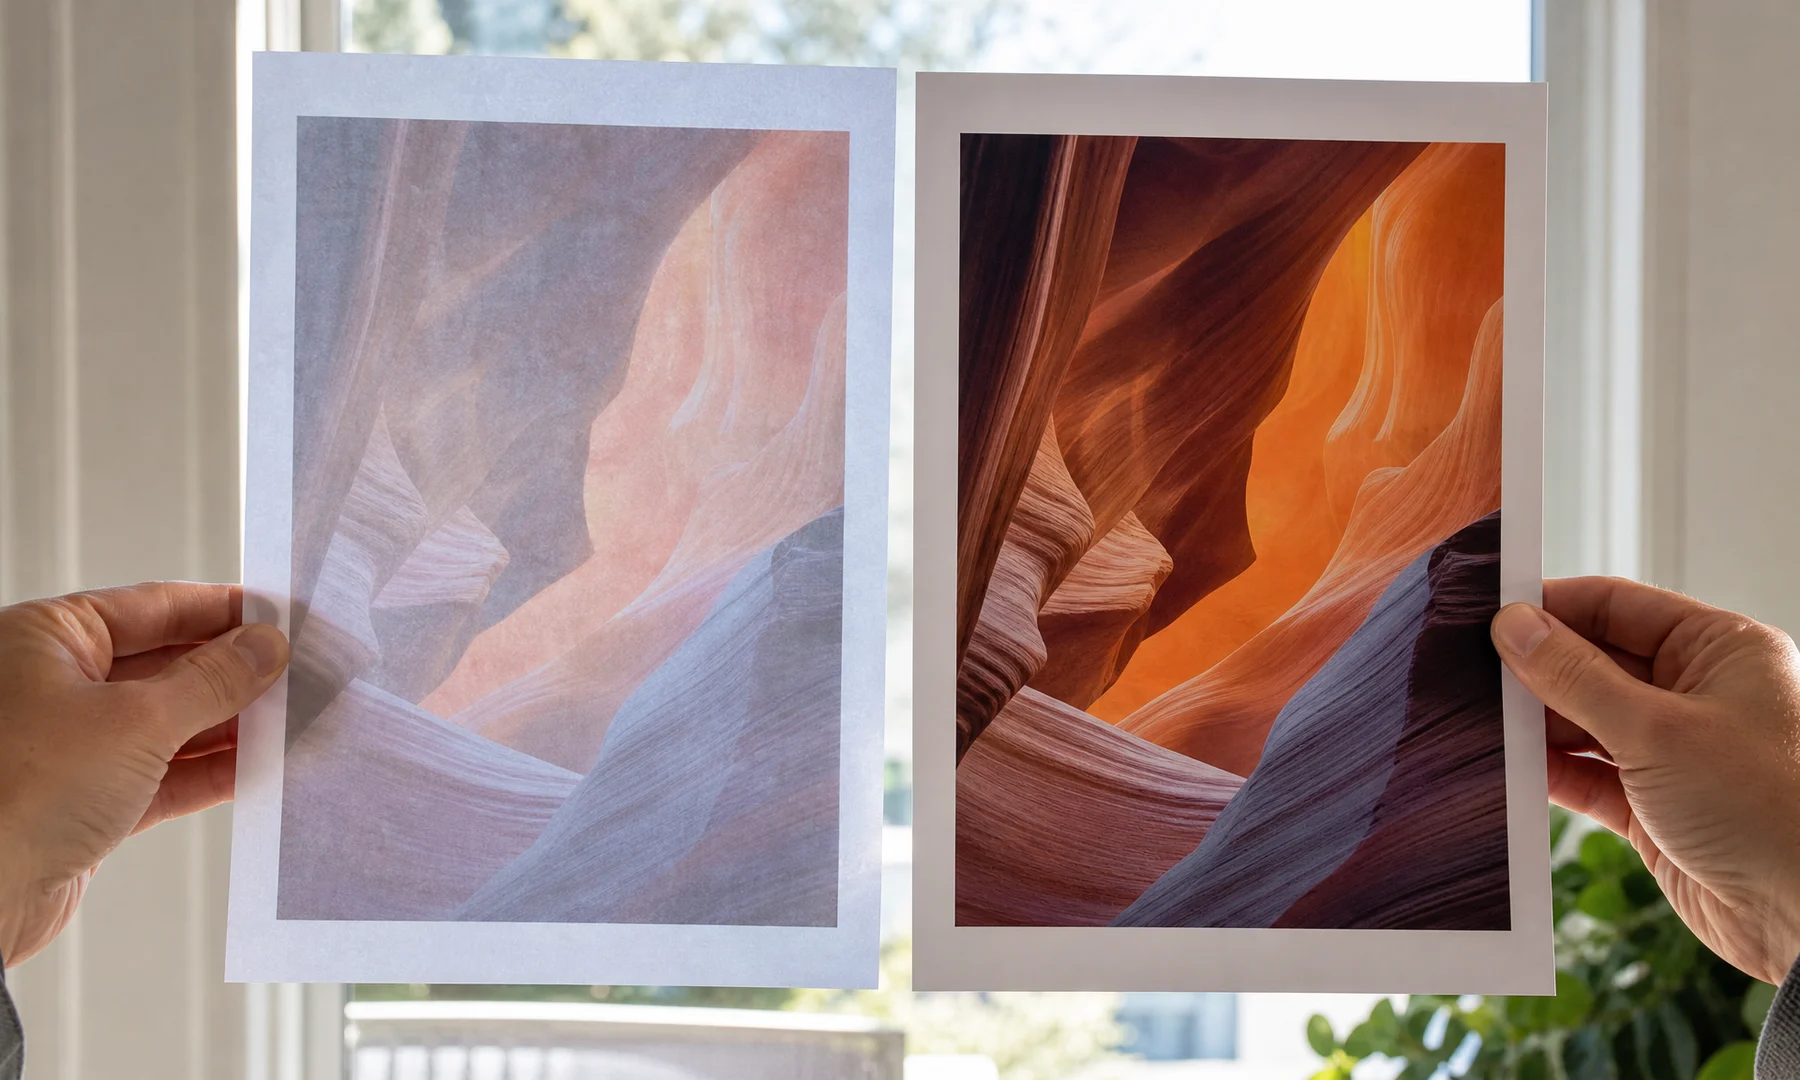
However, standard 80 gsm office paper is thin, absorbs ink quickly, and can ripple under heavy ink coverage or excess glue. That does not make it a bad choice for every poster, but it does mean you need realistic expectations.
One thing matters right away: most home printers leave a 3-5 mm unprintable white border around the page. For a clean tiled poster, trimming is usually a normal part of the job. If you skip trimming, you should expect visible white seams between tiles.
This guide will help you decide when 80 gsm is acceptable, which printer settings are safer, and how to mount the sheets without waves.
Quick answer
Use 80 gsm paper if:
The poster is temporary.
The design has light or medium ink coverage.
You are printing at home on a basic inkjet or laser printer.
You will mount the pages carefully with a glue stick or back-side tape.
You do not need a premium or long-term finish.
Choose 100-160 gsm paper instead if:
The poster has dark backgrounds, photos, or heavy color blocks.
You want it to stay flatter on the wall.
You plan to display it for weeks or months.
You want easier trimming and cleaner seams.
For a broader comparison of papers, adhesives, and backing options, see our guide to poster printing materials.
The pre-print checklist
Before you print the full poster, check these first:
You selected the correct paper size: A4, Letter, or your actual sheet size.
The print scale is Actual Size or 100%.
"Fit to page" and "Shrink oversized pages" are off.
The printer is set to Plain Paper.
Quality is Standard or Normal, not maximum photo quality.
Duplex printing is off.
You understand your printer's 3-5 mm unprintable margins.
You printed one test tile.
You have a trimming plan.
You have a glue stick or back-side tape ready.
You know where the poster will dry flat after assembly.
What does 80 gsm mean?
80 gsm means the paper weighs 80 grams per square meter. It is the standard weight for everyday copier and office paper.
It is usually:
Thin and easy to bend
Affordable in large packs
Widely available in A4 and Letter size
Supported by most home printers
More likely to show ink through or ripple than heavier paper
For tiled posters, that matters because each sheet becomes part of one larger image. Issues like curling or stretching become more apparent when several sheets are joined.
When 80 gsm paper is acceptable for a tiled poster
80 gsm is usually fine for simple home projects.
Good use cases include:
Classroom posters
Party signs
Temporary wall decorations
Draft posters before reprinting on better paper
Black-and-white line art
Low-coverage graphics
Posters viewed from a few steps away
It is also useful when you are testing poster size. If you are not sure whether a 3x3, 4x4, or 5x5 layout will feel right on the wall, 80 gsm paper is a cheap way to check scale before spending more on heavier stock.
When 80 gsm paper is a bad choice
Avoid 80 gsm when the image needs a heavy ink load.
Risky designs include:
Full-page photos
Dark movie posters
Solid black backgrounds
Large saturated color areas
High-contrast artwork where seams must be hidden
Posters that will be handled often
On an inkjet printer, heavy ink coverage can make 80 gsm wrinkle or curl. On a laser printer, heat and toner coverage can still leave thin paper slightly wavy, especially across many dense pages.
If the poster matters visually, 100 gsm or heavier paper is the safer starting point.
Best printer settings for 80 gsm poster printing
With 80 gsm paper, the goal is simple: use enough ink to make the image look clear, but not so much that the sheet buckles.
Try these settings first:
| Setting | Safer choice for 80 gsm paper |
|---|---|
| Paper type | Plain Paper |
| Quality | Standard or Normal |
| Scale | Actual Size or 100% |
| Borderless printing | Off |
| Color mode | Normal color, not maximum saturation |
| Ink saving | Useful for draft posters |
| Duplex printing | Off |
| Drying time | Longer, if your printer offers it |
Do not choose Photo Paper if you are using ordinary office paper. That setting often lays down more ink than 80 gsm can handle comfortably.
Remember the unprintable margin
Most home printers cannot print to the very edge of the page. A typical unprintable margin is about 3-5 mm on each side, sometimes more.
That means:
Your poster tiles may include white borders
You will usually need to trim pages before joining them
The printable area can vary slightly by printer
Some "borderless" modes can distort scale or push ink past the intended edge
For a seamless look, you will need to trim the white margins off each tile. A craft knife and a metal ruler usually give cleaner edges than scissors.
While some printers offer a Borderless setting, it can occasionally scale the image slightly or overspray ink into the machine. Manual trimming is the more predictable way to keep tile alignment exact.
To find your printer's exact unprintable margin, print a test page with a thin border around all edges. Measure the white gap between the border and the page edge. This tells you how much to expect when trimming tiles.
Printing tiled posters with Rasterbator.pics
Rasterbator.pics generates tiled posters directly in your browser with local processing. Choose your poster size, generate the pages, and print them on A4 or Letter sheets.
A typical workflow:
Open Rasterbator.pics.
Choose your image.
Select paper size, such as A4 or Letter.
Choose the poster size in pages.
Generate the tiled poster PDF.
Print at Actual Size or 100%.
Trim and assemble the sheets.
Step 3: Select your poster size in pages before generating tiles.
Always verify Actual Size or 100% in the print dialog to avoid scaling errors.
What about Adobe Acrobat Reader Poster printing?
Adobe Acrobat Reader has a useful Poster option for tiled printing. It can split a large PDF across multiple sheets, which is helpful if you already have one large-page PDF.
However, it is not always the clearest path for image-to-poster projects. You still need to check:
Tile scale
Overlap
Cut marks
Actual Size or 100%
Printer margins
Whether the final page count matches what you expect
A practical split is:
Use Rasterbator.pics when you want browser-local poster setup from an image and a predictable generated PDF to print.
Use Acrobat Reader Poster printing when you already have a PDF and mainly need tiling controls.
In both cases, print one test tile before committing to the full poster.
Ink use on 80 gsm paper
80 gsm paper handles text and light graphics well, but it is not ideal for very wet inkjet output.
To reduce ripples:
Use Standard quality instead of Best quality.
Avoid photo paper settings.
Reduce saturation if your printer allows it.
Let each page dry before stacking.
Print in smaller batches.
Avoid touching fresh ink areas.
If the first few sheets come out wavy, stop and adjust settings. It is much easier to correct one bad test than to mount a whole stack of over-inked pages.
Always print a test tile
Before printing all pages, print one representative tile.
Choose a tile that includes:
A dark area
A detailed area
A seam or edge
Any important face, text, or logo if your poster includes one
Check the test sheet for:
Correct scale
Sharp enough detail
Acceptable color
No unwanted cropping
No heavy wrinkling
Margins you can trim cleanly
If the test tile looks too wet or too wavy, lower print quality or switch to heavier paper.
Print one test tile to check scale, ink coverage, and margin handling before printing all pages.
Mounting 80 gsm sheets without ripples
Mounting is where 80 gsm needs the most care. Thin paper reacts quickly to moisture, pressure, and uneven glue.
Best simple method: glue stick
A glue stick is usually safer than liquid glue because it adds much less moisture.
For flatter results:
Trim the sheets first if needed.
Arrange all pages on the floor or table.
Work from one corner across the poster.
Apply glue stick thinly and evenly.
Press from the center outward.
Avoid overworking the paper.
Let the poster dry under light, even weight.
Do not use a very wet craft glue on 80 gsm paper unless you are willing to accept ripples.
Cleaner temporary method: back-side tape
Back-side tape is useful when you want less visible glue texture.
How to do it:
Place the sheets face down in the correct order.
Align the edges carefully.
Tape the seams from the back.
Use small tape strips first, then longer strips if alignment is good.
Flip the poster carefully.
This works well for temporary wall posters and avoids adding moisture to the front surface.
If glare and visible seams matter, avoid taping across the front. Front-side tape is fast, but it usually catches light and makes joins more obvious.
For the flattest result: mount onto backing board
If you want a cleaner-looking result, mount the tiled pages onto:
Foam board
Cardboard
Mounting board
A large sheet of kraft paper as a backing layer
A backing surface helps keep the whole poster aligned and reduces the chance that individual pages curl.
Trimming tips for A4 or Letter tiles
Most tiled posters look better after trimming, especially when printed on a printer with unprintable margins.
Useful tools:
Metal ruler
Craft knife
Cutting mat
Pencil
Glue stick
Low-tack tape for temporary positioning
A practical trimming approach:
Trim only the edges that need to overlap or join.
Keep one reference edge intact when possible.
Do not trim all pages blindly before checking the layout.
Dry-fit the poster before gluing.
Work in rows, then join rows together.
For 80 gsm paper, a sharp blade matters. A dull blade can drag the sheet and leave fuzzy edges.
Storage and handling
80 gsm paper absorbs humidity easily, so store printed pages flat and dry before assembly.
Good habits:
Let pages dry fully.
Do not stack fresh inkjet prints immediately.
Keep pages in order.
Place a clean sheet between heavily printed pages if needed.
Avoid damp rooms.
Store the finished poster flat or loosely rolled with the printed side outward.
If the paper curls after printing, let it rest under a few large books before mounting.
Should you buy heavier paper instead?
If you already have 80 gsm paper, use it for a test first. It may be perfectly acceptable for a casual poster.
If you are buying paper specifically for poster printing, consider this range:
| Paper weight | Best for |
|---|---|
| 80 gsm | Drafts, temporary posters, light designs |
| 100-120 gsm | Better home posters with moderate ink |
| 160 gsm | Cleaner color posters, easier mounting |
| 200 gsm and above | Sturdier prints, if your printer supports it |
Always check your printer manual before using heavier paper. Some home printers do not feed thick sheets reliably.
If you want a simple supplies reference before you shop, keep our poster printing materials guide handy.
FAQ
Is 80 gsm paper too thin for a poster?
It's thin, but that doesn't always disqualify it. For temporary tiled posters, light graphics, classroom signs, and draft prints, 80 gsm paper can work well. For photo-heavy posters or long-term display, heavier paper is better.
Will 80 gsm paper wrinkle in an inkjet printer?
It can wrinkle if the printer lays down too much ink. Use Plain Paper mode, Standard quality, and avoid photo-quality settings. Let pages dry before stacking.
Can I print a large poster on A4 sheets with 80 gsm paper?
Yes. You can print a tiled poster on A4 sheets, then trim and assemble the pages. Make sure the print dialog is set to Actual Size or 100%, and allow for the printer's unprintable margins.
Is laser printing better than inkjet for 80 gsm poster pages?
Laser printing usually avoids wet-ink ripples, but dense toner coverage and heat can still make thin paper curl slightly. Inkjet can also work well if you keep ink coverage under control.
Should I use glue or tape for assembling 80 gsm poster pages?
A glue stick is usually the best simple option because it adds less moisture than liquid glue. Back-side tape is also good for temporary posters and helps avoid visible front-side seams.
Do I need to trim the white borders?
Usually, yes, if you want clean seams. Most home printers leave a 3-5 mm unprintable margin. You can leave the borders in place if you do not mind visible white lines between tiles.
Can I use Adobe Acrobat Reader for tiled poster printing?
Yes. Acrobat Reader's Poster option is useful for tiling large PDFs. Just check scale, overlap, margins, and Actual Size or 100%. If you are starting from an image, Rasterbator.pics is often the clearer setup for poster sizing and PDF output.
What is the best paper weight for home poster printing?
For casual posters, 80 gsm is acceptable. For better results, 100-160 gsm is usually a safer range because it stays flatter, handles ink better, and is easier to mount cleanly.
Try Rasterbator.pics
Use Rasterbator.pics to test the article advice with your own image, page size, overlap, margins, and tiled PDF export.
Try Rasterbator.pics